
Ask AI
— answers from the official manualAnswers from the official manual.
Common questions
Common Questions
13 totalHow do I install the wall push button for my MVP opener?
Determine a suitable location, run a 2-conductor wire (#22 gauge), and ensure power is turned off to the operator or system before installation.
What should I check before assembling my MVP opener?
Ensure that power is turned off to the operator or system and follow safety precautions when working with electrical systems. Identify your door type from the illustrated diagrams and determine if it is compatible with the MVP series.
What tools are required for installing the MVP opener?
Tools such as a 1/2" wrench may be necessary for tasks like loosening an outer nut during installation.
How do I adjust the open and close limit switches on my MVP opener?
Position the open and close limit switch as indicated in the diagram during installation to ensure proper operation of your door.
How do I program a specific button on the MVP Quik-Code transmitter?
With the transmitter in programming mode (LED is on), press the desired button. Then enter your 9-digit code from the table and confirm the entry by pressing until the LED blinks twice.
How do I use Express Coding to program all three buttons at once?
While in programming mode (LED is on), press the “+” button. After entering an initial code, end entry by pressing the “+” button again.
Show 7 more questions
How do I install batteries in the MVP Quik-Code transmitter?
What do I do if the LED goes off while programming?
How often should I replace batteries on the MVP Quik-Code transmitter?
How can I check if the system is working properly?
How do I clear the memory of a Linear MVP receiver?
What should I do if my MVP system has signal interference issues?
How do I put the MVP Quik-Code transmitter into programming mode?
Full Manual
5 pages
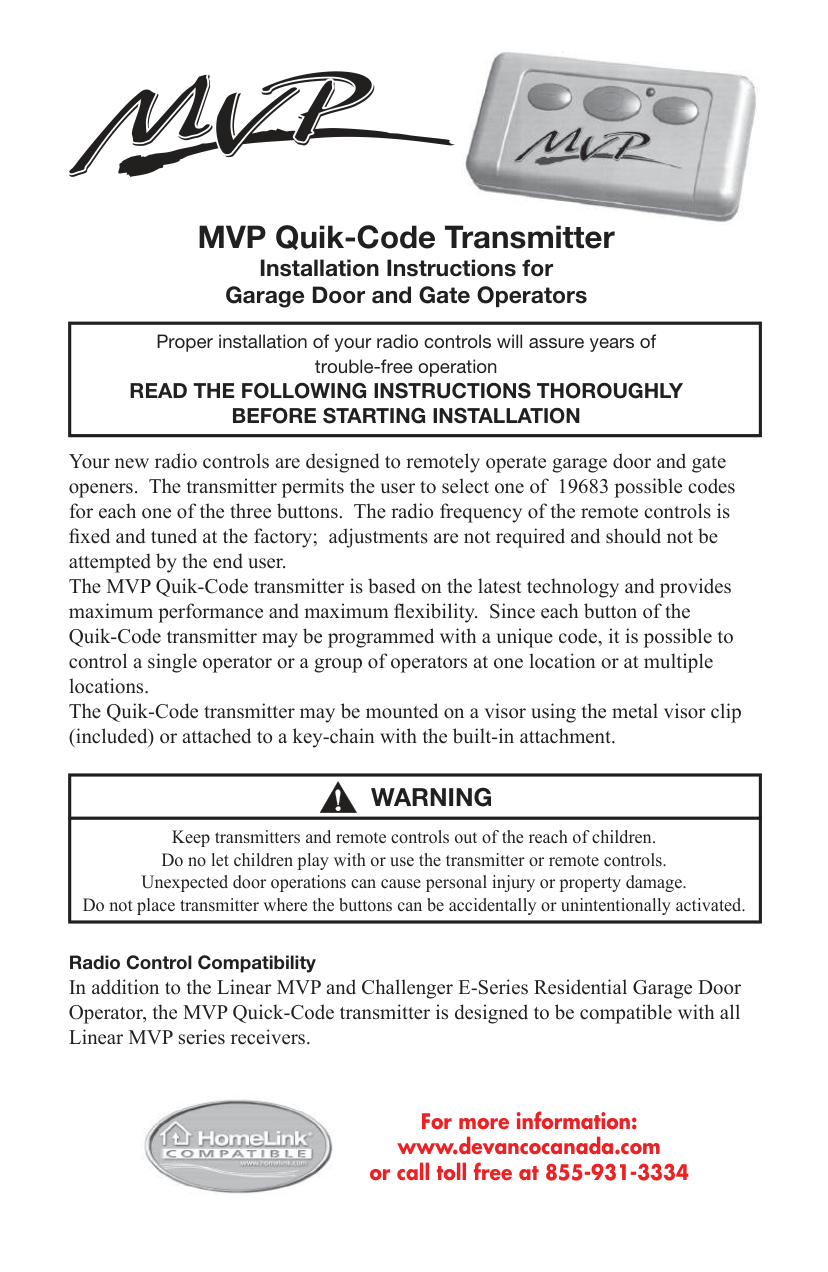

MVP Quik-Code Transmitter
Installation Instructions for Garage Door and Gate Operators
|Proper installation of your radio controls will assure years of trouble-free operation READ THE FOLLOWING INSTRUCTIONS THOROUGHLY BEFORE STARTING INSTALLATION| |---|
Your new radio controls are designed to remotely operate garage door and gate openers. The transmitter permits the user to select one of 19683 possible codes for each one of the three buttons. The radio frequency of the remote controls is xed and tuned at the factory; adjustments are not required and should not be attempted by the end user. The MVP Quik-Code transmitter is based on the latest technology and provides maximum performance and maximum exibility. Since each button of the Quik-Code transmitter may be programmed with a unique code, it is possible to control a single operator or a group of operators at one location or at multiple locations. The Quik-Code transmitter may be mounted on a visor using the metal visor clip (included) or attached to a key-chain with the built-in attachment.
|WARNING| |---| |Keep transmitters and remote controls out of the reach of children. Do no let children play with or use the transmitter or remote controls. Unexpected door operations can cause personal injury or property damage. Do not place transmitter where the buttons can be accidentally or unintentionally activated.|
Radio Control Compatibility
In addition to the Linear MVP and Challenger E-Series Residential Garage Door Operator, the MVP Quick-Code transmitter is designed to be compatible with all Linear MVP series receivers.

#### For more information: www.devancocanada.com or call toll free at 855-931-3334
Homelink® is a registered trade mark of Johnson Controls, Inc.
Programming Quik-Code Transmitters Programming the Linear MVP Quik-Code transmitter is done as follows:
NOTE: The table below has a row for each one of the three buttons on the Quik-Code transmitter since it is possible to set a unique code for each button.
| |1
|2
|3
|4
|5
|6
|7
|8
|9
| |---|---|---|---|---|---|---|---|---|---| |+
| | | | | | | | | | |0
| | | | | | | | | | |-
| | | | | | | | | |
##### Put the Transmitter in Program Mode
Confirm Entry After the 9-digit code is entered, the LED will blink twice to conrm a valid code and remain off.
Program Remaining Buttons Repeat the procedure for the remaining buttons.
Express Coding Express coding will program all 3 buttons at one time. To use Express Code to program all the buttons at the same time select the “+” button in Step 2 and end the 9-digit code entry in Step 3 with a “+”. This will code all three buttons in one programming step.
###### *If the LED goes out the programming mode has timed out and you will need to start over.
|WARNING|Radio Controls are prohibited from providing constant contact closure when installed on the push button inputs of residential garage door openers that are provided with monitored safety systems.| |---|---|

This device complies with Part 15 of the FCC Rules and with RSS-210 of Industry Canada. Operation is subject to the following two conditions: (1) This device may not cause harmful interference, and (2) this device must accept any interference received, including interference that may cause undesired operation.

Learning Transmitter Codes The MVP and Challenger door operators and MVP receivers are capable of learning up to 8 different transmitter codes. Multiple transmitters with the same code may be used and only requires the code from a single transmitter to be learned.
##### Programming the MVP Door Operator

####### Program Button
Note: If the LED and worklight blink press and hold program button for 5 seconds to clear memory and start over. If the LED and worklight remain on when you transmit press and hold program button for 5 seconds to clear memory and start over.
##### Programming MVP Receivers
Program Button
Indicator LED
##### Erasing the Receiver’s Memory
##### Programming the Challenger Door Operator
Note: If the LED and worklight blink press and hold program button for 5 seconds to clear memory and start over. If the LED and worklight remain on when you transmit press and hold program button for 5 seconds to clear memory and start over.
| | | |---|---| | | | | | |
Installing the Transmitter The transmitter is supplied with a metal clip which may be used to attach the unit to a sun visor. If the clip is used, slide it into the recess provided on the back of the transmitter case until the snaps on the case t around the clip. If the transmitter is installed in a pocket in your car, follow all the manufacturer’s instructions. Improper installation may cause intermittent transmitter operation which can result in unexpected door operations.

|WARNING| |---| |Disconnect power to operator before any installation or repair. Follow all instructions provided by the manufacturer of your operator.|
##### Battery Replacement

The MVP Quik-Code transmitter is provided with two factory installed 3-volt batteries which should be replaced after two years of normal use. The transmitter code is retained in permanent memory and will not be lost during battery replacement. To replace the batteries, remove the back of the case with a small screwdriver. Carefully slip the batteries out of the holders and replace with fresh CR2032 3-volt batteries. The “+” on the batteries must point away from the circuit board. Replace the back of the cover and resume normal use.
##### Operational Check
After installing your receiver and transmitter, check the operation of your radio controls by moving approximately 45 feet back from the garage door, then press the transmitter button. Operation at this distance should be reliable. However, environmental conditions and the location of the transmitter and receiver will affect distance.
Manufacturer’s Limited Warranty Linear warrants its radio controls to be free from defect in material and workmanship for a period of one (1) year from the date of purchase. To obtain service, contact your dealer. To obtain service under this warranty the buyer must obtain authorization instructions for the return of any goods from Linear before returning the goods. The goods must be returned with complete identication, with copy of proof-of-purchase, freight prepaid and in accordance with Linear’s instructions or they will not be accepted. In no event will Linear be responsible for goods returned without proper authorization or identication. Goods returned to Linear for warranty repair within the warranty period, which upon receipt by Linear are conrmed to be defective and covered by this limited warranty, will be repaired or replaced at Linear’s sole option, at no cost and returned pre-paid. Defective parts will be repaired or replaced with new or factory rebuilt parts at Linear’s sole option. This limited warranty does not cover non-defect damage, damage caused by unreasonable use, damage caused by improper installation or care, vandalism or lightning, re or excessive heat, ood or other acts of God (including, but not limited to misuse, abuse or alterations, failure to provide reasonable and necessary maintenance), labor charges for dismantling or reinstalling a repaired or replaced unit, or replacement batteries. These warranties are in lieu of all other warranties, either expressed or implied. All implied warranties of merchantability and/or tness for a particular purpose are hereby disclaimed and excluded. Under no circumstances shall linear be liable for consequential, incidental or special damages arising in connection with the use or inability to use this product. In no event shall linear’s liability for breach of warranty, breach of contract, negligence or strict liability exceed the cost of the product covered hereby. No person is authorized to assume for linear any other liability in connection with the sale of this product.
This warranty gives you specic legal rights. You may also have other rights which vary from state to state. Warranty effective after January 1, 2005.
Copyright © 2010 Linear LLC 230915 X1
HOW TO ORDER REPAIR PARTS
DEVANCO CANADA
19192 HAY ROAD, UNIT Q SUMMERSTOWN, ON K0C 2E0
TOLL FREE: 855-931-3334
www.devancocanada.com
WHEN ORDERING REPAIR PARTS PLEASE SUPPLY THE FOLLOWING INFORMATION:
3PART NUMBER 3DESCRIPTION 3MODEL NUMBER