
Ask AI
— answers from the official manualAnswers from the official manual.
Common questions
Common Questions
10 totalHow do I pair the Machenike G5pro V2 gamepad with a Switch console?
To pair with a Switch, move the back mode gear to 'Switch', press and hold the logo/Menu button for about 3 seconds until LED 3 flashes quickly. After successful pairing, LED 3 will remain on for 3 seconds before returning to battery level display (Page 4).
How do I reset my Machenike G5pro V2 gamepad to factory settings?
Press and hold the Power button for 10 seconds until the LED flashes red, which clears all settings and returns it to factory defaults. After this process, re-pair with all devices as necessary (Page 8).
What is the correct procedure for connecting Machenike G5pro V2 via Bluetooth to a Windows PC?
Turn off the gamepad and switch it to 'PC/iOS' position, hold the Menu button for about 3 seconds until LED 2 flashes quickly. On your PC, open Settings -> Bluetooth & other devices -> Add bluetooth or other device and select 'Xbox Wireless Controller' when found in search mode (Page 5).
How can I configure the vibration intensity on a Machenike G5pro V2 gamepad?
To adjust, simultaneously press FN and the cross keys: pressing increases intensity; releasing decreases. Indicators light up during adjustment, showing current gear level from 0 to 4 (with default at medium strength). Adjustments are saved automatically with memory function included (Page 7).
How do you calibrate the sensors on a Machenike G5pro V2 gamepad?
To start calibration, press left ⿻ button, Home key, and B key together for 3 seconds. During this process, channel LEDs 1.4/2.3 will flash alternately. Then slowly move the left/right joysticks over three turns and fully depress LT and RT buttons three times each until finished (Page 7).
Is there a Turbo function on the Machenike G5pro V2 gamepad?
Yes, the Turbo function is supported with A, B, X, and Y buttons configurable. To activate it, first press FN + button to set semiautomatic; press again for fully automatic continuous sending; pressing once will pause; third press cancels the continuous mode (Page 6).
Show 4 more questions
How should I handle charging and maintaining the battery health of my Machenike G5pro V2 gamepad?
What color options can I switch for my Machenike G5pro V2 gamepad's lighting?
How can I pair my Machenike G5pro V2 gamepad with an Android TV device?
Can I perform macro definitions using my Machenike G5pro V2 gamepad?
Full Manual
8 pages
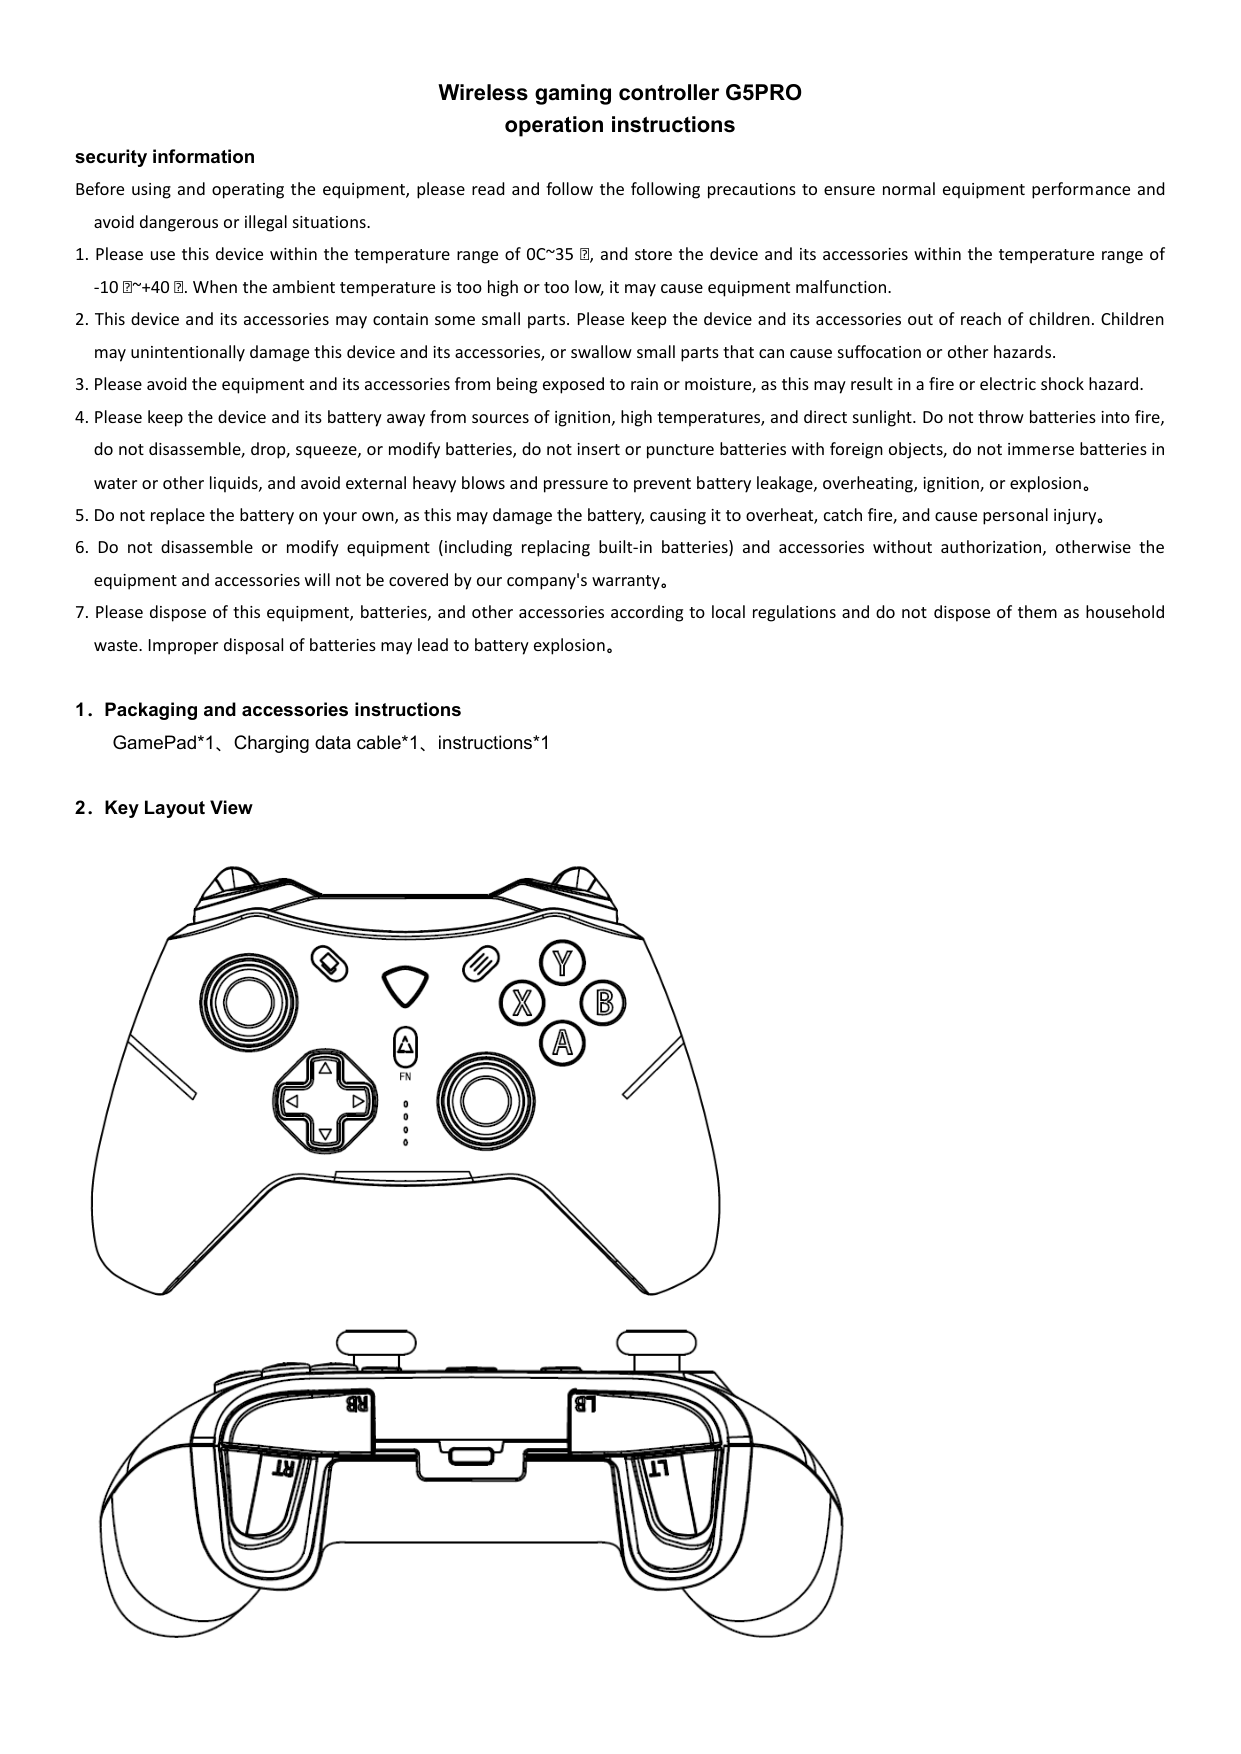
Wireless gaming controller G5PRO operation instructions
security information Before using and operating the equipment, please read and follow the following precautions to ensure normal equipment performance and
avoid dangerous or illegal situations.
-10 ℃~+40 ℃. When the ambient temperature is too high or too low, it may cause equipment malfunction.


|Connected Device|SWITCH|Android Smart TV|Windonws computer| |---|---|---|---| |mode|SWITCH|DINPUT|XINPUT| |Wired|USB 2.0/3.0|USB 2.0/3.0|USB 2.0/3.0| |pilot lamp|Automatic assign LED|LED1、4|LED2| |vibrate|√|No vibration|√| |TURBO|√|√|√| |key-press programmable method|√|√|√| |notes|Six axis somatosensory, screenshot| |The default mode for powering on is X-Input mode, and LED2 is on; Long press and hold the (A+B+Home) key for 1 second to switch to the D-Input/Switch mode, and cycle through the three modes. Mode power-off not saved|
Wireless Connection Mode Information Table:
|device|SWITCH|Android devices|computer(Windows)|iOS| | |---|---|---|---|---|---| |mode|SWITCH|DINPUT|XINPUT|XINPUT| | |Switch position|Switch|Android|PC/ios|PC/ios| | |pilot lamp|LED3|LED4|LED2|LED2| | |Pairing method|Move the back mode gear of the handle, press and hold the LOGO button for about 3 seconds, and the channel LED light will flash quickly. After successful connection, the corresponding LED light will remain on for 3 seconds, and then return to the battery level display|Move the back mode gear of the handle, press and hold the LOGO button for about 3 seconds, and the channel LED light will flash quickly. After successful connection, the corresponding LED light will remain on for 3 seconds, and then return to the battery level display|Move the back mode gear of the handle, press and hold the LOGO button for about 3 seconds, and the channel LED light will flash quickly. After successful connection, the corresponding LED light will remain on for 3 seconds, and then return to the battery level display|Move the back mode gear of the handle, press and hold the LOGO button for about 3 seconds, and the channel LED light will flash quickly. After successful connection, the corresponding LED light will remain on for 3 seconds, and then return to the battery level display|Move the back mode gear of the handle, press and hold the LOGO button for about 3 seconds, and the channel LED light will flash quickly. After successful connection, the corresponding LED light will remain on for 3 seconds, and then return to the battery level display| |Reconnecti on|Short press the logo button on the handle for about 1 second, and the channel LED light will slowly flash. After successful reconnection, the corresponding LED light will remain on for 3 seconds, and then return to the battery level display|Short press the logo button on the handle for about 1 second, and the channel LED light will slowly flash. After successful reconnection, the corresponding LED light will remain on for 3 seconds, and then return to the battery level display|Short press the logo button on the handle for about 1 second, and the channel LED light will slowly flash. After successful reconnection, the corresponding LED light will remain on for 3 seconds, and then return to the battery level display|Short press the logo button on the handle for about 1 second, and the channel LED light will slowly flash. After successful reconnection, the corresponding LED light will remain on for 3 seconds, and then return to the battery level display|Short press the logo button on the handle for about 1 second, and the channel LED light will slowly flash. After successful reconnection, the corresponding LED light will remain on for 3 seconds, and then return to the battery level display| |Device Name|Pro Controller|MACHENIKE G5Pro|XboxWireless Controller|XboxWireless Controller| | |vibrate|√| |√| | | |TURBO|√|√|√| | |
4、Key specifications:
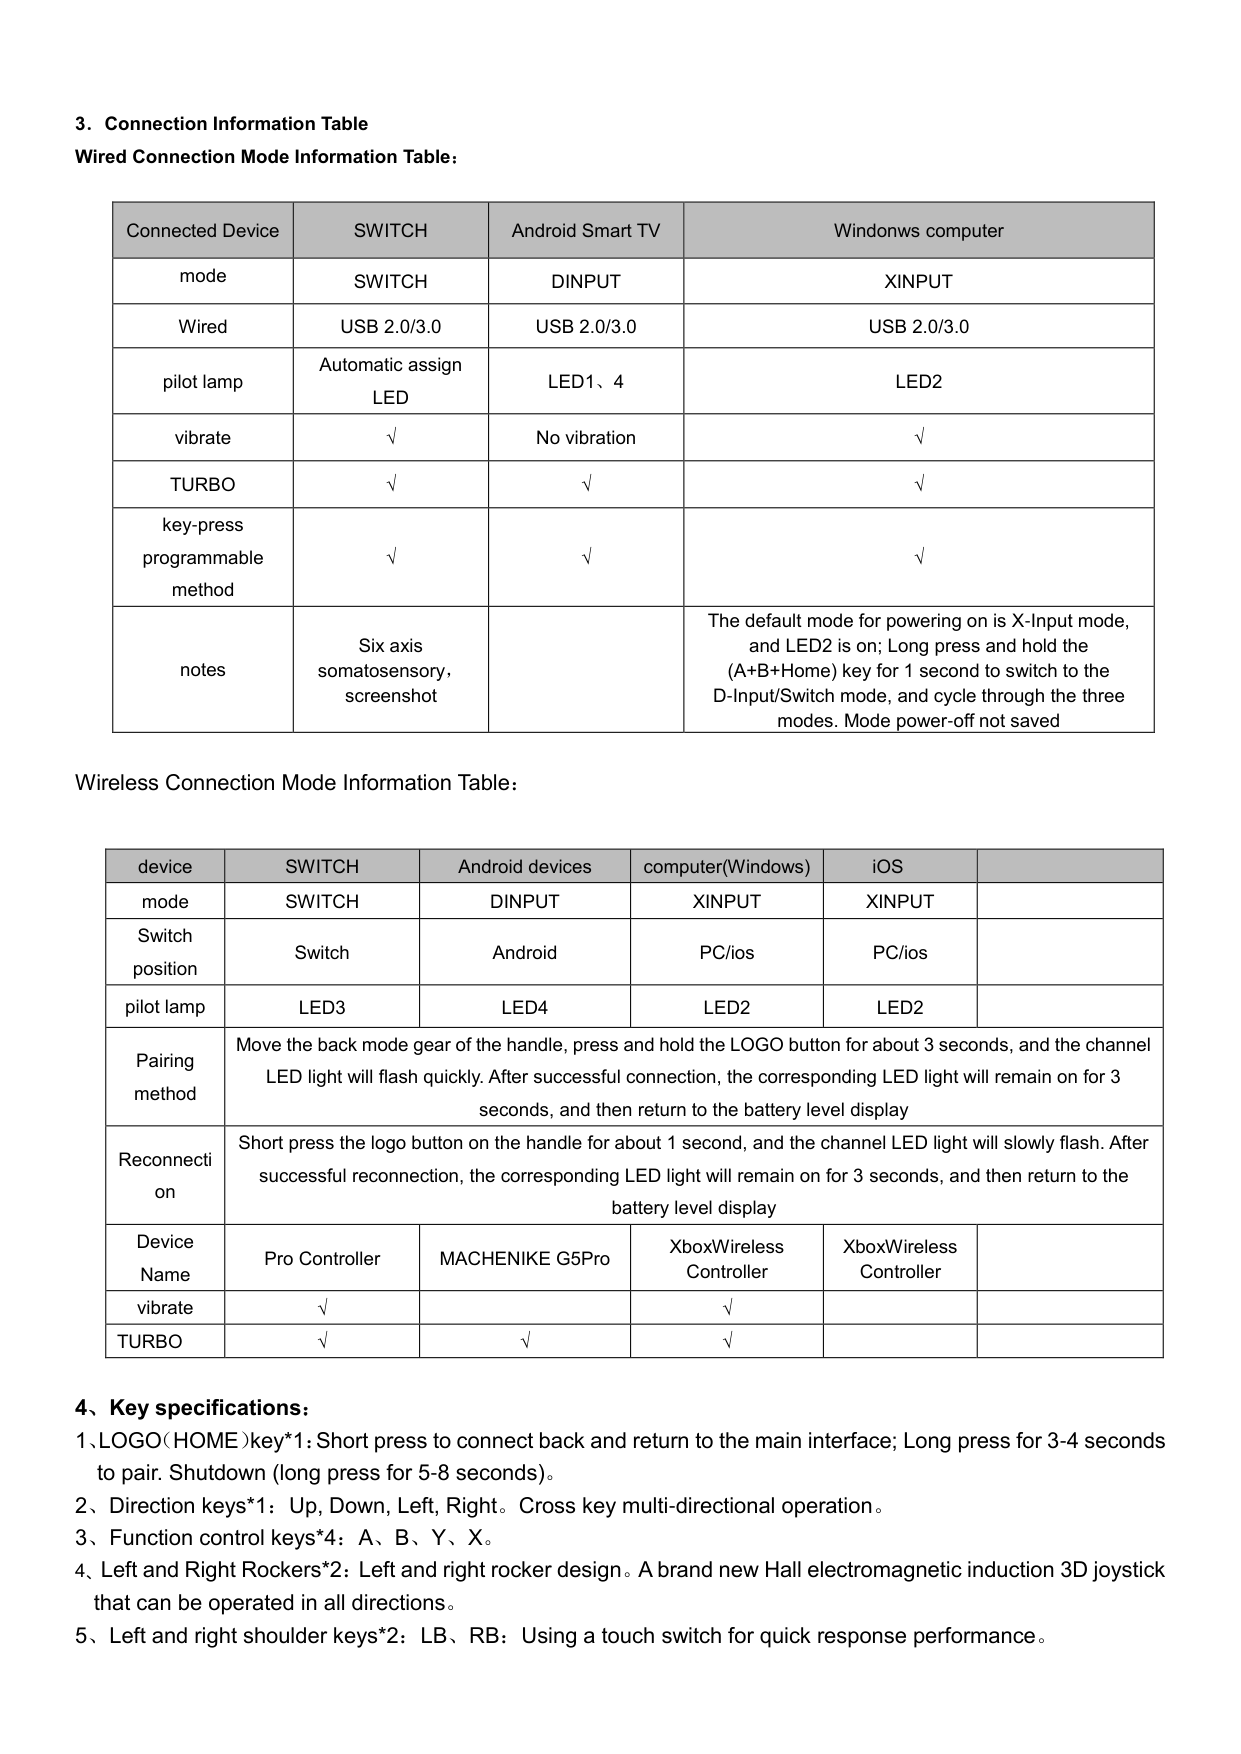
6、Controller connection to host devices Wired Switch Host

Wireless Bluetooth Connection Switch Host:


Wired connection to Windows system computer


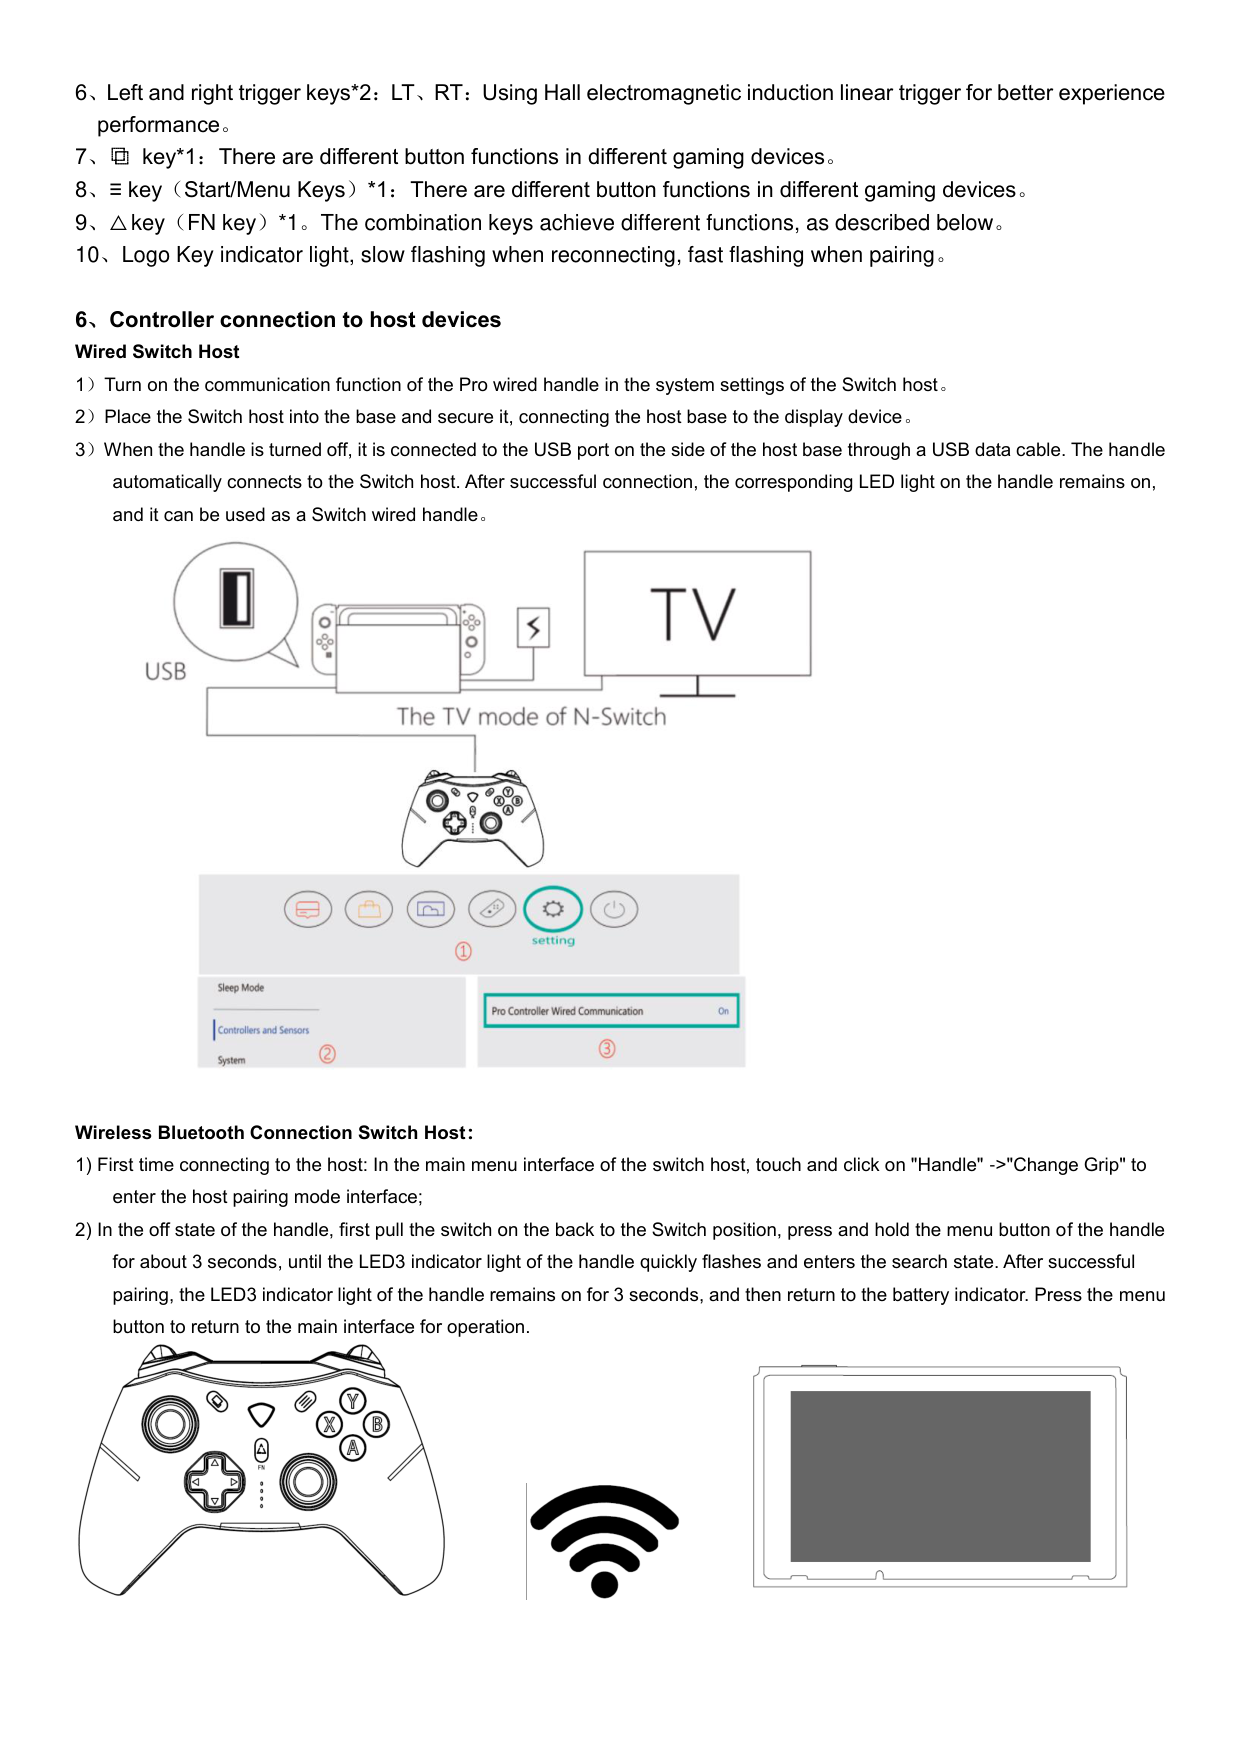
Handle Bluetooth wireless connection to PC devices (using Win10 with Bluetooth as an example)
1) When the handle is turned off, turn the switch on the back of the handle to the PC/iOS position, and then press and hold the handle menu button for about 3 seconds until the LED2 indicator light on the handle quickly flashes, entering the pairing state.


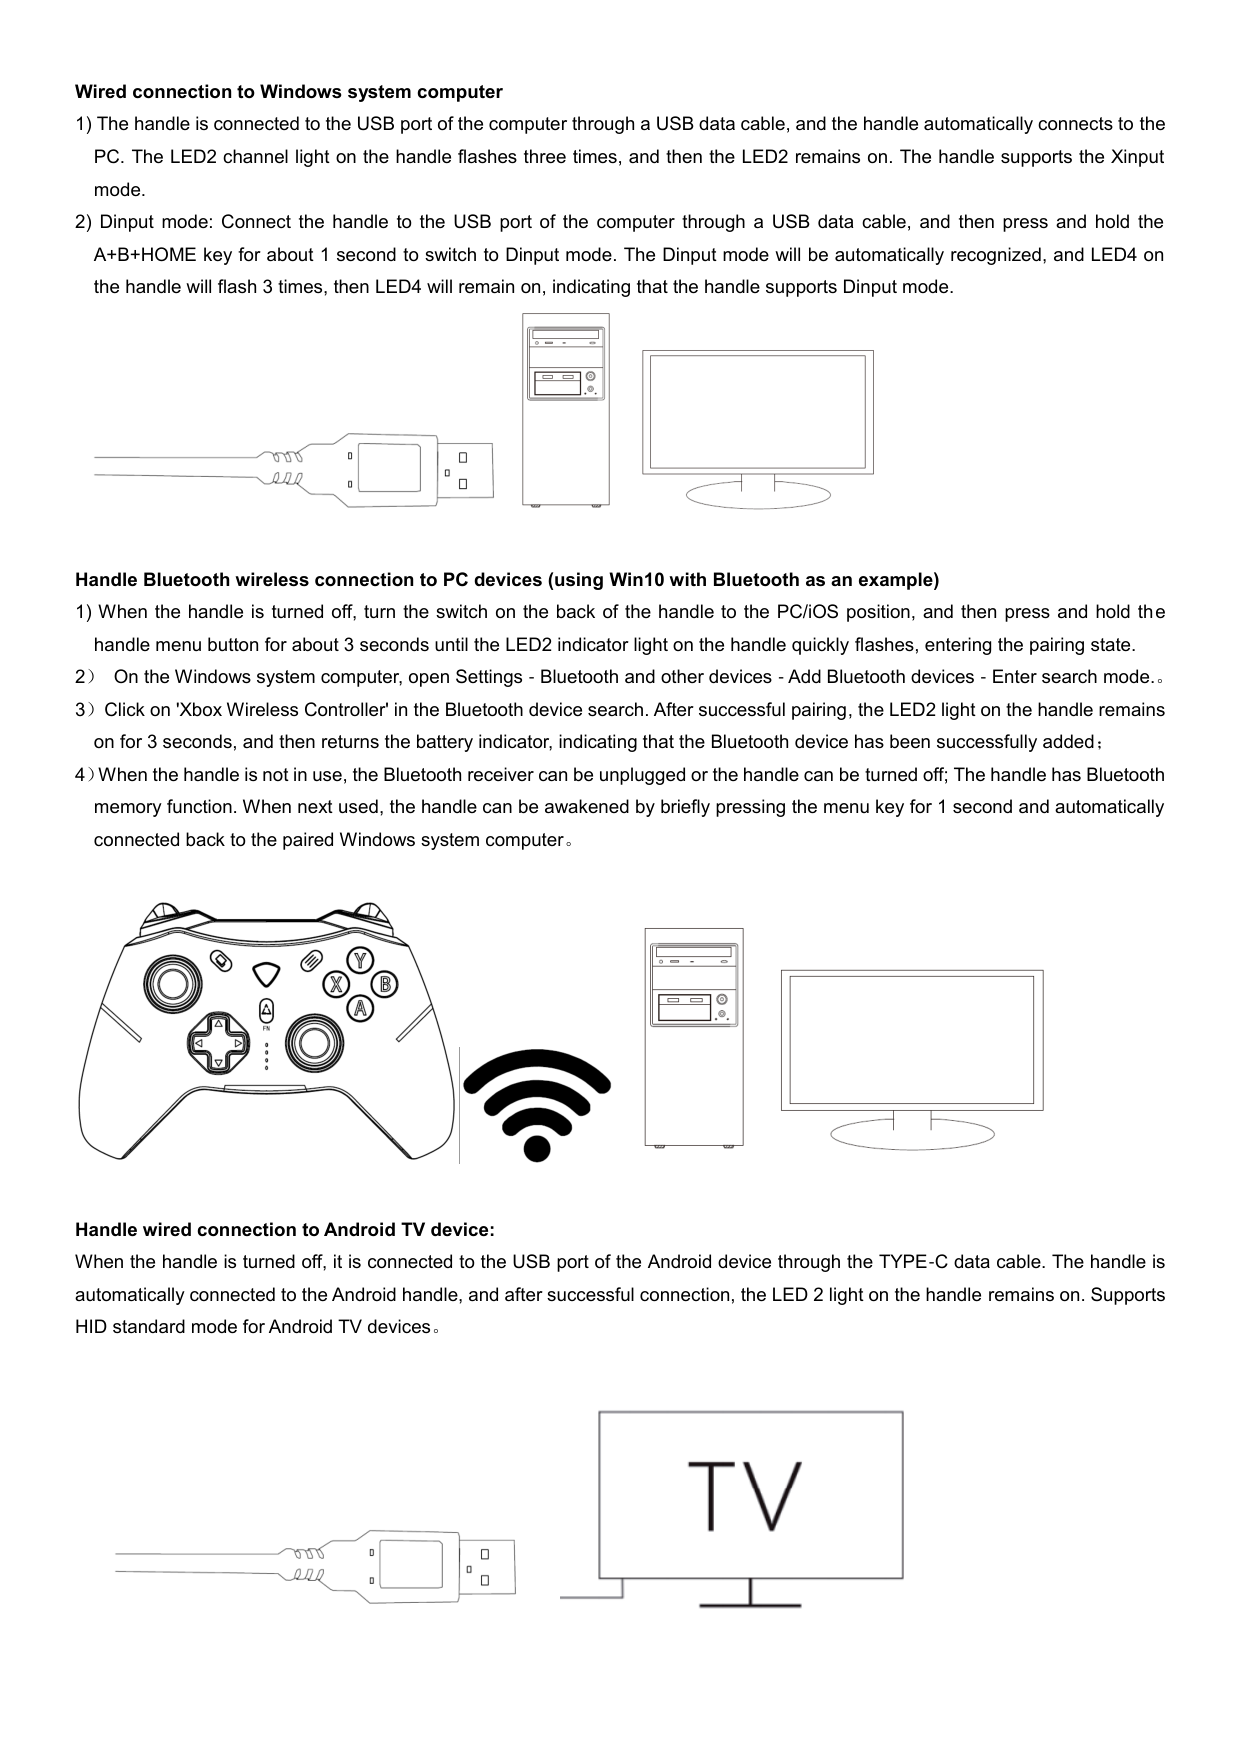
Handle wired connection to Android TV device:
When the handle is turned off, it is connected to the USB port of the Android device through the TYPE-C data cable. The handle is automatically connected to the Android handle, and after successful connection, the LED 2 light on the handle remains on. Supports HID standard mode for Android TV devices。


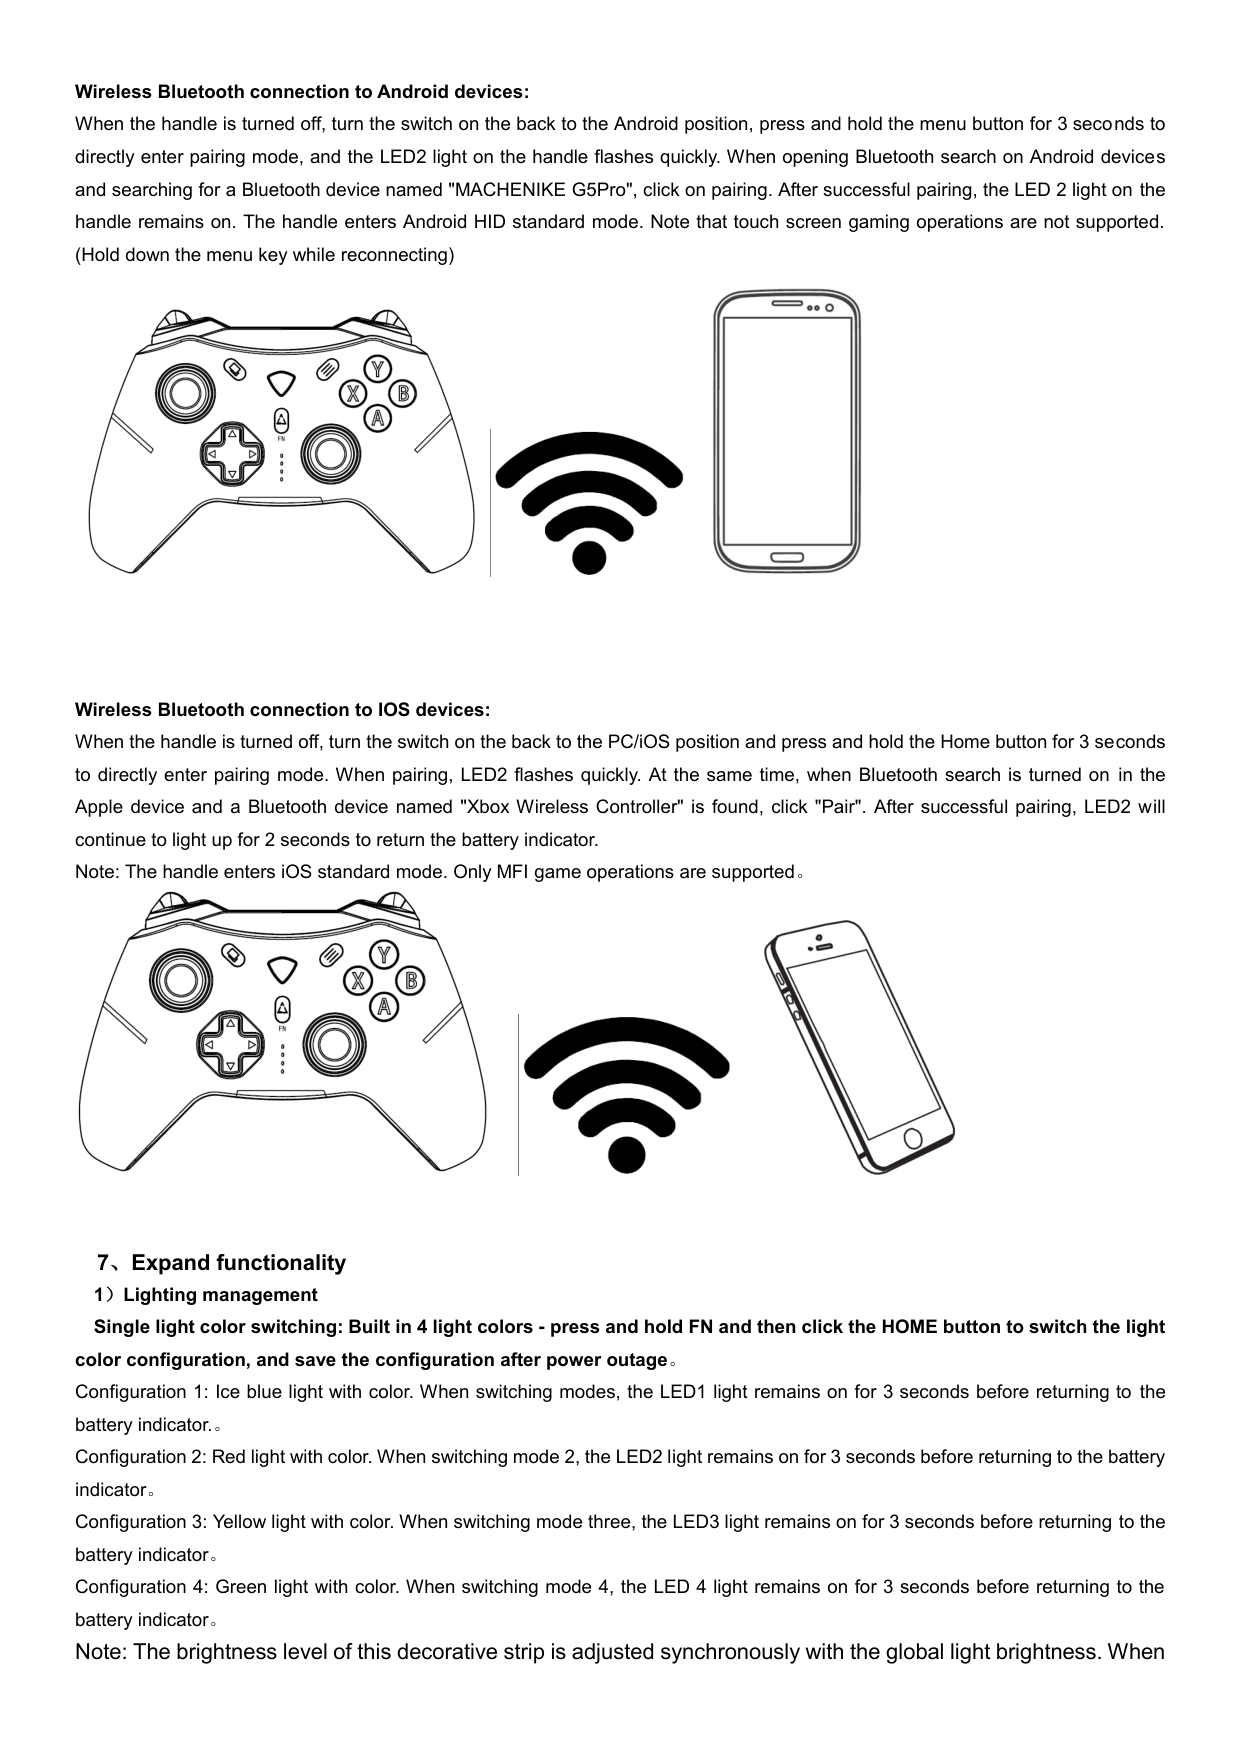
Wireless Bluetooth connection to Android devices:
When the handle is turned off, turn the switch on the back to the Android position, press and hold the menu button for 3 seconds to directly enter pairing mode, and the LED2 light on the handle flashes quickly. When opening Bluetooth search on Android devices and searching for a Bluetooth device named "MACHENIKE G5Pro", click on pairing. After successful pairing, the LED 2 light on the handle remains on. The handle enters Android HID standard mode. Note that touch screen gaming operations are not supported. (Hold down the menu key while reconnecting)


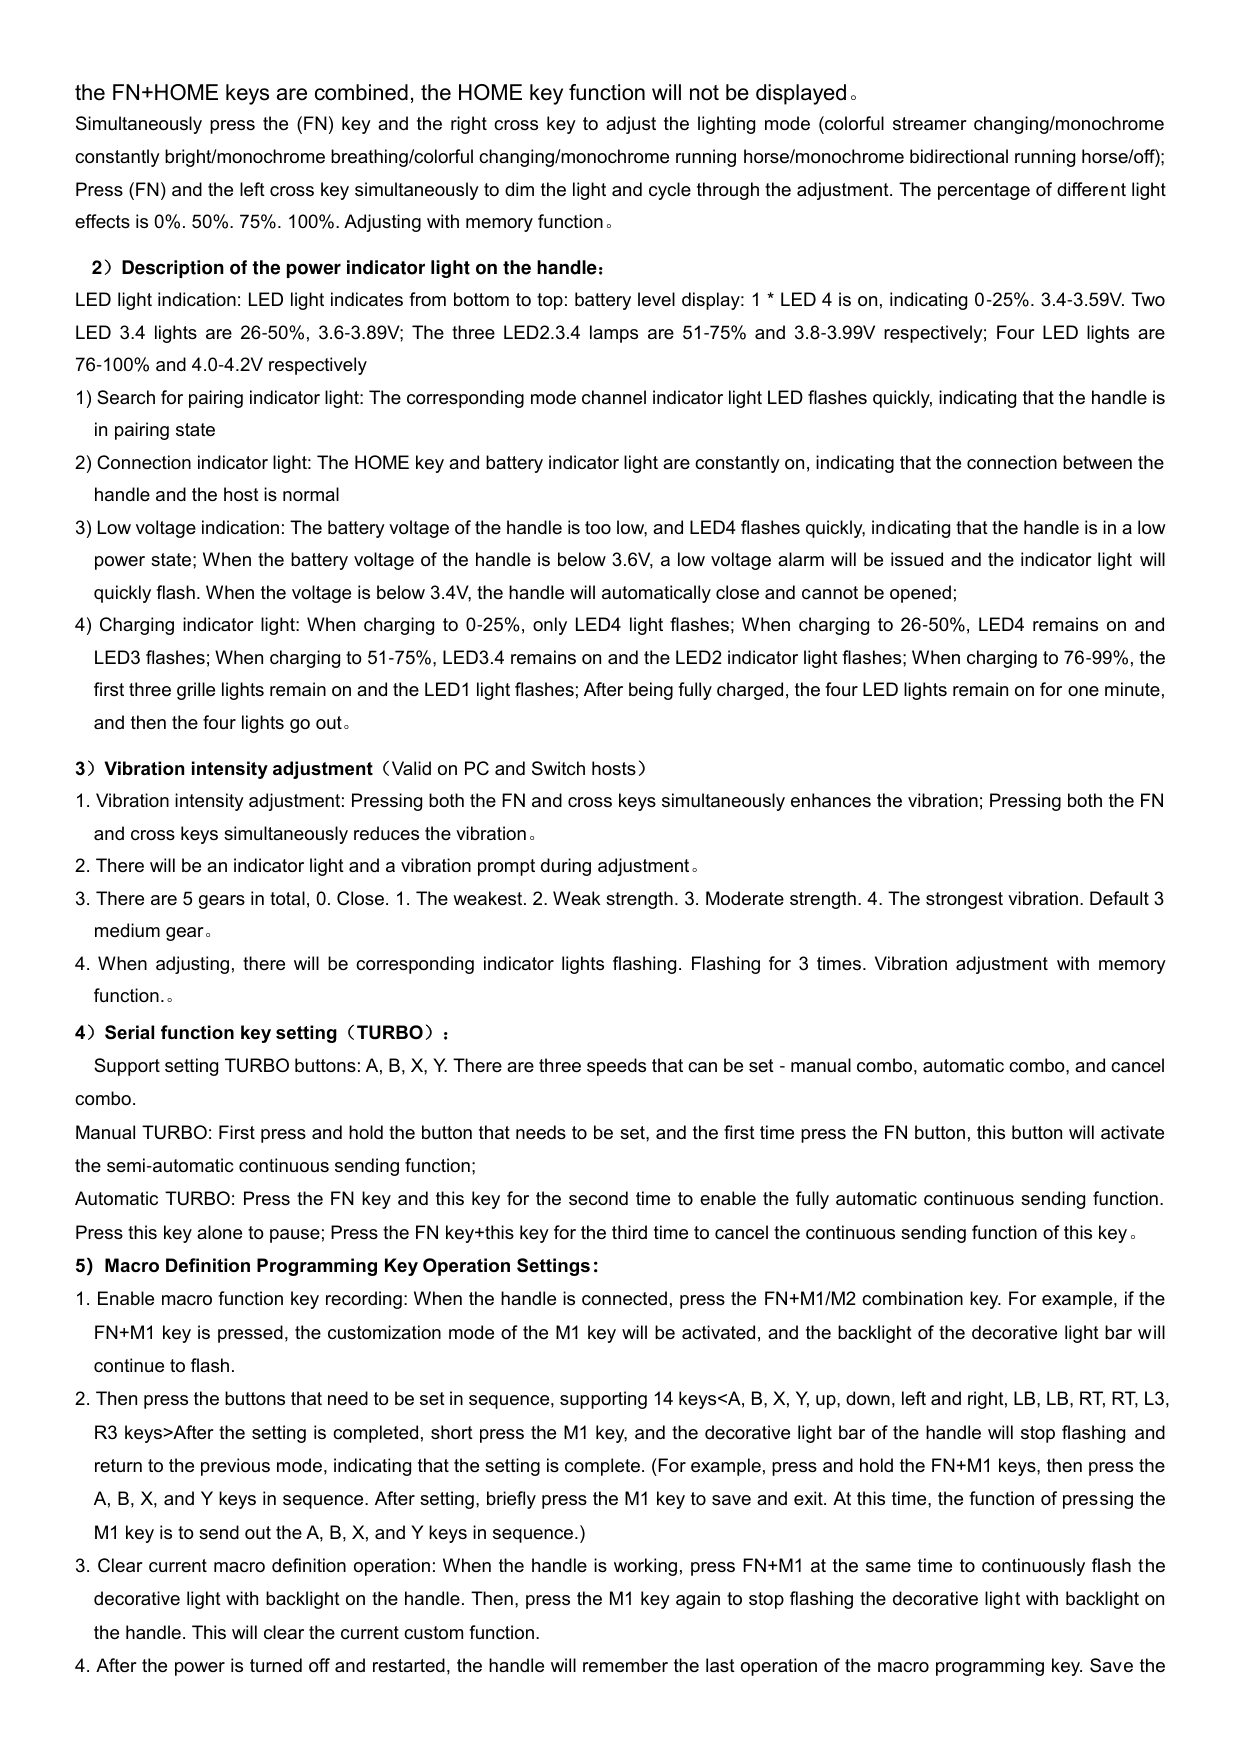
Wireless Bluetooth connection to IOS devices: When the handle is turned off, turn the switch on the back to the PC/iOS position and press and hold the Home button for 3 seconds to directly enter pairing mode. When pairing, LED2 flashes quickly. At the same time, when Bluetooth search is turned on in the Apple device and a Bluetooth device named "Xbox Wireless Controller" is found, click "Pair". After successful pairing, LED2 will continue to light up for 2 seconds to return the battery indicator. Note: The handle enters iOS standard mode. Only MFI game operations are supported。


7、Expand functionality 1)Lighting management Single light color switching: Built in 4 light colors - press and hold FN and then click the HOME button to switch the light
color configuration, and save the configuration after power outage。
the FN+HOME keys are combined, the HOME key function will not be displayed。
Simultaneously press the (FN) key and the right cross key to adjust the lighting mode (colorful streamer changing/monochrome constantly bright/monochrome breathing/colorful changing/monochrome running horse/monochrome bidirectional running horse/off); Press (FN) and the left cross key simultaneously to dim the light and cycle through the adjustment. The percentage of different light effects is 0%. 50%. 75%. 100%. Adjusting with memory function。
2)Description of the power indicator light on the handle:
LED light indication: LED light indicates from bottom to top: battery level display: 1 * LED 4 is on, indicating 0-25%. 3.4-3.59V. Two LED 3.4 lights are 26-50%, 3.6-3.89V; The three LED2.3.4 lamps are 51-75% and 3.8-3.99V respectively; Four LED lights are 76-100% and 4.0-4.2V respectively
3)Vibration intensity adjustment(Valid on PC and Switch hosts)
4)Serial function key setting(TURBO):Support setting TURBO buttons: A, B, X, Y. There are three speeds that can be set - manual combo, automatic combo, and cancel
combo. Manual TURBO: First press and hold the button that needs to be set, and the first time press the FN button, this button will activate the semi-automatic continuous sending function; Automatic TURBO: Press the FN key and this key for the second time to enable the fully automatic continuous sending function. Press this key alone to pause; Press the FN key+this key for the third time to cancel the continuous sending function of this key。
5)Macro Definition Programming Key Operation Settings:
last settings。
and the channel lights 1.2/3.4 will flash alternately. Then press the right ⿻ key, and wait for the channel indicator light to turn off to complete calibration. Note that during calibration, the handle cannot be moved。
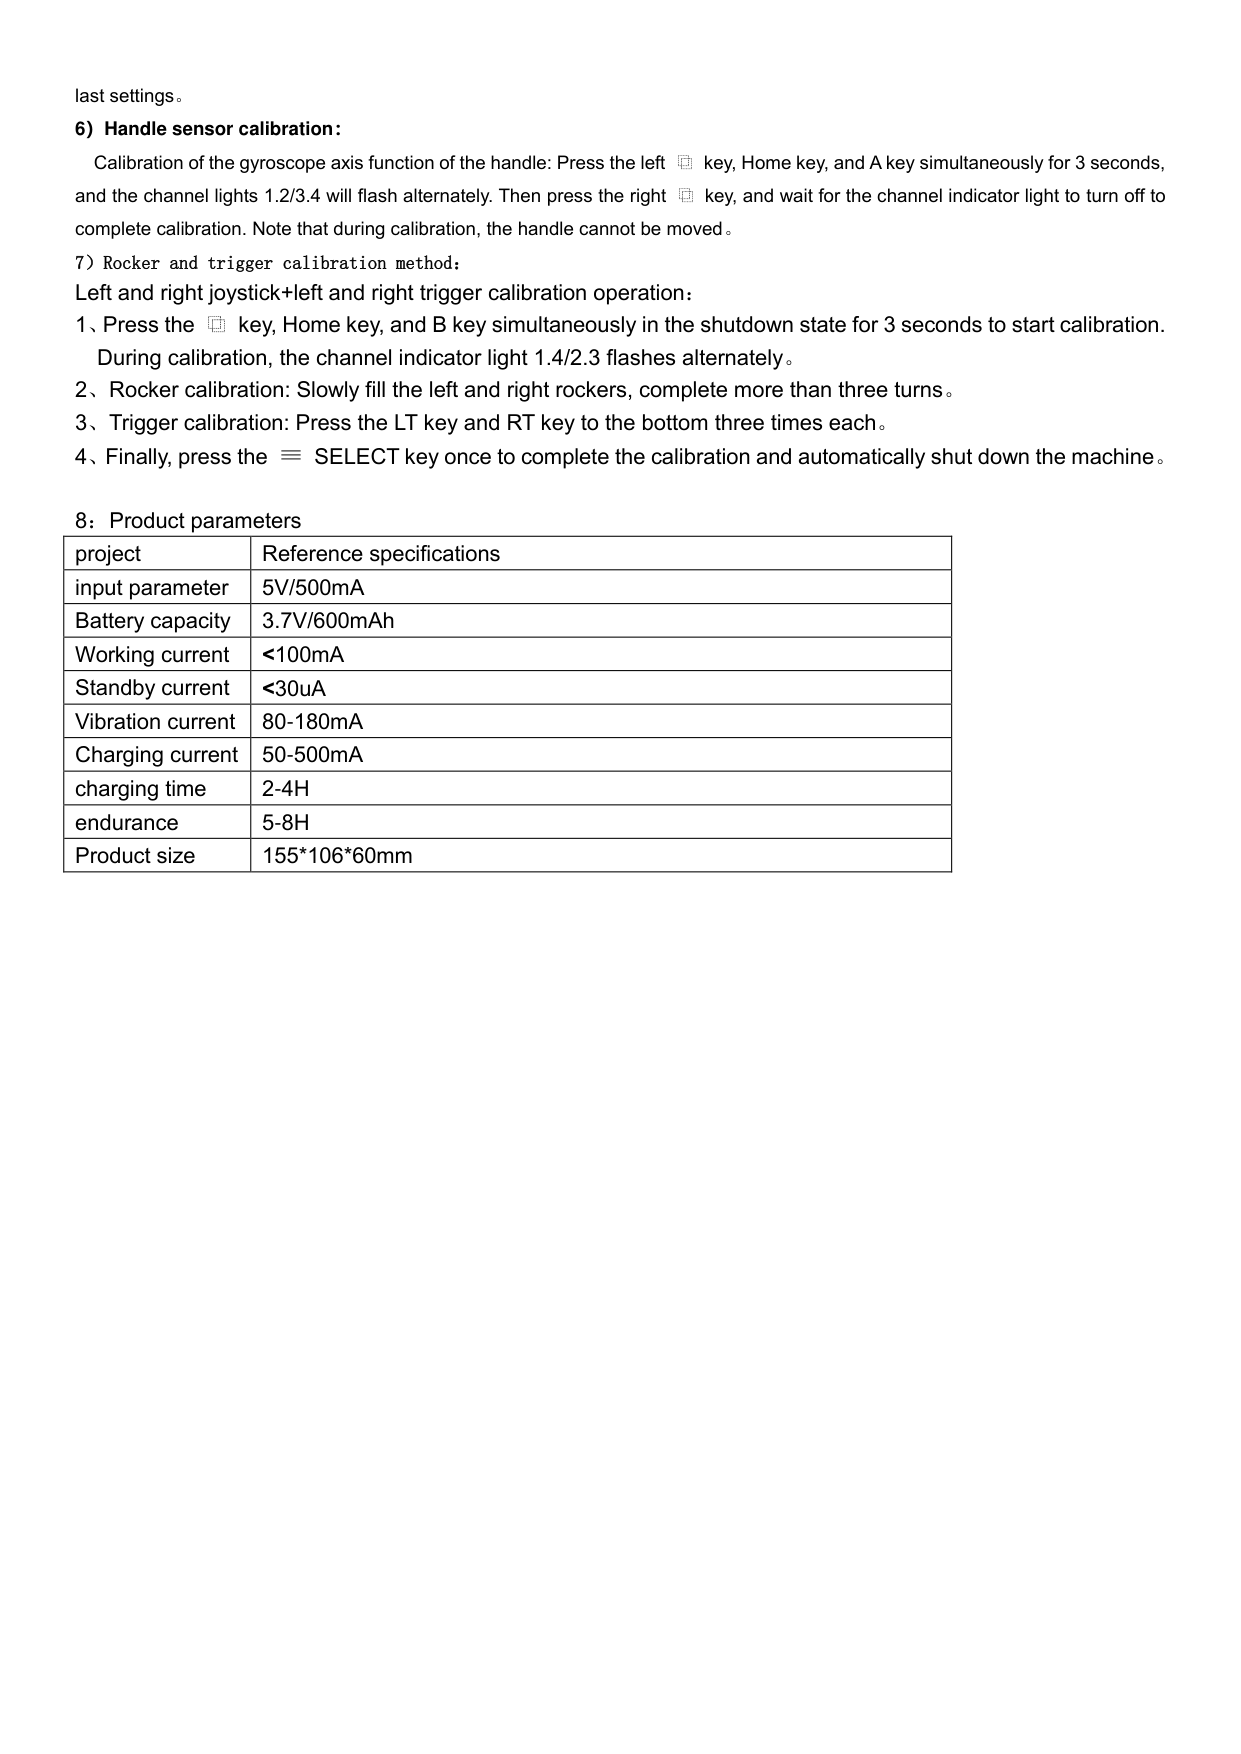
8:Product parameters
|project|Reference specifications| |---|---| |input parameter|5V/500mA| |Battery capacity|3.7V/600mAh| |Working current|<100mA| |Standby current|<30uA| |Vibration current|80-180mA| |Charging current|50-500mA| |charging time|2-4H| |endurance|5-8H| |Product size|155*106*60mm|
This device complies with part 15 of the FCC Rules. Operation is subject to the following two conditions: (1) This device may not cause harmful interference, and (2) this device must accept any interference received, including interference that may cause undesired operation.
Any Changes or modifications not expressly approved by the party responsible for compliance could void the user's authority to operate the equipment.
Note: This equipment has been tested and found to comply with the limits for a Class B digital device, pursuant to part 15 of the FCC Rules. These limits are designed to provide reasonable protection against harmful interference in a residential installation. This equipment generates uses and can radiate radio frequency energy and, if not installed and used in accordance with the instructions, may cause harmful interference to radio communications. However, there is no guarantee that interference will not occur in a particular installation. If this equipment does cause harmful interference to radio or television reception, which can be determined by turning the equipment off and on, the user is encouraged to try to correct the interference by one or more of the following measures:
