
HP Laserjet M1522 Multifunction Printer
Ask AI
— answers from the official manualAnswers from the official manual.
Common questions
Common Questions
10 totalHow do I use the flatbed scanner correctly?
Ensure that automatic document feeder contains no media before laying original face-down on flatbed aligning top-left corner to indicated icon and closing lid gently. Press Start Copy thereafter to commence scanning/copying procedure. (Page 2)
How do I copy a document using the ADF?
Place your documents face-up in the automatic document feeder input tray. Adjust the media guides to fit snugly against the document edges and press Start Copy on the control panel to start copying. (Page 1)
How do I scan a single-sided original using the flatbed?
Ensure there is no media in the ADF, then place your document face-down on the flatbed scanner with the top-left corner aligned to the icon marker and close the lid. Press Start Copy to begin the scan or copy job. (Page 2)
How do I set up automatic collation for my copies?
Press Setup on the control panel, use the arrow buttons to navigate to and select 'Copy setup', then choose and save 'Def. Collation' as either On or Off as per your preference. (Page 4)
How can I copy double-sided documents manually?
After setting the multiple-page flatbed copy to On, load each page consecutively on the scanner and press Start Copy for each side of every document. End by pressing Start Copy again when all pages are done to reset the printer. (Pages 5-6)
How do I copy onto special paper such as labels or transparencies?
Load your documents into the document feeder tray with the initial page facing up and leading in. Alternatively, feed special media directly to the priority input tray if it is supported by this model. (Page 8)
Full Manual
13 pages
Copy using the automatic document feeder (ADF)
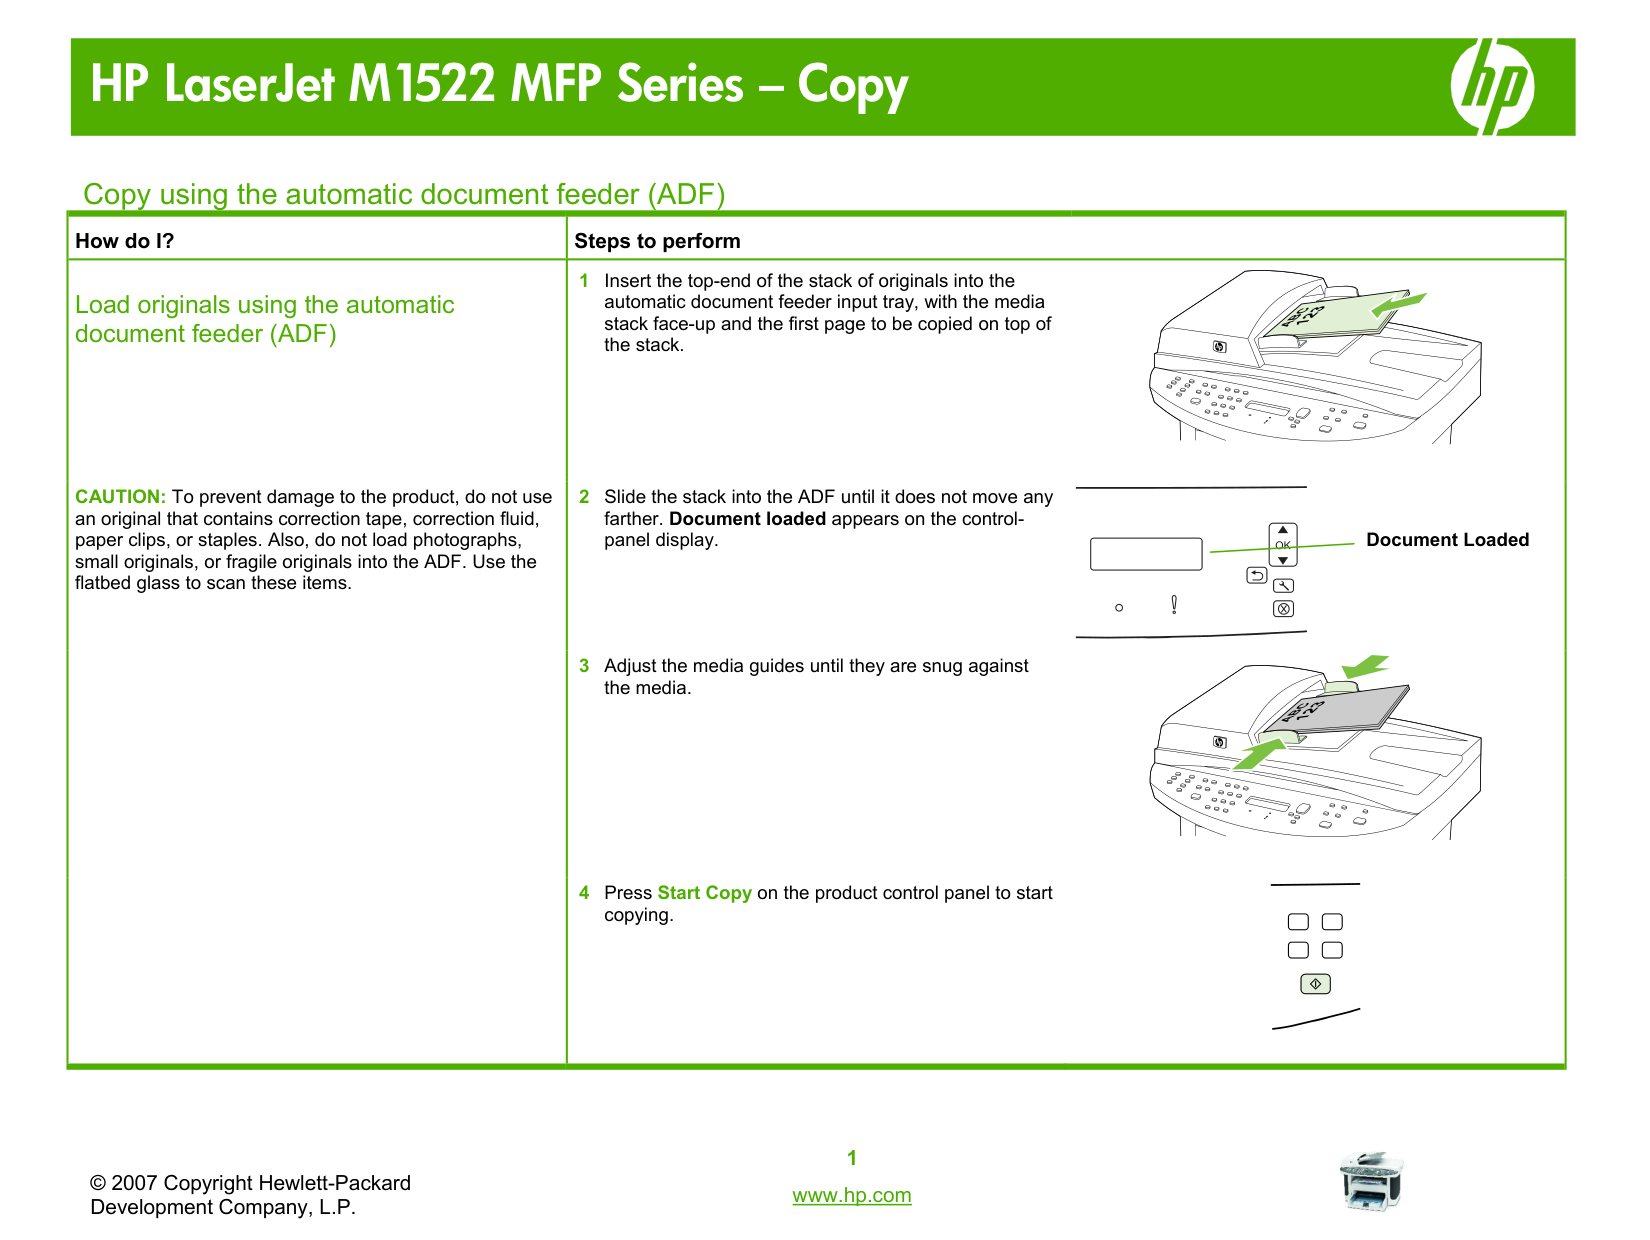
|How do I?|Steps to perform| |---|---| |Load originals using the automatic document feeder (ADF)
CAUTION: To prevent damage to the product, do not use an original that contains correction tape, correction fluid, paper clips, or staples. Also, do not load photographs, small originals, or fragile originals into the ADF. Use the flatbed glass to scan these items.|1 Insert the top-end of the stack of originals into the automatic document feeder input tray, with the media stack face-up and the first page to be copied on top of the stack.
2 Slide the stack into the ADF until it does not move any farther. Document loaded appears on the controlpanel display.
3 Adjust the media guides until they are snug against the media.
4 Press Start Copy on the product control panel to start copying.
|
Copy using the flatbed scanner
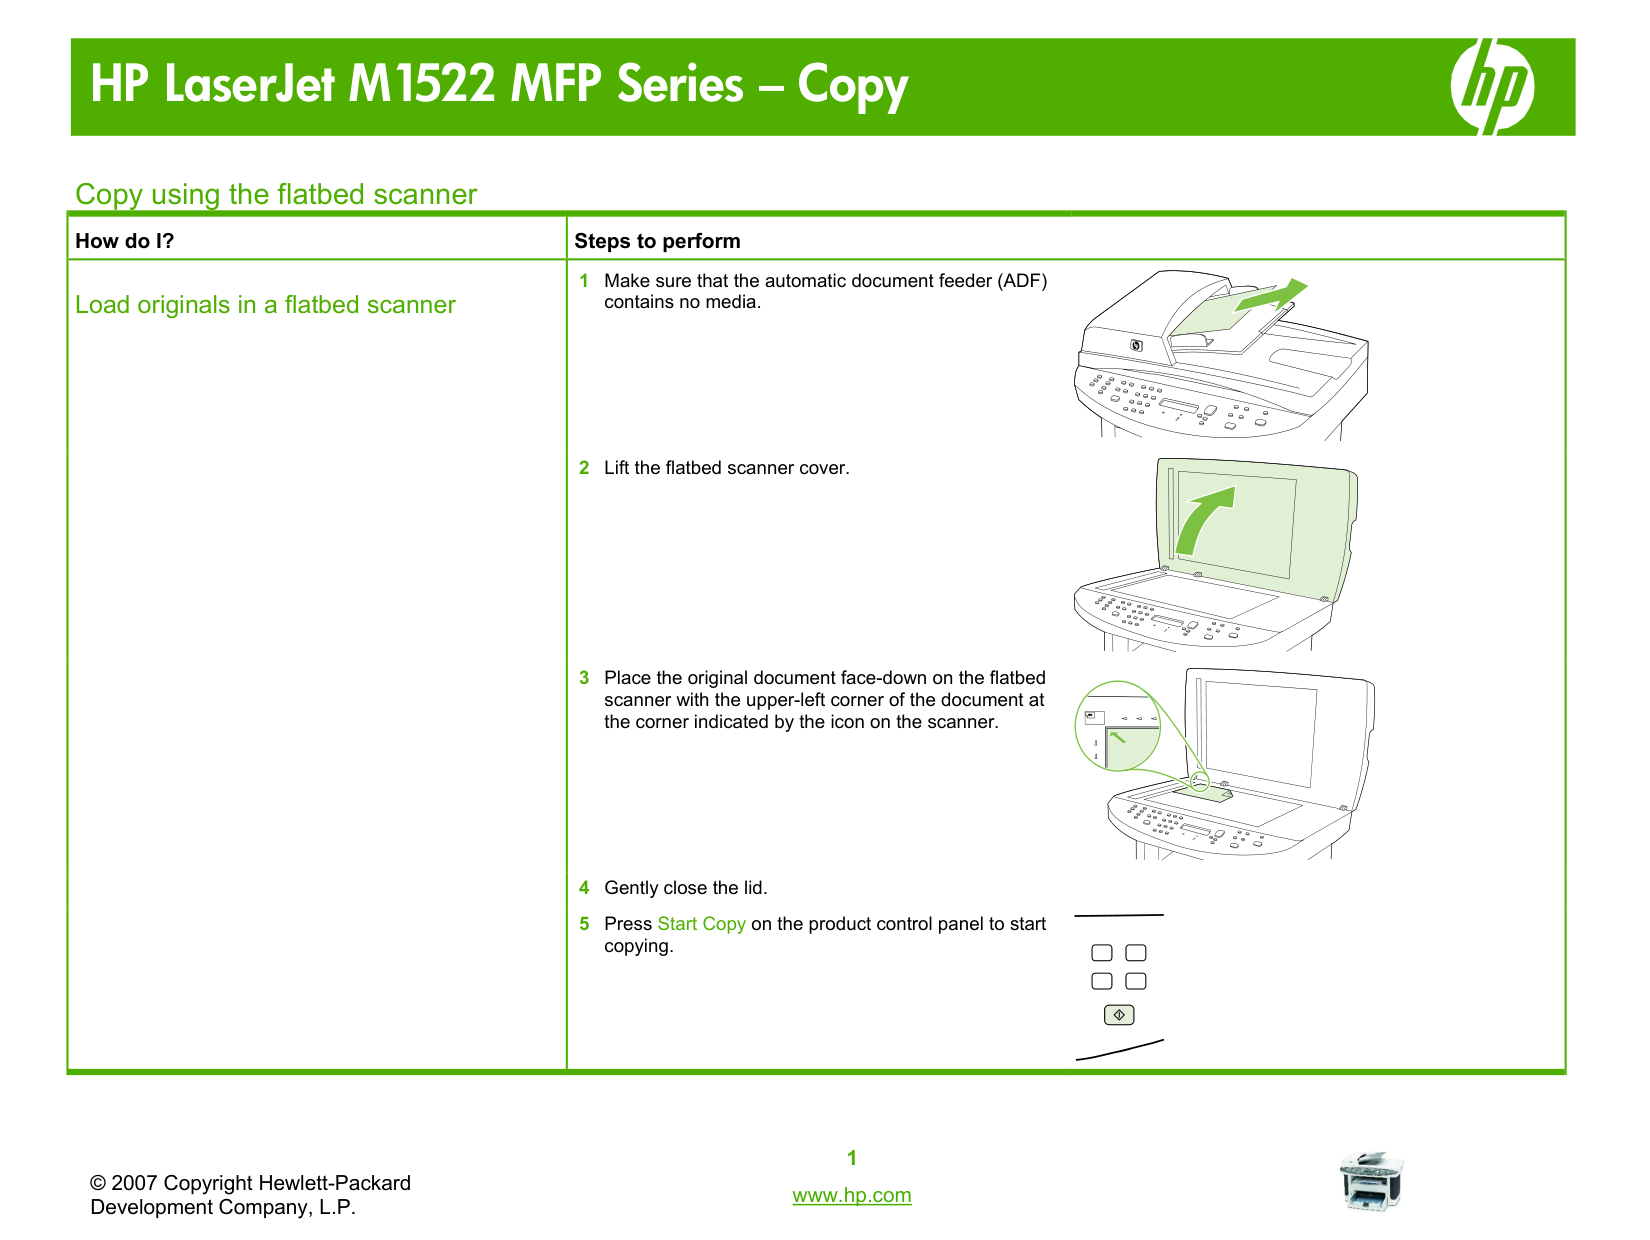
|How do I?|Steps to perform| |---|---| |Load originals in a flatbed scanner
|1 Make sure that the automatic document feeder (ADF) contains no media.
2 Lift the flatbed scanner cover.
3 Place the original document face-down on the flatbed scanner with the upper-left corner of the document at the corner indicated by the icon on the scanner.
4 Gently close the lid.
5 Press Start Copy on the product control panel to start copying.
|
Collate my copy job
|How do I?|Steps to perform| |---|---|
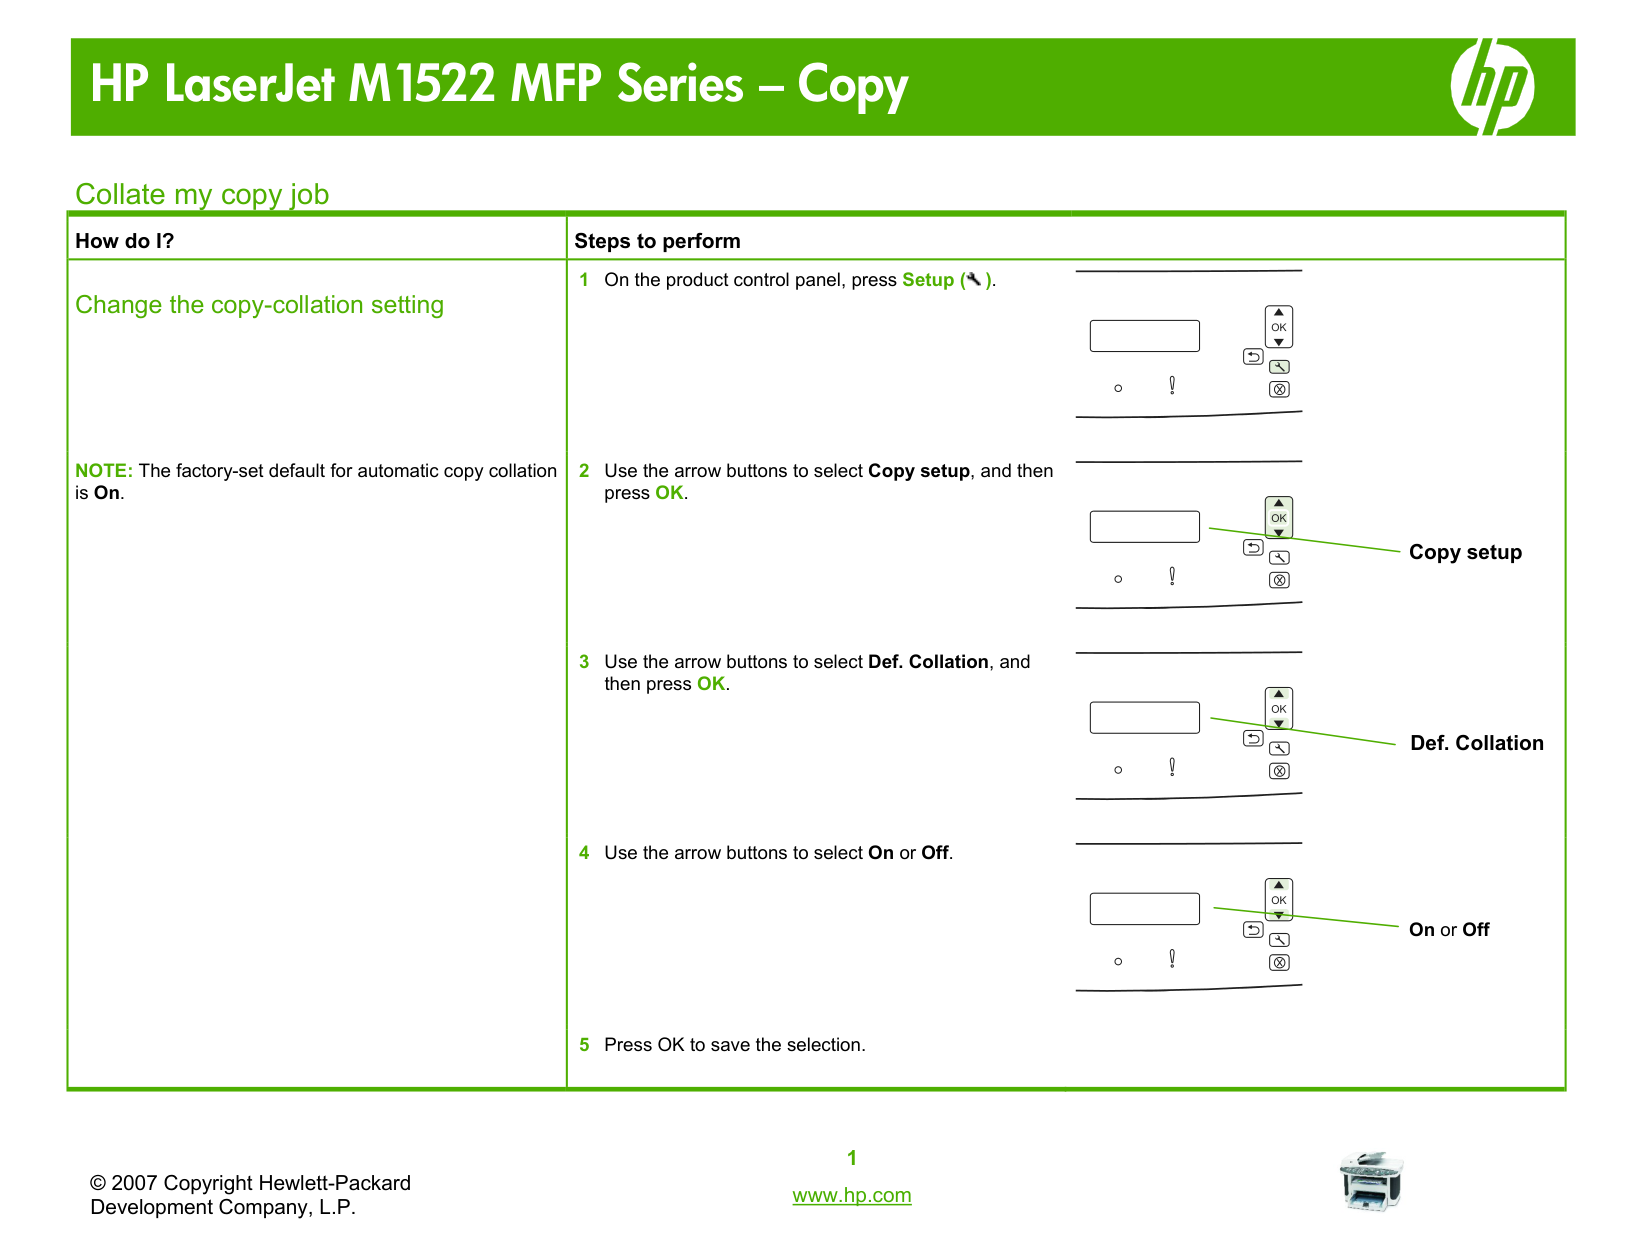
|Change the copy-collation setting
NOTE: The factory-set default for automatic copy collation is On.
|1 On the product control panel, press Setup ( ).

2 Use the arrow buttons to select Copy setup, and then press OK.
3 Use the arrow buttons to select Def. Collation, and then press OK.
4 Use the arrow buttons to select On or Off.
5 Press OK to save the selection.
|
Copy on both sides (Duplex)
|How do I?|Steps to perform|
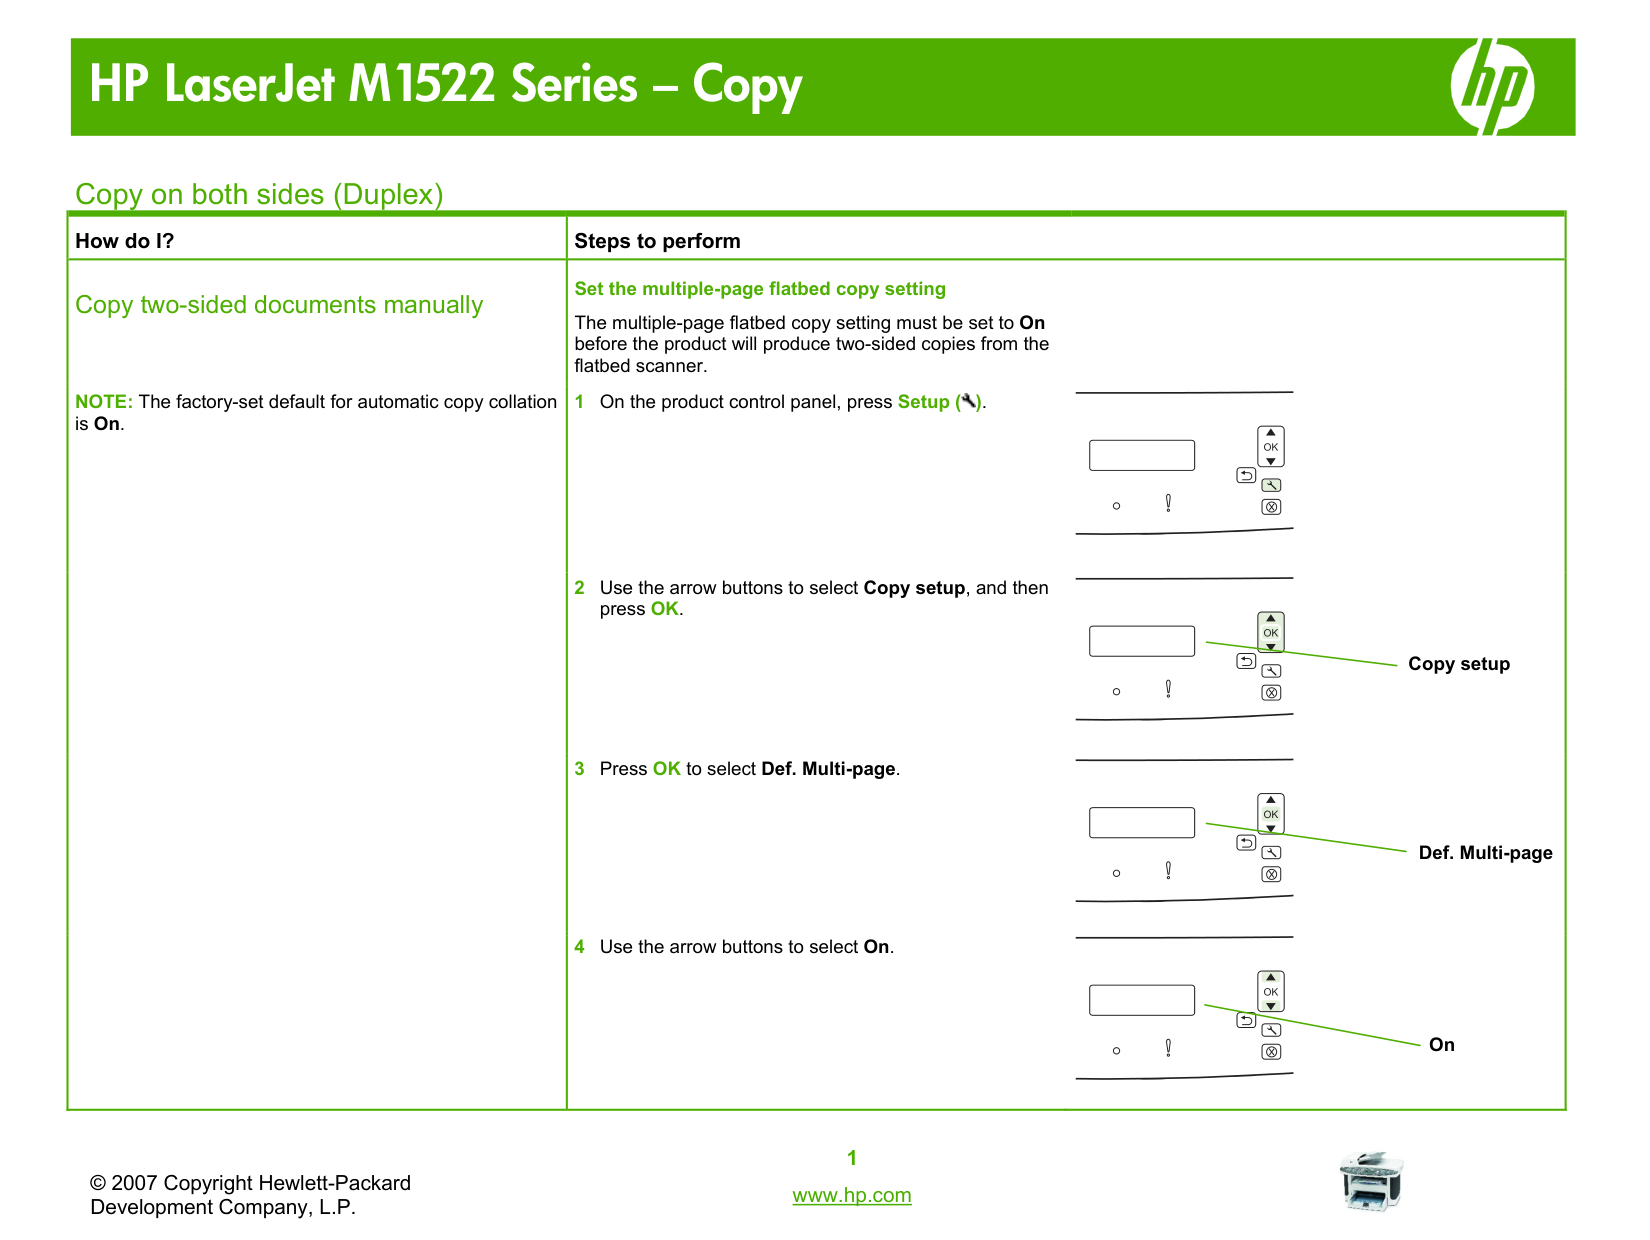
|---|---| |Copy two-sided documents manually
NOTE: The factory-set default for automatic copy collation is On.|Set the multiple-page flatbed copy setting
The multiple-page flatbed copy setting must be set to On before the product will produce two-sided copies from the flatbed scanner.
1 On the product control panel, press Setup ( ).

2 Use the arrow buttons to select Copy setup, and then press OK.
3 Press OK to select Def. Multi-page.
4 Use the arrow buttons to select On.
|
|How do I?|Steps to perform| |---|---|
|Copy two-sided documents manually (continued)
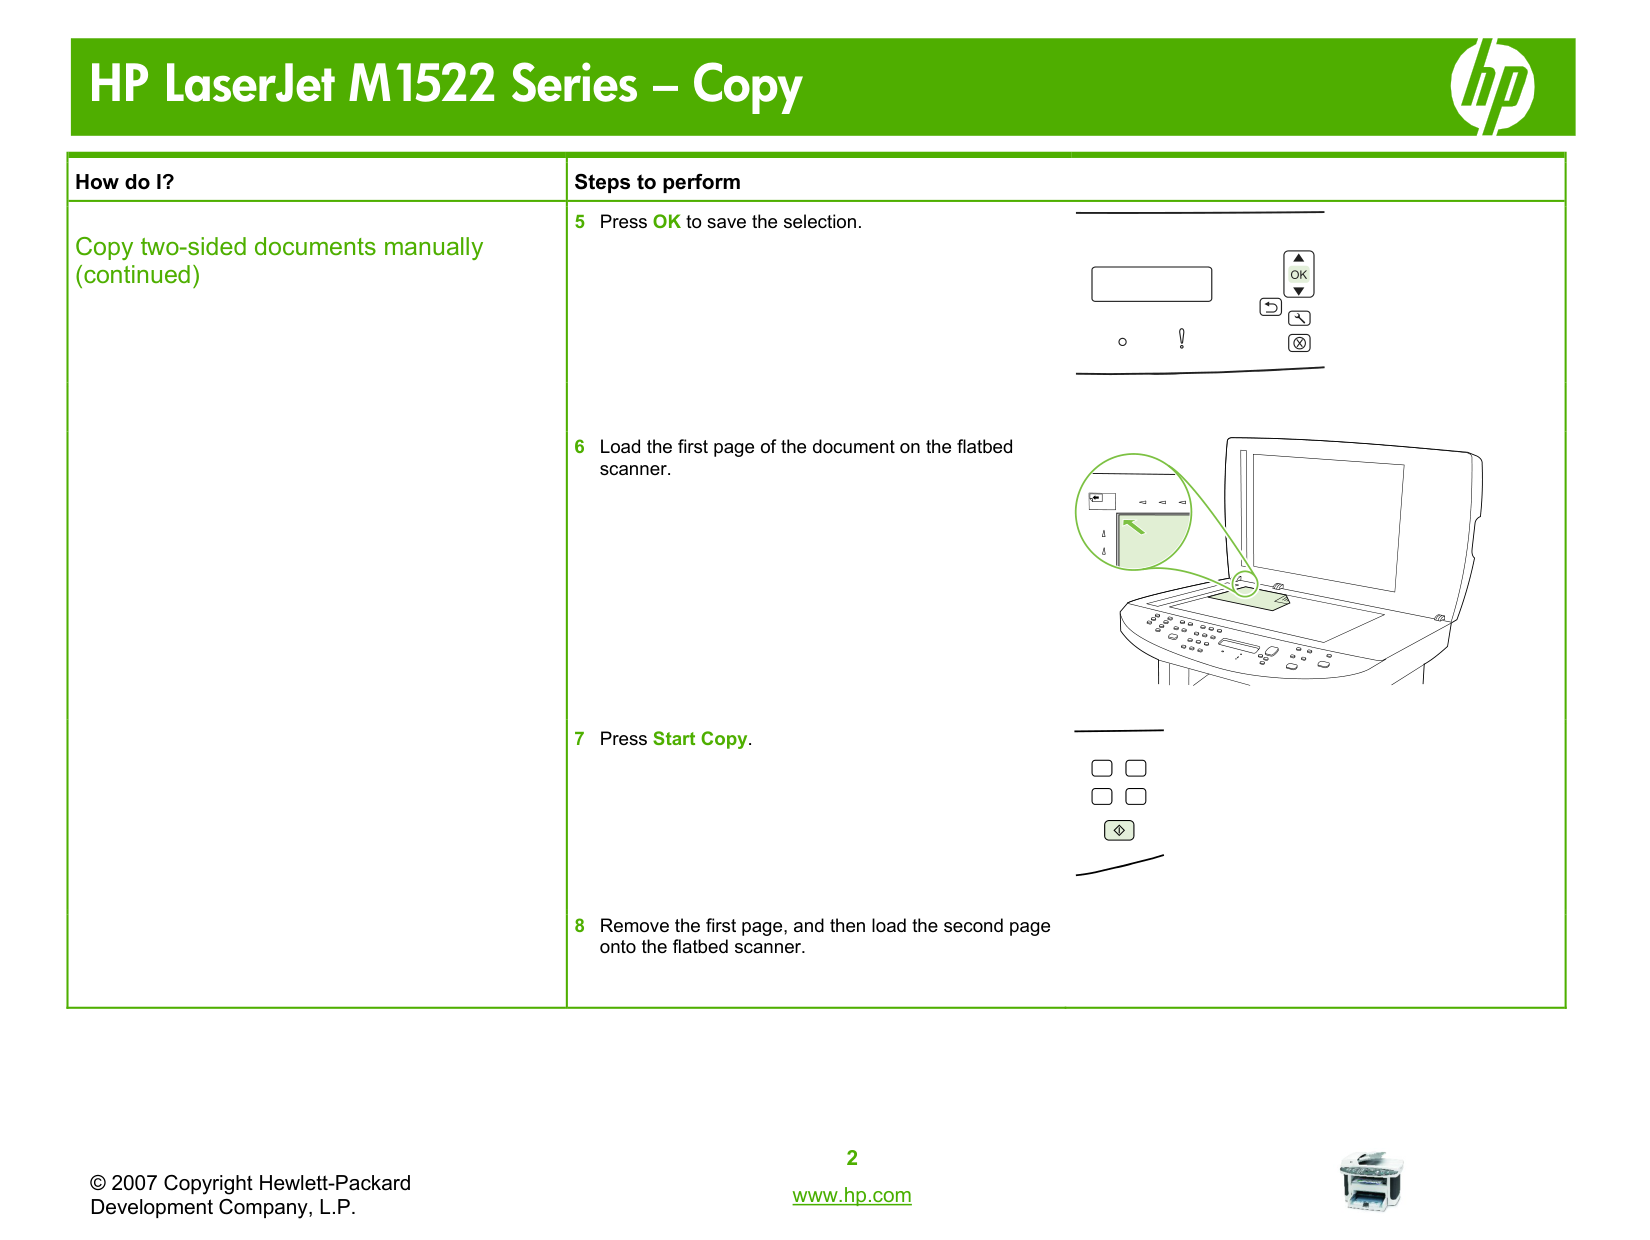
|5 Press OK to save the selection.
6 Load the first page of the document on the flatbed scanner.
7 Press Start Copy.
8 Remove the first page, and then load the second page onto the flatbed scanner.
|
|How do I?|Steps to perform| |---|---| |Copy two-sided documents manually (continued)
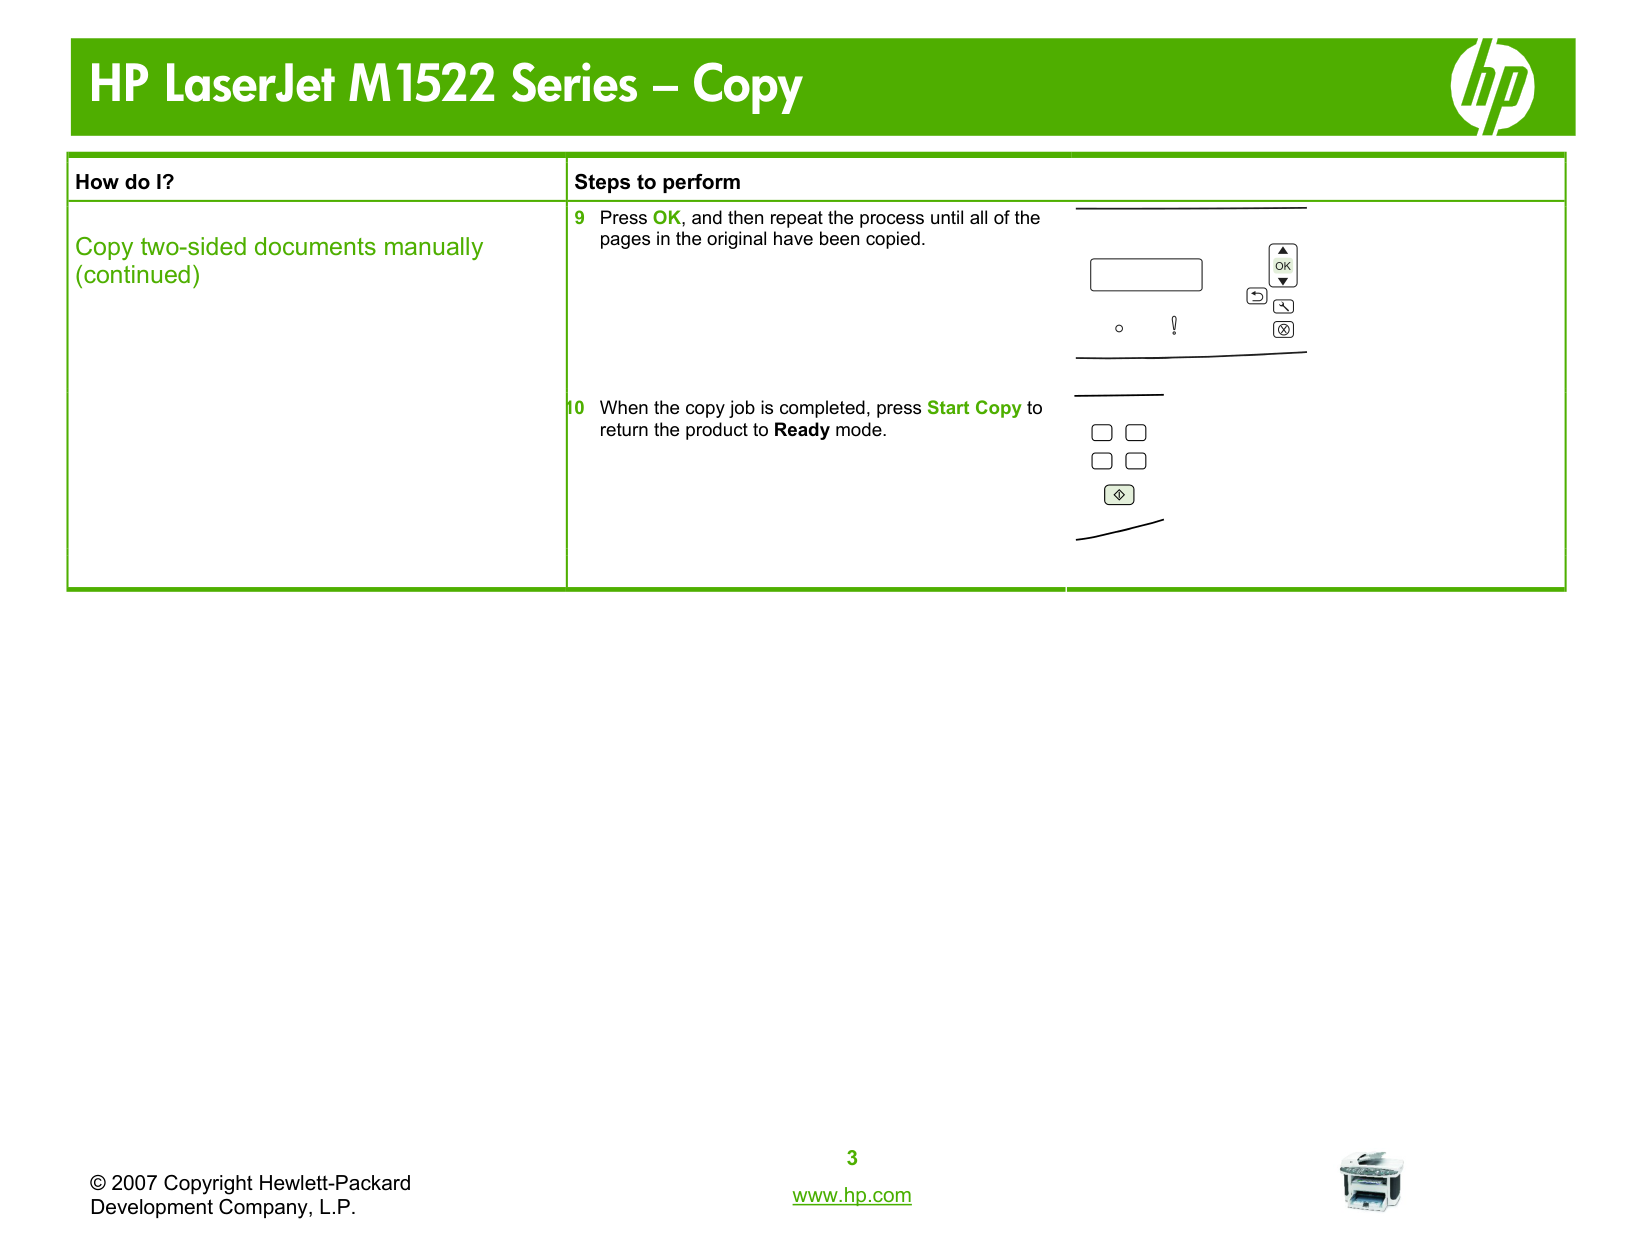
|9 Press OK, and then repeat the process until all of the pages in the original have been copied.
10 When the copy job is completed, press Start Copy to return the product to Ready mode.
|

Copy on special paper, labels, or transparencies
|How do I?|Steps to perform| |---|---|
|Copy on special paper, labels, or transparencies|1 Load the documents to be copied into the document feeder input tray with the first page facing up, and with the top of the page leading into the document feeder.
-Or-
2 Load the special media into the priority input tray or tray 1.
| | |Change the default media-size setting
3 On the product control panel, press Setup ( ).

4 Use the arrow buttons to select System setup, and then press OK.
|
|How do I?|Steps to perform| |---|---|
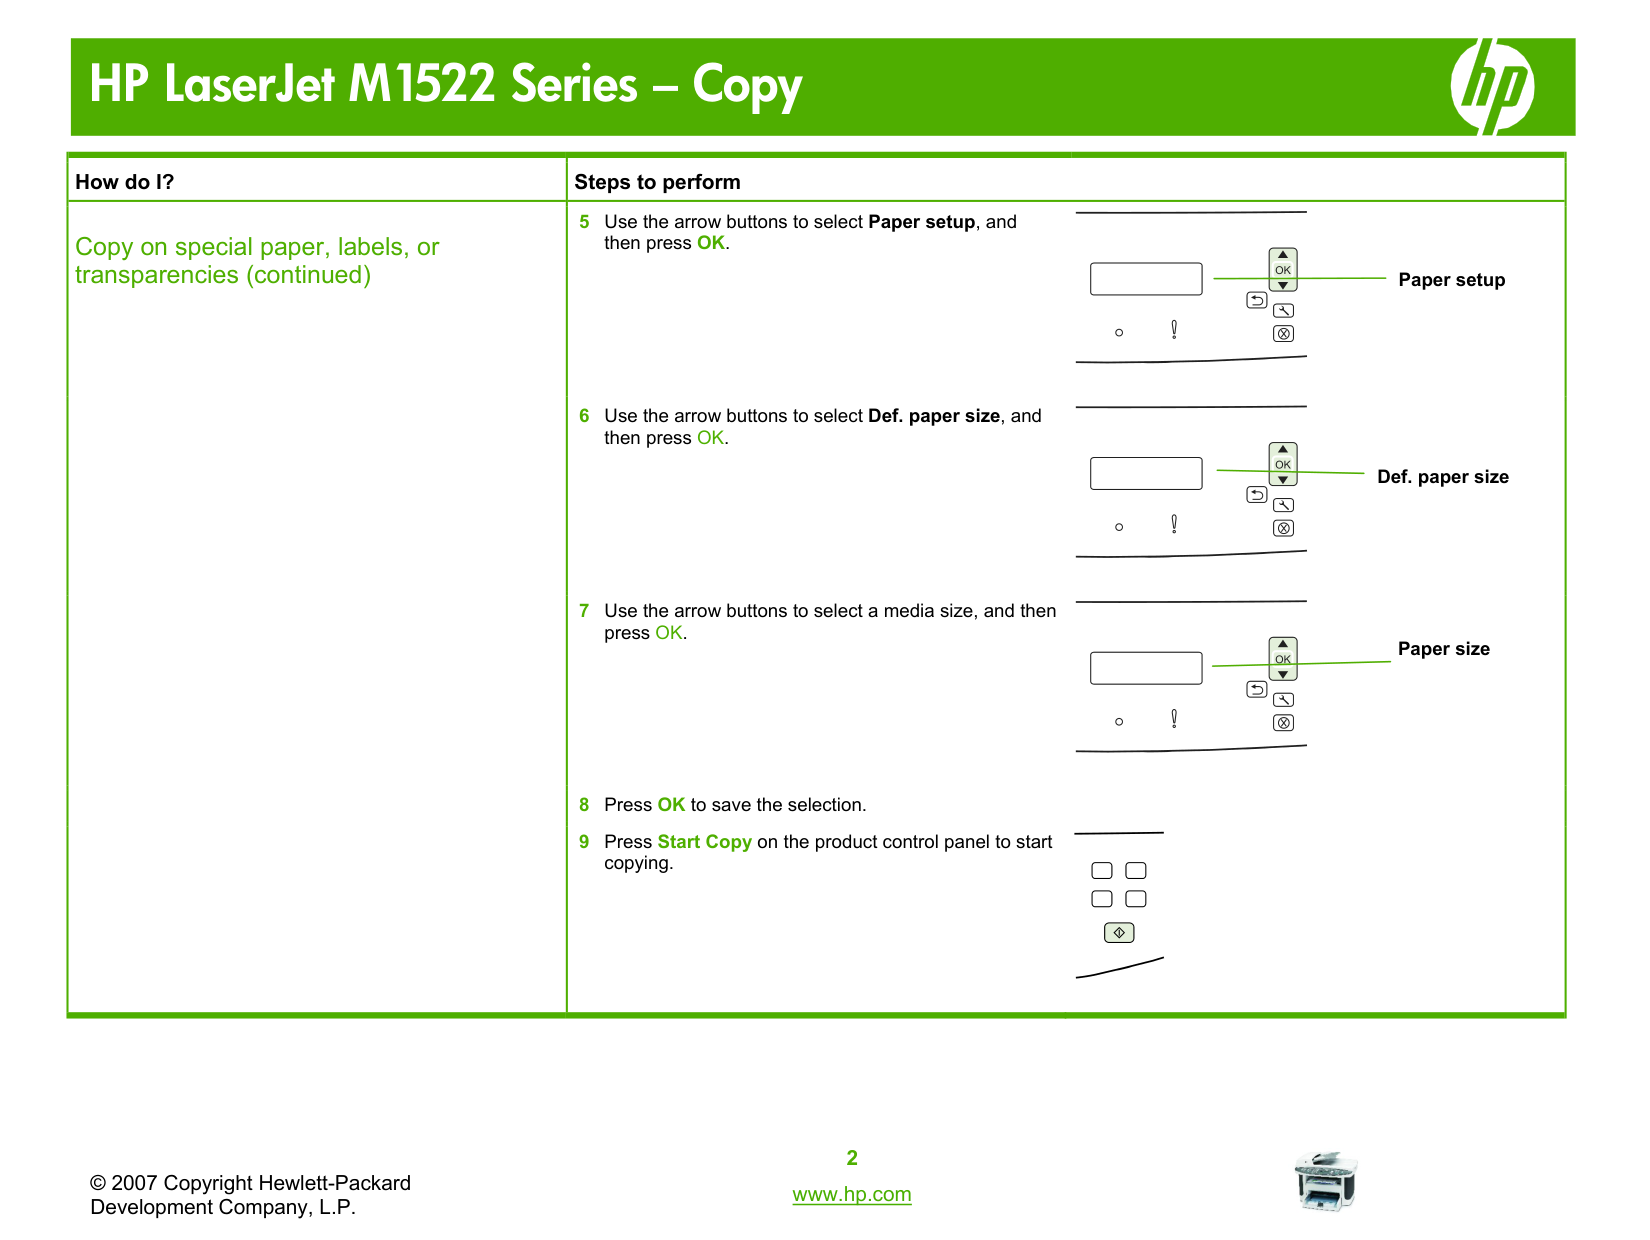
|Copy on special paper, labels, or transparencies (continued)|5 Use the arrow buttons to select Paper setup, and then press OK.
6 Use the arrow buttons to select Def. paper size, and then press OK.
7 Use the arrow buttons to select a media size, and then press OK.
8 Press OK to save the selection.
9 Press Start Copy on the product control panel to start copying.
|
Copy on pre-printed letterhead or forms
|How do I?|Steps to perform|
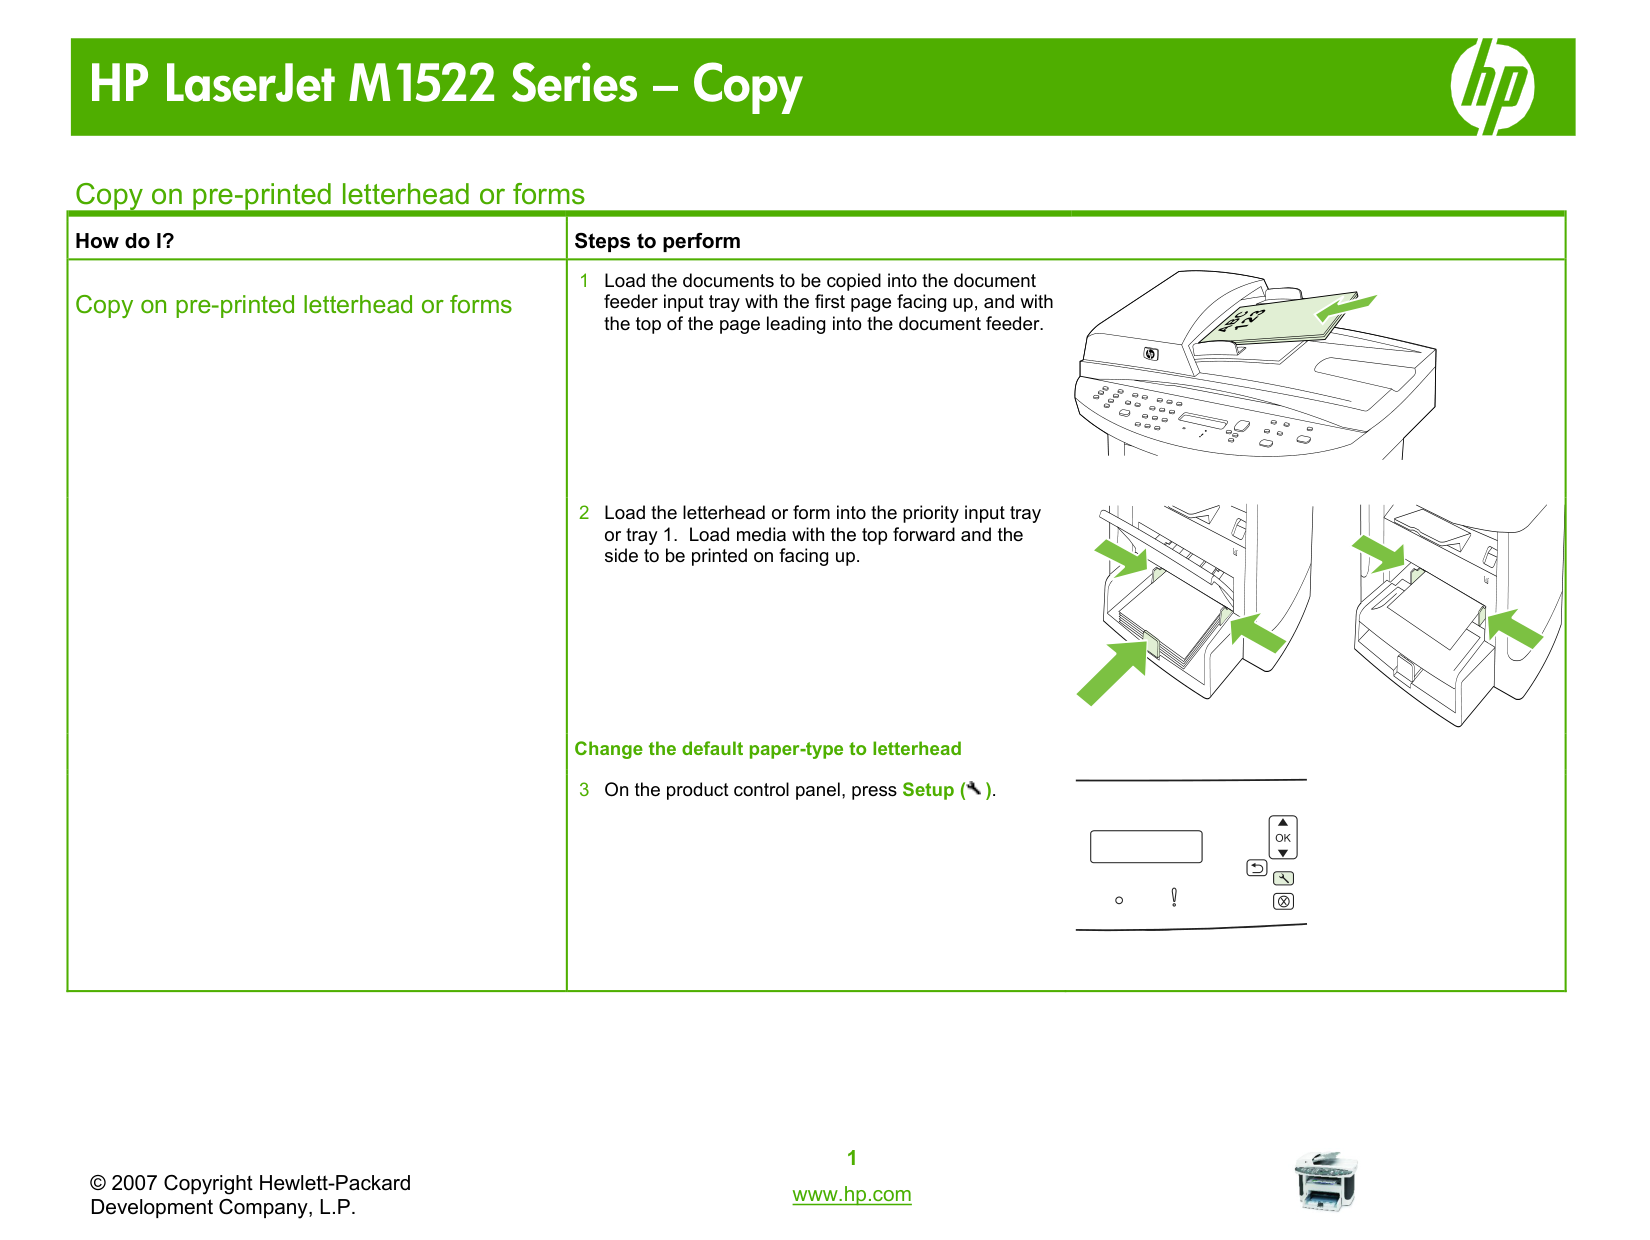
|---|---| |Copy on pre-printed letterhead or forms|1 Load the documents to be copied into the document feeder input tray with the first page facing up, and with the top of the page leading into the document feeder.
2 Load the letterhead or form into the priority input tray or tray 1. Load media with the top forward and the side to be printed on facing up.
Change the default paper-type to letterhead
3 On the product control panel, press Setup ( ).

|
|How do I?|Steps to perform| |---|---|
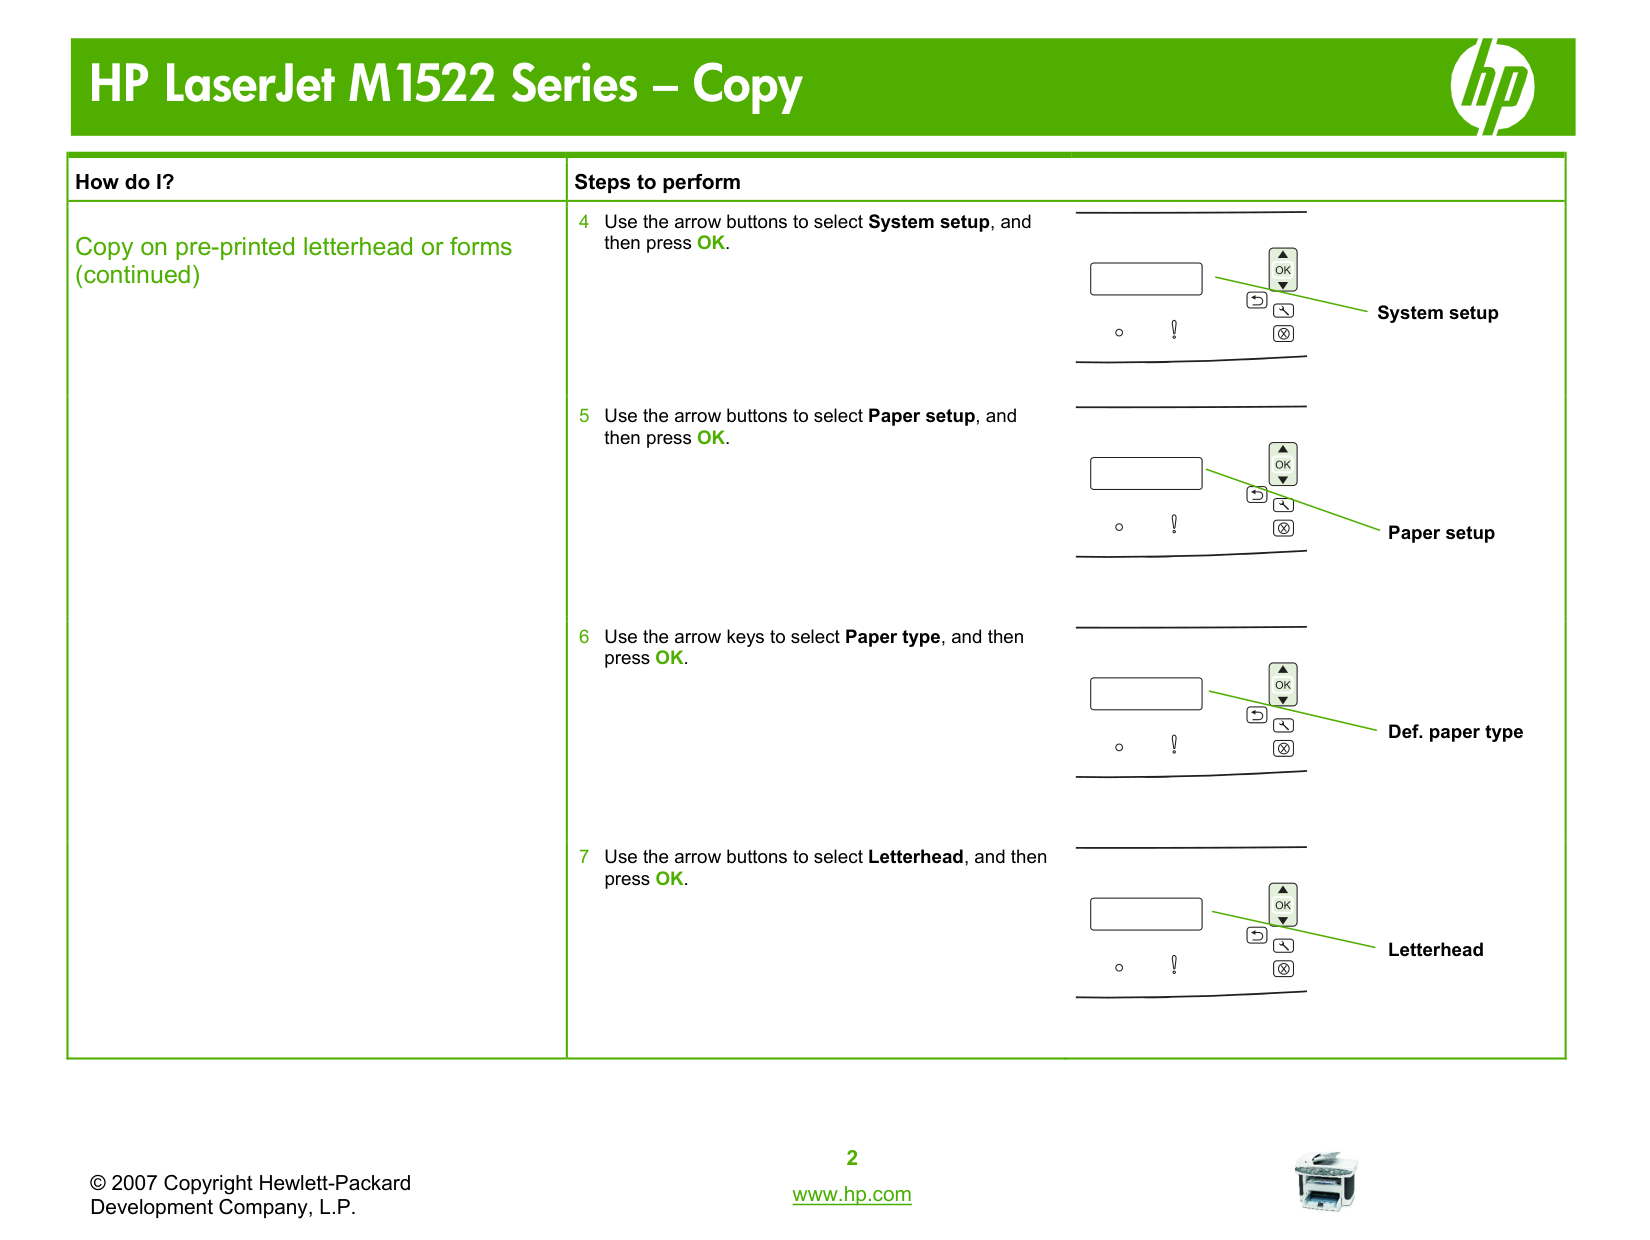
|Copy on pre-printed letterhead or forms (continued)|4 Use the arrow buttons to select System setup, and then press OK.
5 Use the arrow buttons to select Paper setup, and then press OK.
6 Use the arrow keys to select Paper type, and then press OK.
7 Use the arrow buttons to select Letterhead, and then press OK.
|
|How do I?|Steps to perform| |---|---| |Copy on pre-printed letterhead or forms (continued)
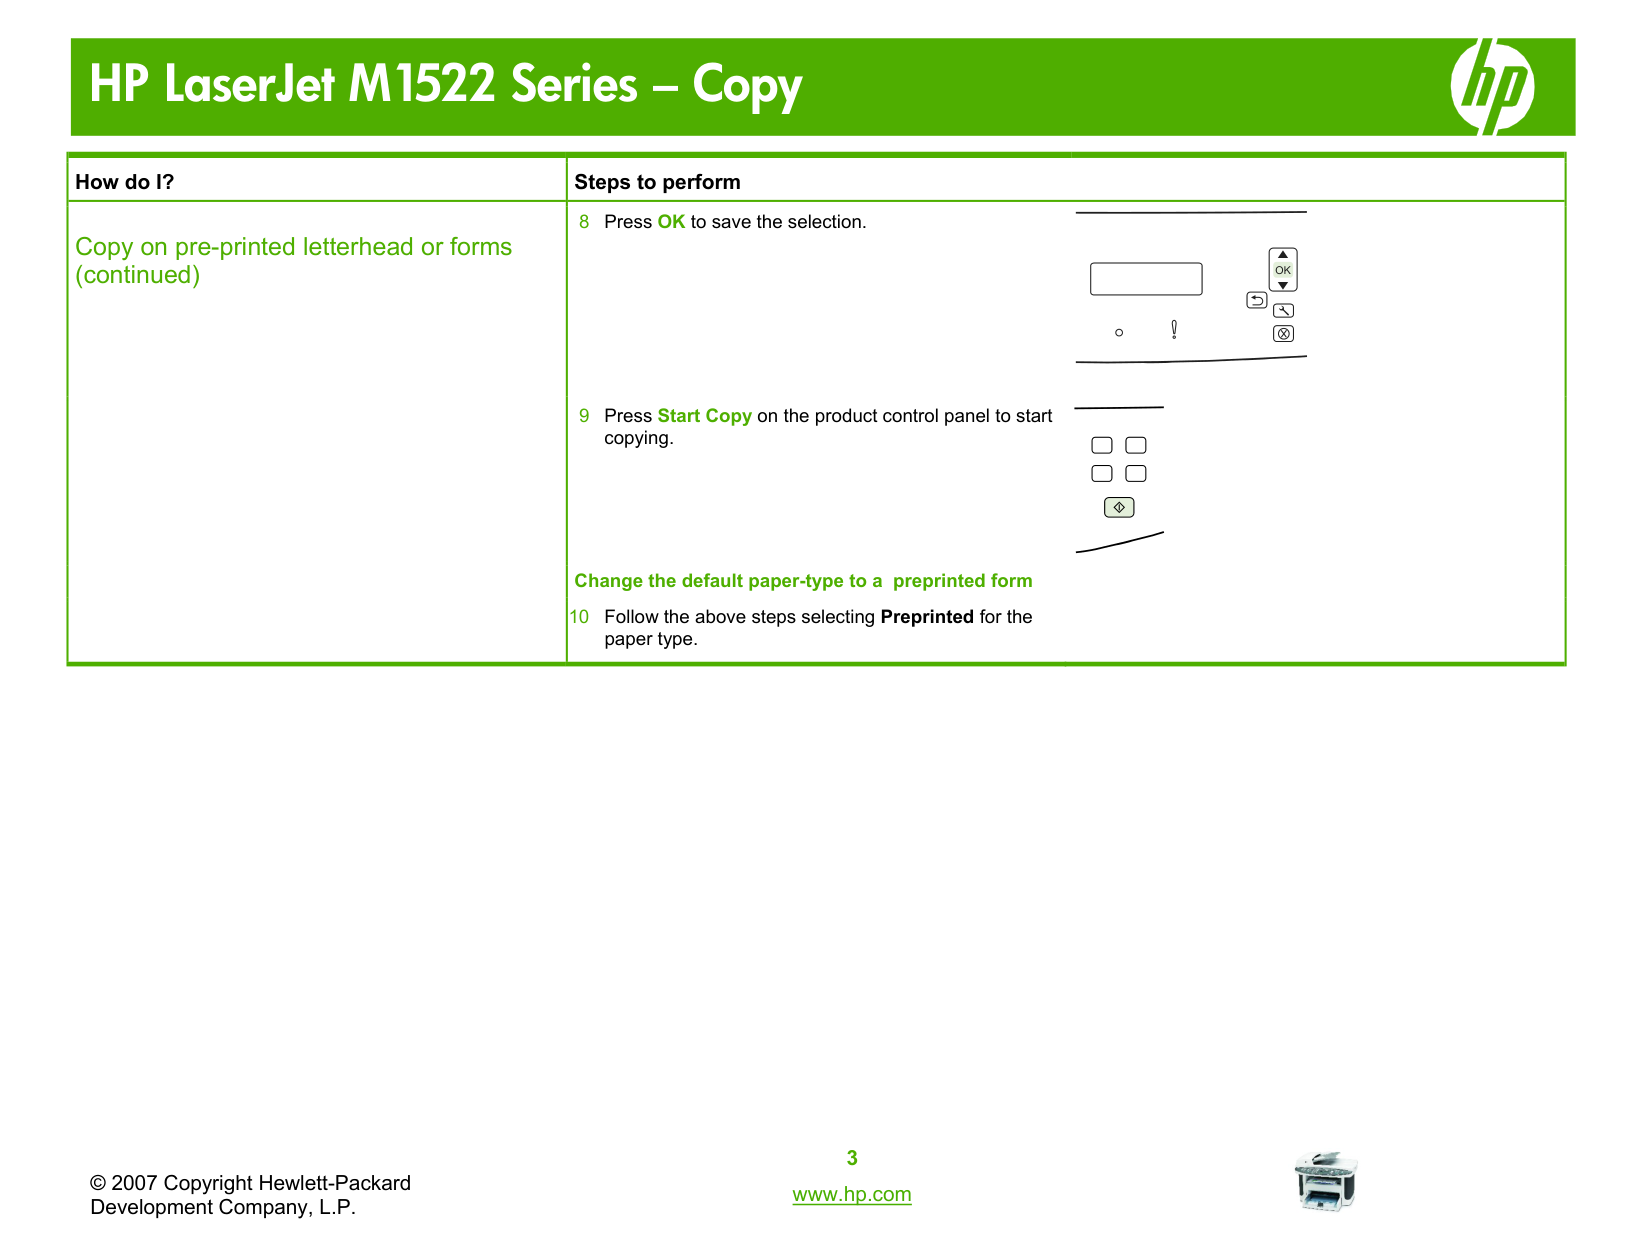
|8 Press OK to save the selection.
9 Press Start Copy on the product control panel to start copying.
Change the default paper-type to a preprinted form
10 Follow the above steps selecting Preprinted for the paper type.
|
Make my copy look better
|How do I?|Steps to perform| |---|---|
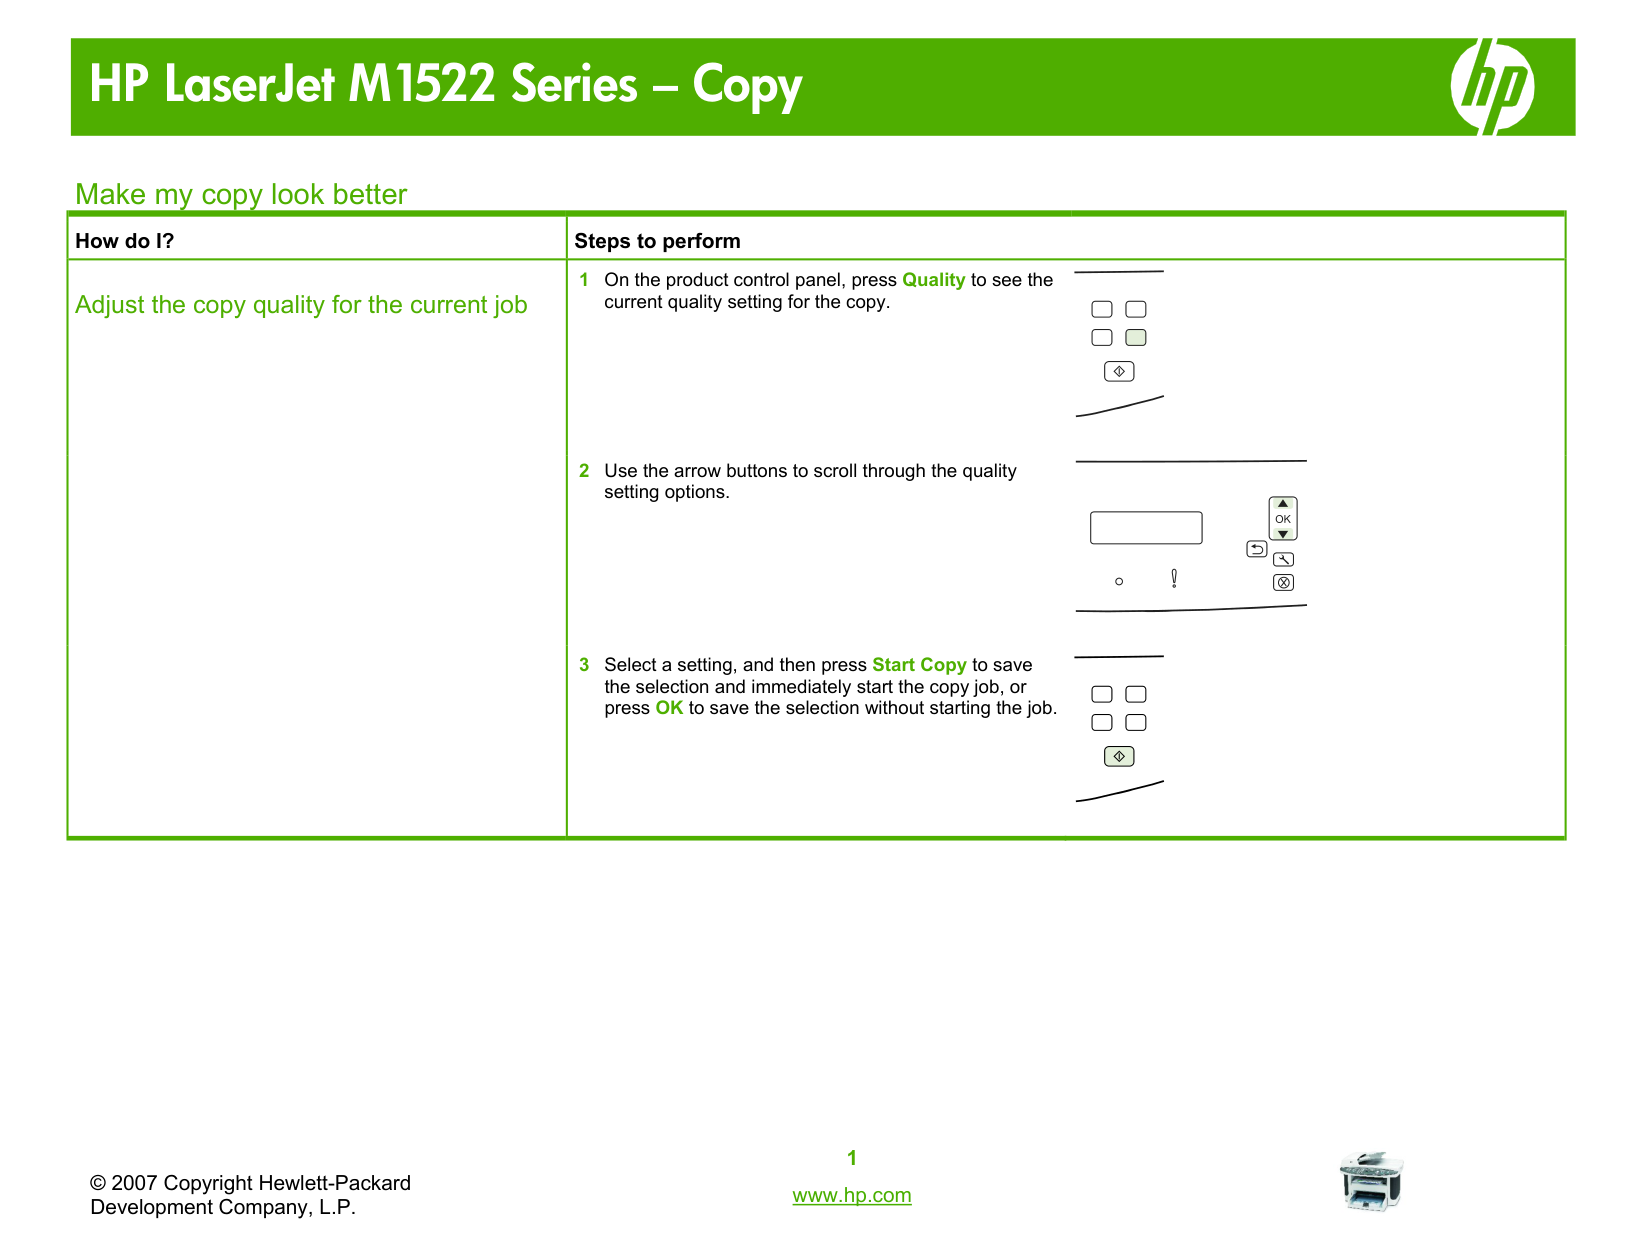
|Adjust the copy quality for the current job|1 On the product control panel, press Quality to see the current quality setting for the copy.
2 Use the arrow buttons to scroll through the quality setting options.
3 Select a setting, and then press Start Copy to save the selection and immediately start the copy job, or press OK to save the selection without starting the job.
|
Reduce or enlarge the image
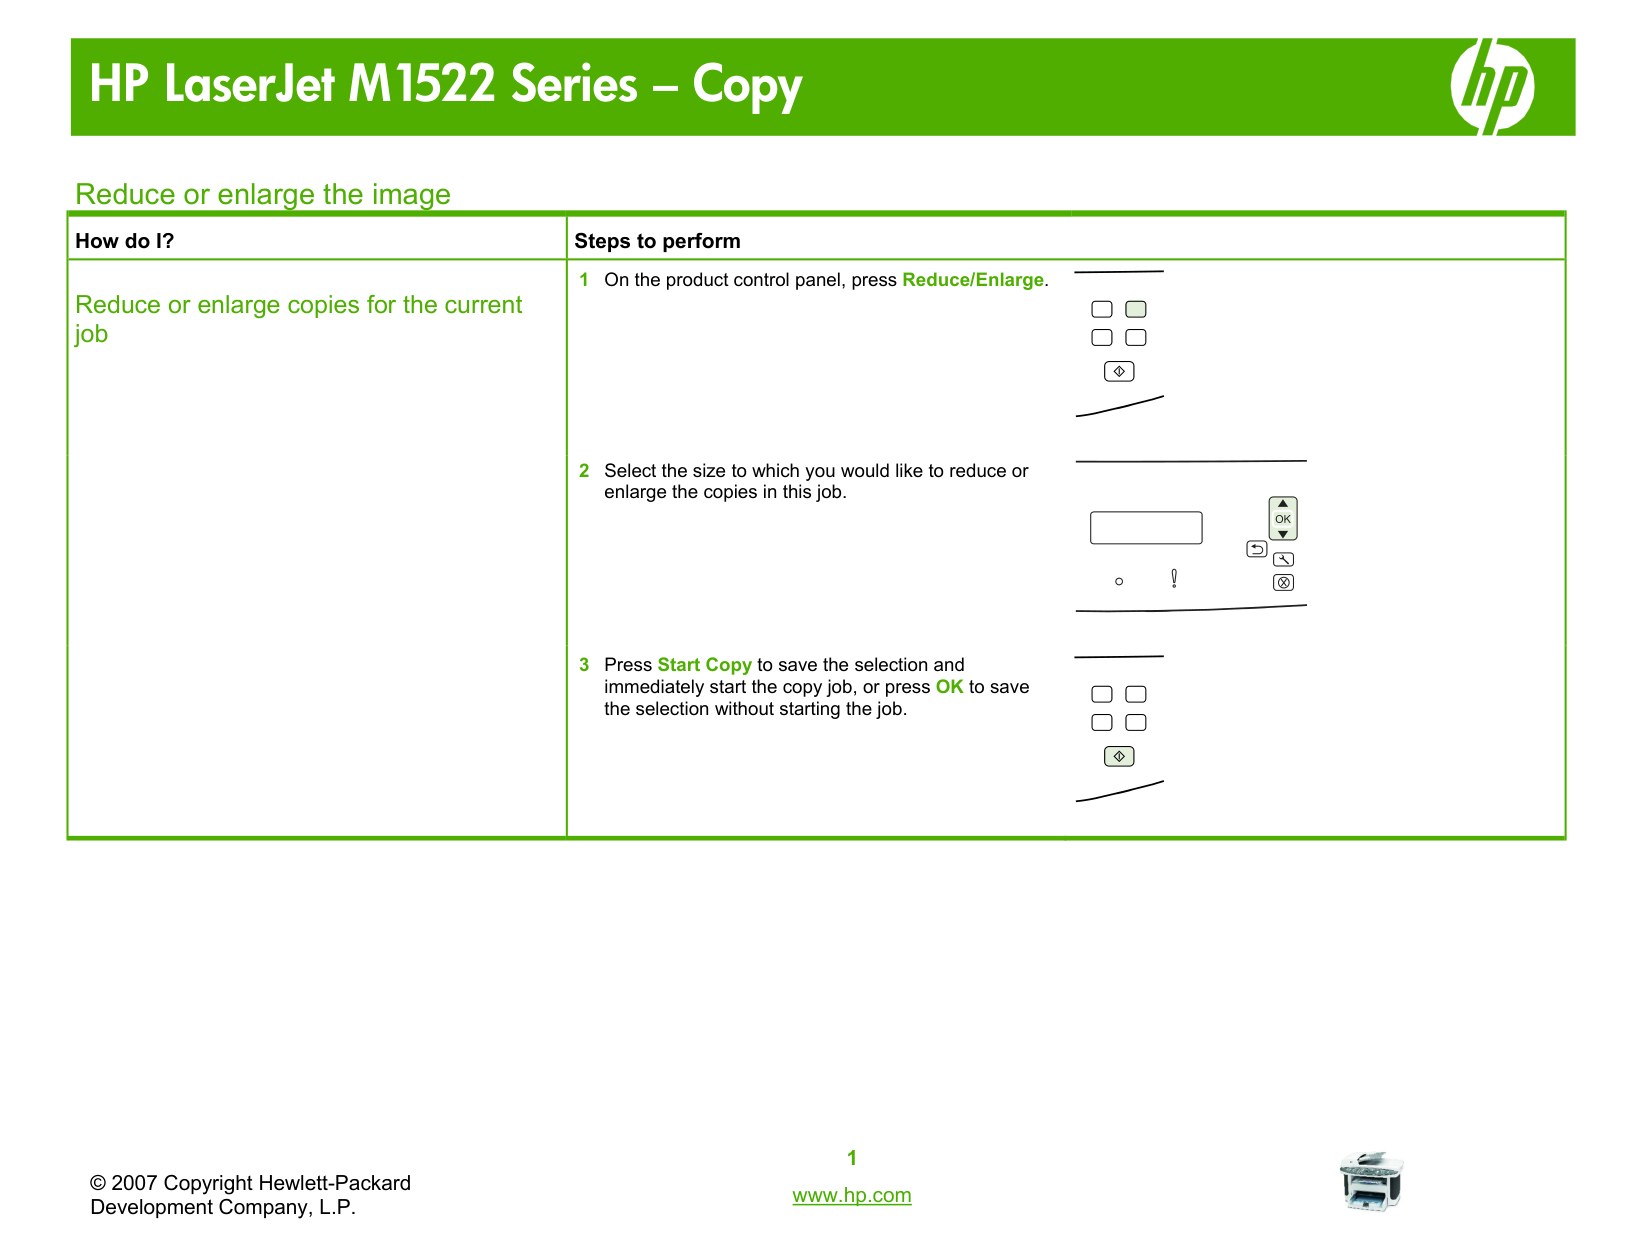
|How do I?|Steps to perform| |---|---| |Reduce or enlarge copies for the current job|1 On the product control panel, press Reduce/Enlarge.
2 Select the size to which you would like to reduce or enlarge the copies in this job.
3 Press Start Copy to save the selection and immediately start the copy job, or press OK to save the selection without starting the job.
|