
Unihow Hd 6500 Wireless Gaming Controller
Ask AI
— answers from the official manualAnswers from the official manual.
Common questions
Common Questions
12 totalCan I use the controller while it's charging?
Yes, the controller can be used while charging. However, for optimal performance, it's recommended to charge the controller when not in use.
What devices is the Unihow HD 6500 compatible with?
The controller is compatible with Nintendo Switch, PC, Android, and iOS devices. It supports multiple connection methods including Bluetooth, data cable, and 2.4GHz adapter (sold separately).
手柄如何与苹果设备连接?
同时长按手柄“A”和“HOME”按钮约两秒后,LED灯将以快速闪烁方式进入蓝牙设备搜索界面。成功配对后指示灯变为常亮。
如何自动唤醒Nintendo Switch并连接手柄?
如果之前已通过蓝牙与Switch主机成功连接过,则下次开机时仅需按下控制器“HOME”键1秒钟,手柄将自动回连。
连接安卓设备时需要注意什么?
手柄与特定安卓游戏不支持自适应功能,需要确保所玩游戏本身也兼容手柄操作。
How do I turn on the Unihow HD 6500 controller?
Press and hold the "Home" button for 2 seconds to turn the controller on. The indicator light will illuminate when the controller is powered on successfully.
Show 6 more questions
What should I do if my controller won't power on?
How long does the battery last on a full charge?
How do I pair the controller to my Nintendo Switch via Bluetooth?
What does it mean when the LED is flashing rapidly?
What does it mean when the LED is flashing slowly?
How do I reset the controller if the buttons are unresponsive?
Full Manual
2 pages
连接Windows电脑
连接苹果设备 通过蓝牙连接
多功能switch无线控制器 方法二:通过有线连接
常见问题
设置方法:
二:休眠
四:方向键与左摇杆功能互换
连接switch
问:我连接不上或者怎么办? 答:请您将手柄关机,重新按照说明书的步骤操作一遍,
方法一:通过有线连接
手柄在没有任何操作使用的情况下,15分钟后自动进入休眠 状态
按住“设置”键不放,再按下“L3”键,可交换左 摇杆与十字键功能,此时“左摇杆”与“十字键” 均可控制8个方向, 重复该操作可切换回原功能
HD-6500手柄使用说明书
TV
+
PC
| | | |---|---| | | |
问:手柄无法控制,死机了怎么办? 答:请按住手柄“HOME键”不放,持续10秒时间,重置手柄;
###### 三:充电
左摇杆下压
USB端口
问:我连接上了却无法操作怎么回事? 答:请确保您按照正确的模式进行连接,若模式正确请参 考下方的问题解答 问:switch平台有些游戏不能玩怎么办? 答:switch平台的有些游戏不支持pro手柄操作,需要您更 换一个游戏即可操作 问:玩switch游戏时会突然弹出重新连接界面怎么办? 答:这个问题有可能是您的Joycon摇杆漂移了,也可能是 您不小心按到了Joycon上面的按键 问:我连接上了手机不能用怎么办? 答:无论是安卓还是苹果游戏,都需要游戏本身支持手柄 功能才可以进行操作,请您下载支持手柄的游戏 问:为什么我的电脑游戏不能用? 答:1.如果是xp系统请您升级到win7及以上系统,同时检 查电脑相关手柄驱动是否正常安装
###### 五:A、B、X、Y功能切换
手柄充电时1-4LED同时慢闪,充满电后LED灯长亮; 有线连接平台使用时,当前模式LED慢闪,满电当前模式 LED长亮
switch主机电视模式
首次使用需先将手柄连接至switch
1.将手柄背面的背键开关拨动到右侧启用背键功能
•
支持HOME键 唤醒switch主机;
通过配件中的数据线直接连接至电脑即可,手柄非满电时 指示灯会闪烁,满电后指示灯变为长亮
先按住“设置”键不放,再按下“R3”键即可更改 交换A与B、X与Y的功能; 重复操作即可回到初始功能设置
+ 右摇杆下压
2.按住“ ”键不放,再按一下ML或MR键,手柄当前模式LED开 始闪烁,表示ML或MR键已进入编程状态,从按下第一个按键 后开始录制储存30秒以内的操作轨迹,录制完毕后再按下ML或 MR键保存编辑; 注:录制超过30秒时会在30秒时切断录制(超过25个按键也会 停止录制),按ML或MR保存30内录制的操作轨迹,超出部分 不予保存。ML默认L键功能,MR默认R键功能 不能超过25个按键,摇杆转动一圈为8个按键
此说明书详细介绍了产品所支持设备的连接方法,以及附带 的各种个性化功能使用操作方法,请详细阅读,相信一定会 为您在游戏中带来不少乐趣;
###### 方法一:通过蓝牙连接
###### 四:低电压报警
•
手柄电量不足时,当前模式指示灯闪烁,表示需要充电; 电量过低后将自动关机,重新充电后可正常开机使用; 长时间放置不用时,建议每隔30天充电一次
连接安卓设备 方法一:通过蓝牙连接
按键说明 Home键
该功能不支持switch平台
手柄
|更改握法/顺序| |---|
搜索手柄
新手柄的配对方法
关闭
①
②
|2| |---|
|3| |---|
|4| |---|
产品参数
切换前键位功能 切换后键位功能
+/start键-/select键
###### 二:Turbo连发功能
###### 六:振动与振动调节
L键 R键
注意事项 使用有线方式连接switch之 前,需要打开PRO手柄的 有线连接功能。打开方式 :设置--手柄与感应器
|产品名称:|无线游戏控制器| |---|---| |产品型号:|HD-6500| |支持平台:|N-Switch/Windows7及以上/Android/iOS/MAC OS| |产品尺寸/重量:|155*105*56mm/200g| |电池信息:|容量:650mAh/输入:DC5V/1A/工作电流:25-35mA| |连接方式:|蓝牙/无线/有线| |接口类型:|USB Type-c| |充电/续航时间:|≈4小时/≈12小时| |特色功能:|左摇杆与方向键功能互换/A与B、X与Y功能互换 编程背键/自动Turbo与频率调节/振动与振动频率调节|
3 4
(调节功能仅适用于N-Switch平台)
L/R/zL/zR A/B/X/Y
+L/R/zL/zRA/B/X/Y
左摇杆 (下压sL)
动作键 右摇杆 (下压sR)
设置
##### +
##### +
按住功能键再按下“T”键两次 即可设置相应按键的自动连发
按住功能键再按下“T”键即可 设置相应按键的连发
方向键
休眠
可加强马达振动频率
可减弱马达振动频率
手柄与感应器
连发键
设置键
--PRO手柄的有线连接,设 置为“开启”即可使用有线连 接switch
关闭:重复操作关闭相应按键 的“TURBO”功能
关闭:重复操作关闭相应按键 的“TURBO”功能
主机
截屏键
按住手柄“B”和“HOME”键2秒,手柄LED1快速闪烁,进入 设备蓝牙界面搜索,配对成功后LED1长亮
按住手柄“A”和“HOME”键2秒,手柄LED2快速闪烁,进入 苹果设备(iOS、Mac OS)蓝牙界面搜索,配对成功后 LED2长亮
|Pro手柄的有线连接 开启| |---|
默认振动强度为70%
充电口
三:Tuobo连发频率调节
注意事项
使用USB充电线连接Nintendo Switch Pro手柄时,将通过有线进行连接。通过有线进行 连接时,将无法使用NFC
zR键 zL键
振动关闭:当振动强度调至“0”,即为关闭振动功能,上 调振动强度即可开启振动
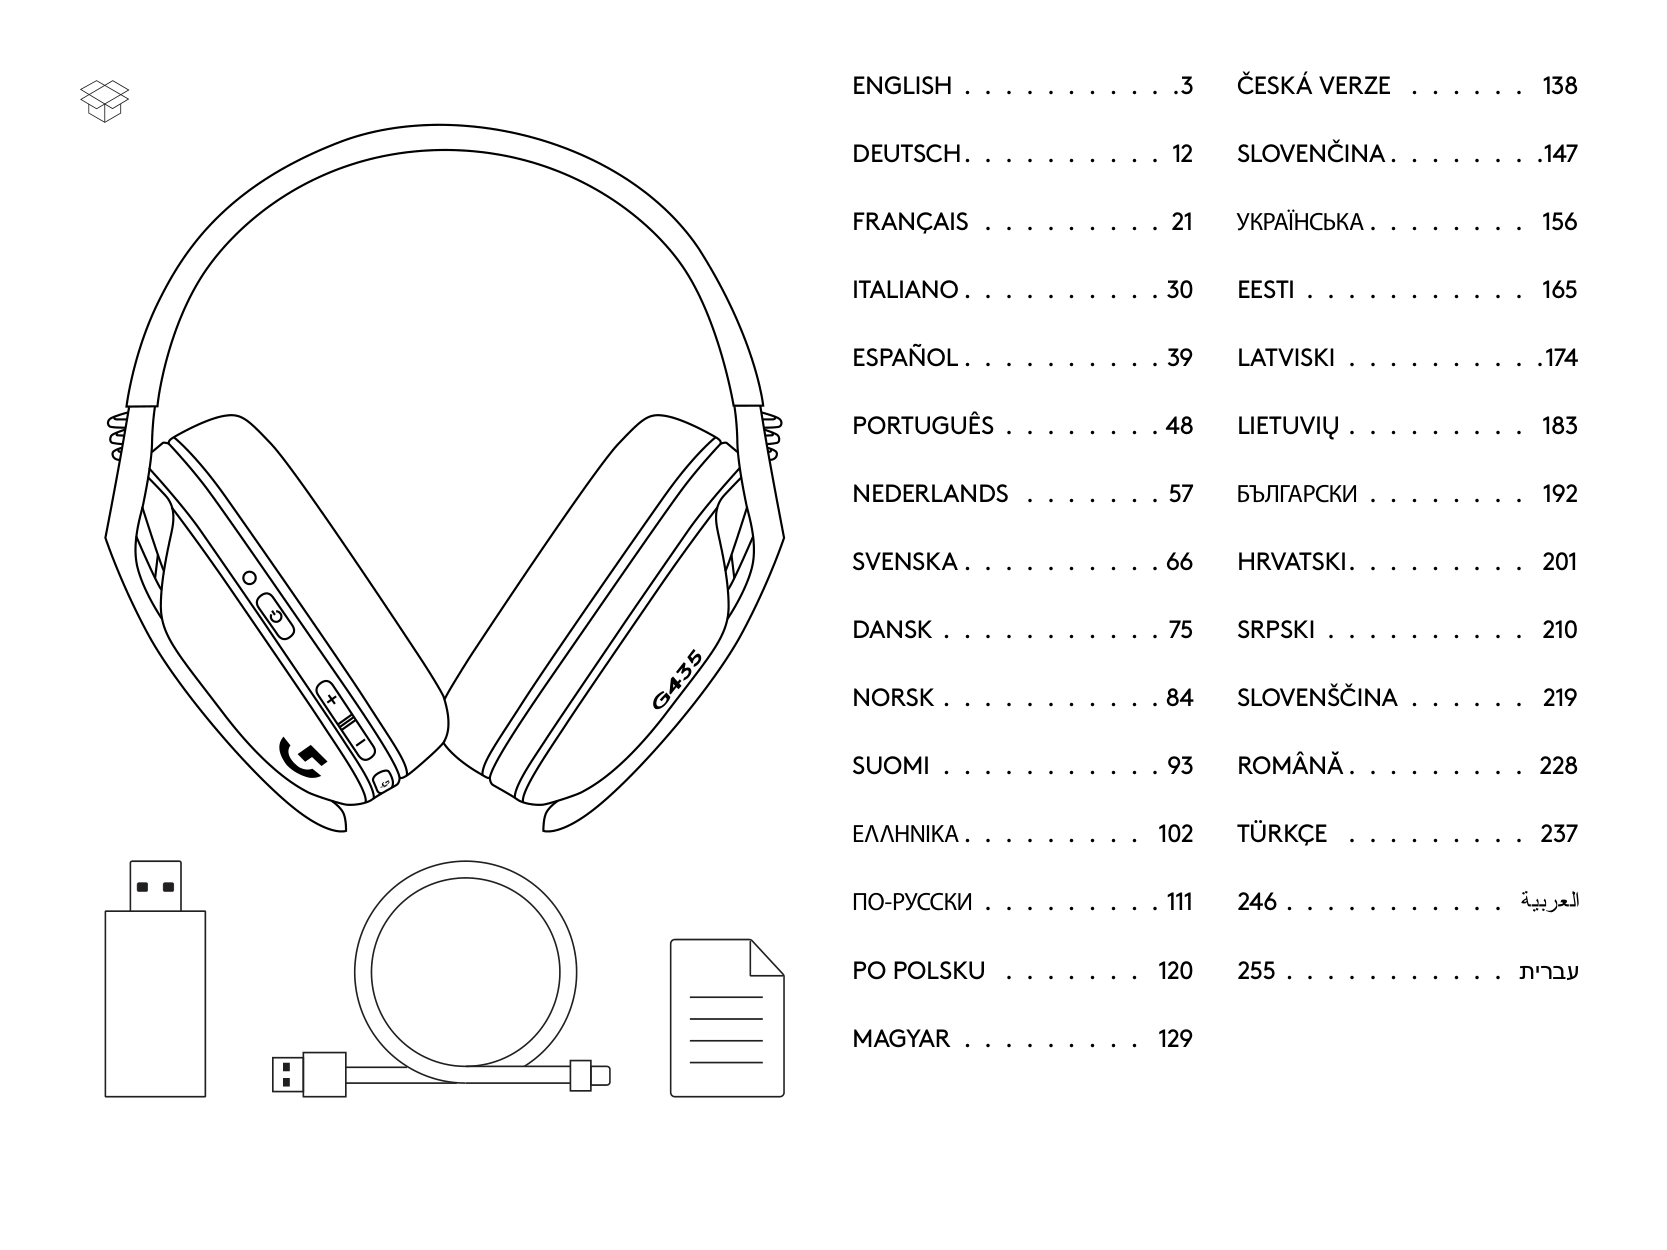
包装与配件
自动回连 当手柄已经连接过switch主机后,下次再连接时,只需 按下手柄的Home键1秒钟开机,自动唤醒switch主机并 回连手柄 若手柄跟其他设备配对过,则需要按照方法一/二重新连 接switch主机
#### 手柄特色功能 一:自定义背键
+
##### +
|手柄使用说明书 多功能switch无线控制器
| |---|
回连、休眠、充电、低电量等
MR ML
| | | | |---|---|---| | | | |
可增加连发频率
可减小连发频率
###### 一:自动回连
背键ML、MR支持可复制储存30秒游戏动作(左摇杆,右 摇杆,sL,sR,L,R,zL,zR,上,下,左,右,A,B ,X,Y均可复制储存) ,并支持储存多个按键同时操作
手柄通过蓝牙连接过设备后,下次连接此设备时,按下 “HOME”键2秒开机,即可自动连接该设备; 若手柄跟其他设备配对过,则需要按照说明书重新配对。
配对键
TURBO连打频率分为高、中、低3档(5次/S,10次/S,15 次/S),默认中档(10次/S)
游戏手柄*1 充电线*1
2.4G适配器*1
说明书*1
背键开关
(非标配) 1 2 3
4
| | | |---|---| | | |
| | | |---|---| | | |
| | | |---|---| | | |
| | | |---|---| | | |
| | | |---|---| | | |
| | | |---|---| | | |
| | | |---|---| | | |
| | | |---|---| | | |
| | | |---|---| | | |
5 6
7 8 9
方法二:通过有线连接 通过配件中的数据线直接连接至设备即可,手柄非满电 时指示灯会闪烁,满电后指示灯变为长亮
Thanks for your patronage Thanks for your choosing and purchasing our products. Please read this manual carefully before using it, and keep the manual properly for future needs. The controller supports upgrade functions, and subssubsequent new functions cannot be listed in detail, please consult your dealer.
Connect to N-Switch
Q: What should I do if I cannot connect? A: Please turn off the controller and follow the user manual again. If it doesn’t work, please poke the reset hole on the back of the controller and try again. Q: Why can't I operate after connecting? A: Please make sure you connect according to the correct mode. If the mode is correct, please refer to the question answer below Q: What should I do if some games cannot be played on the N-Switch ? A: Some games on the N-Switch do not support pro controller, you need to change a game to operate Q: What should I do if the reconnection interface pops up suddenly when playing a N-Switch game? A: This problem may be that your Joycon joystick drifts, or you accidentally pressed the buttons on the Joycon Q: What should I do if mobile games cannot be controlled? A: Whether it is an Android or an Apple game, the game itself needs to support the controller function to operate, please download the game that supports the controller Q: Why can't my computer game be used? A: 1. If it is an windows xp system, please upgrade to win7 and above, and check whether the computer-related controller driver is installed normally
Ⅱ :With data cable Connect directly to the computer through the data cable in the accessories. The indicator light will flash when the controller is not fully charged, and the indicator light will turn on when it is fully charged
Ⅳ:The D-pad and the left joystick function interchange
Connect the controller to the N-Switch for the first time.
Scan the QR code to view video manual
Scan the QR code on the left to view the product video instructions. Or log on to the website www.lejihu.com to view
###### Ⅰ :With Bluetooth
Button Description
Home button
controller
|Change Grip/Order| |---|
Find Controllers
Pairing New Controllers
Close
①
②
③
+/start-/select
R
Ⅱ:With data cable
setting
|Pro Controller Wired Communication On| |---|
Sleep Mode
Controllers and Sensors
System
TV
USB
The TV mode of N-Switch
Auto reconnect When the controller has been connected to the NSwitch, when you connect again next time, you only need to wake up the N-Switch first, and then press the home button of the controller for 2 seconds to turn on the device, and it will automatically connect back to the N-Switch. If the controller has been paired with other devices, you need to reconnect to the N-Switch according to method one or two.
Connect to Apple device
Support Apple phones/tablets/computers
Scan the QR code to view video manual
(Support MFI protocol game)
Ⅰ :With Bluetooth
Hold down the handle "A" and "HOME" button for 2 seconds, the handle LED2 flashes quickly, enter the Apple device (iOS, Mac OS) Bluetooth interface search, LED2 will be on after the pairing is successful
Special feature
Ⅰ :Custom the ML/MR button
ML/MR support can copy and store 30 seconds game actions (left joystick, right joystick, L3, R3, L, R, zL, zR, up, down, left, right, A, B, X, Y both Can be copied and stored)
Setting method:
二:Turbo function
三:Tuobo Frequency adjustment
+
Will speed up the turbo frequency
+
Will slow down the turbo frequency
1 2 3 5
The TURBO frequency is divided into 3 levels of high, medium and low (5 times/S,10 times/S,15 times/S),and the default is medium(10 times/S)
6
Common problem
Precautions
9
Ⅵ:Shock frequency adjustment
(The function does not support Android&iOS)
+ Will speed up the shock frequency
+ Will slow down the shock frequency
+
Press and hold the "Settings" button, and then press the "L3" button to interchange the functions of the left joystick and D-pad. At this time, both the "left joystick" and the "D-pad" can control 8 directions.
press the "L3"
+
press the "R3"
Press and hold the "Settings" button, and then press the "L3" button to interchange the functions of the A&B、X&Y. At this time, Repeat this operation to switch back to the original function
Before function interchange
After function interchange
The function does not support N-Switch
The default shock frequency is 70%
Auto reconnect、auto shutdown、 charging、low battery
Ⅰ :Auto reconnect
7
Turn off the shock function:When the shock frequency is 0%,the shock frequency will turn off. Speed up the shock frequency will turn on the shock function again
When the controller have connected the device,if you want connect to the device again,press the “HOME” button about 1 second,and the controller will auto reconnect your device
Packaging and accessories
Controller*1 data cable*1
| | | | |---|---|---| | | | |
2.4G adapter*1
|乐技HD-6500 手柄使用说明书
多功能switch无线控制器
| |---|
User manual*1
Product parameter
(Not a default accessory) 8
If the controller does not auto reconnect to the device in 60 seconds,the controller will auto shutdown
If the controller without any operation in 15 minutes, the controller will auto shutdown
1-4 LEDs flash slowly at the same time when the controller is charged, and the LEDs will go out when fully charged;When using the wired connection platform, the current mode LED flashes slowly, the current mode is fully charged LED always bright
When the power of the handle is low, the current mode indicator flashes slowly, indicating that it needs to be charged;It will automatically shut down after the battery is too low, and can be used normally after recharging; When left unused for a long time, it is recommended to charge it every 30 days
3 4
Left joystick (sL)
A、B、X、Y Right joystick (sR)
+L/R/zL/zRA/B/X/Y
|Name:|Wireless game controller| |---|---| |Model:|HD-6500| |Support device:|N-Switch/Win7 and above/Android/iOS/MAC OS| |Size/weight:|155*105*56mm/200g| |Battery parameters:|capacity:650mAh/Input:DC5V/1A/Working current:25-35mA| |Connection method:|Bluetooth/Wireless/Wire| |USB type:|USB Type-c| |Battery life:|≈12 hours| |Special function:|Custom the ML&MR button/D-pad and the left joystick function interchange/Auto turbo|
+L/R/zL/zRA/B/X/Y Hold down the function button and then press the "T" key to set the burst of the
D-pad
Press the function key and then press the "T" key twice to set the automatic burst of the
urbo
setting
Close: Repeat the operation to close the "TURBO" function of the corresponding button
Screenshot
Typec charging interface
zR zR
|2| |---|
|3| |---|
|4| |---|
MR ML
④
Reset
N-Switch mode button
MR/ML switch
4
This device complies with part 15 of the FCC Rules. Operation is subject to the following two conditions: (1) This device may not cause harmful interference, and (2) this device must accept any interference received, including interference that may cause undesired operation.
Any Changes or modifications not expressly approved by the party responsible for compliance could void the user's authority to operate the equipment.
Note: This equipment has been tested and found to comply with the limits for a Class B digital device, pursuant to part 15 of the FCC Rules. These limits are designed to provide reasonable protection against harmful interference in a residential installation. This equipment generates uses and can radiate radio frequency energy and, if not installed and used in accordance with the instructions, may cause harmful interference to radio communications. However, there is no guarantee that interference will not occur in a particular installation. If this equipment does cause harmful interference to radio or television reception, which can be determined by turning the equipment off and on, the user is encouraged to try to correct the interference by one or more of the following measures: