
Ask AI
— answers from the official manualAnswers from the official manual.
Common questions
Common Questions
39 totalWhat should I do if smoke appears when using the microwave?
If you see smoke during operation, immediately switch off or unplug the appliance and leave the door closed to stifle any flames. (Page 7)
How can I clean the oven's interior?
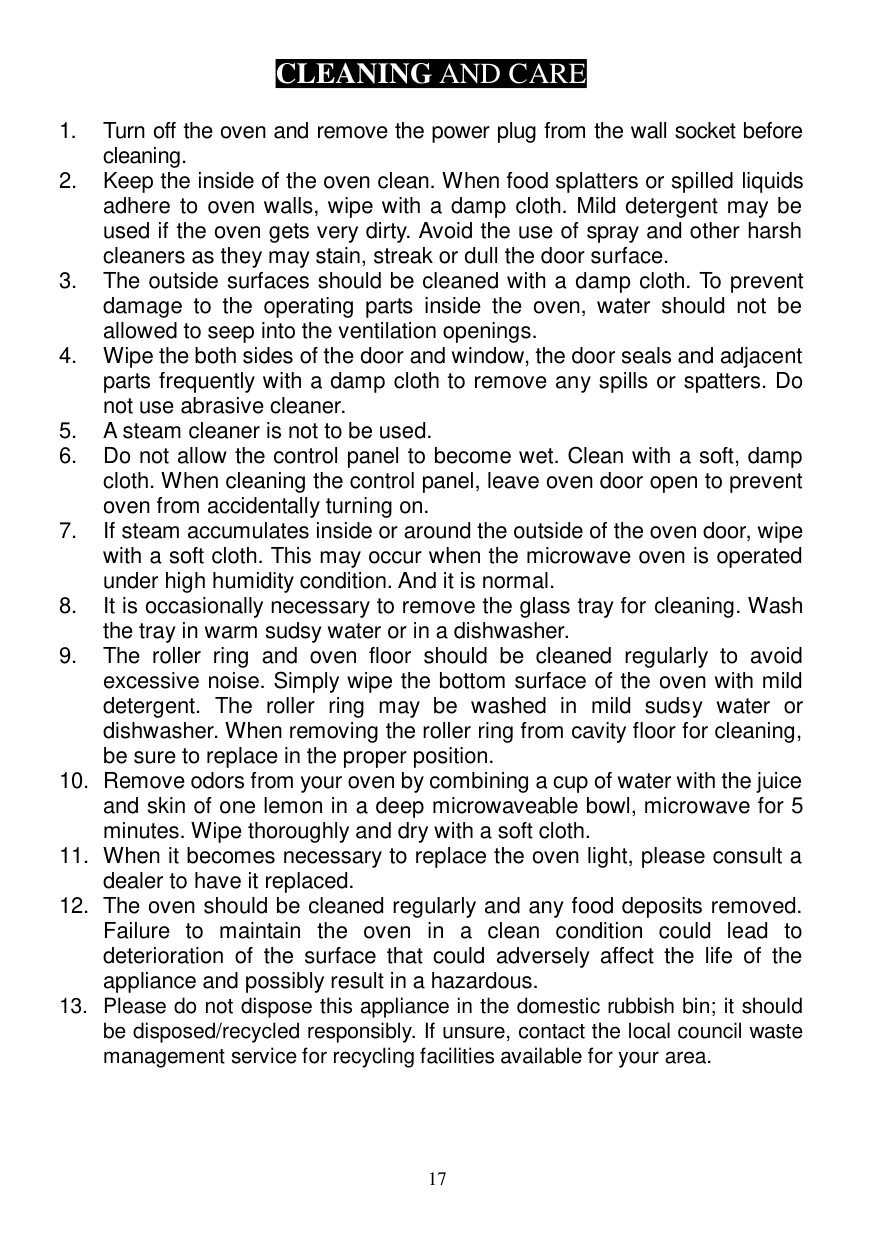
Clean the inside of the oven by wiping it with a damp cloth; use mild detergent if needed but avoid harsh cleaners that may damage the surface. (Page 17)
How do I set the clock on my microwave?
To set the time, press the CLOCK pad twice to choose between a 12 or 24-hour format and then enter the correct time using the number pads. Press CLOCK again to confirm. (Page 11)
What happens if I don't close the door properly?
Operating the microwave with an open or improperly closed door exposes you to harmful radiation and prevents cooking operation. Ensure that the door closes securely engaging all safety interlocks correctly. (Page 2)
How can I program a defrost sequence?
For speed defrost, press SPEED DEFROST pad and then enter the desired time using the number pads before confirming with START/+30 SEC pad. (Page 14)
What should I do if the oven is not working properly?
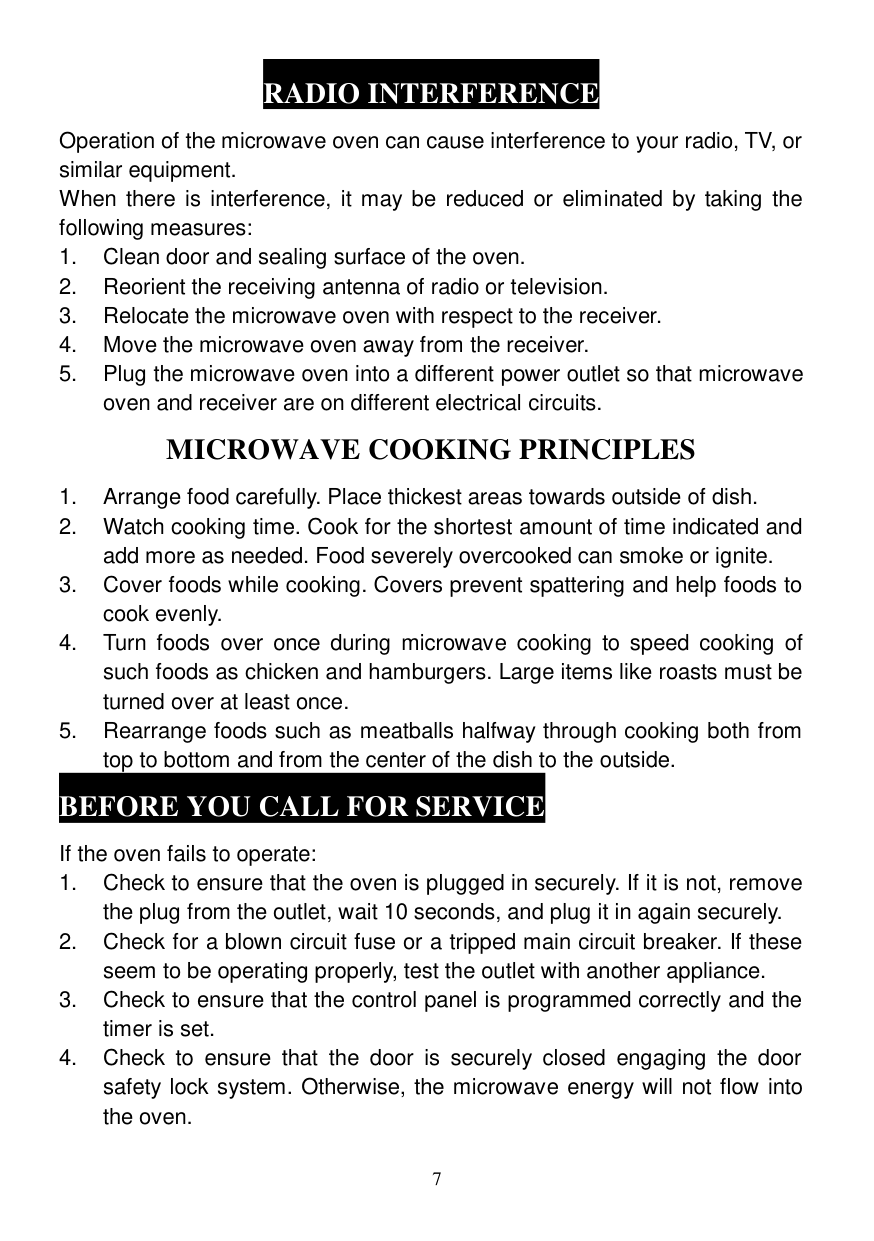
Check if it's plugged in securely, verify there are no blown fuses, test another appliance on the same outlet to confirm power supply issues, and ensure the control panel settings are correct. (Page 7)
Show 33 more questions
Can I use metal utensils or aluminum foil inside the microwave?
How do I perform quick start cooking?
How do I conduct defrosting by weight?
How do I reset or unlock child lock settings on my microwave?
What are the power output and capacity specifications of the P70B20Ap-St microwave?
How do I set the child lock to prevent unsupervised use?
What should I check if the microwave oven fails to operate?
How much clearance space does the microwave need for proper airflow during installation?
How do I use the Defrost by Weight function?
How do I set the clock on the P70B20Ap-St microwave?
What utensils and cookware are safe to use in this microwave?
How do I clean the inside of the microwave and remove odours?
How do I use the Quick Start function to begin cooking immediately?
How do I properly clean the inside of my microwave?
What do I do if my microwave stops working?
What items can I not use inside my microwave?
How do I defrost frozen vegetables using the microwave?
What is the multi-stage cooking function?
What is the warranty period and how do I make a warranty claim?
What are the safety considerations when my microwave oven doesn’t close properly?
How can I cancel an ongoing cooking program on my Anko P70B20AP-ST microwave?
What should I do if smoke comes out of my Anko P70B20AP-ST microwave?
How do I reset the clock on my microwave?
What is the correct wattage for my microwave?
Can I cook eggs with yolks intact in this microwave?
How do I set the child lock on my microwave?
How do I set the clock on my Anko P70B20AP-ST microwave?
How do I turn off child lock mode?
What should I do if there is interference with my TV or radio when using the microwave?
How do I clean the interior of my Anko P70B20AP-ST microwave?
How do I safely defrost food using the Anko P70B20AP-ST microwave?
How do I reset or return to the home screen of my Anko P70B20AP-ST microwave?
What should I check if the microwave does not turn on or cook properly?
Full Manual
19 pages

Microwave Oven P70B20AP-ST User Manual

PLEASE READ AND SAVE THESE INSTRUCTIONS FOR FUTURE REFERENCE
CONTENT
PRECAUTIONS TO AVOID POSSIBLE EXPOSURE TO EXCESSIVE MICROWAVE ENERGY......2 IMPORTANT SAFETY INSTRUCTIONS...............................................................................2 SPECIFICATIONS..............................................................................................................6 INSTALLATION ................................................................................................................6 RADIO INTERFERENCE ....................................................................................................7 MICROWAVE COOKING PRINCIPLES................................................................................7 BEFORE YOU CALL FOR SERVICE......................................................................................7 UTENSILS GUIDE.............................................................................................................8 PART NAMES ..................................................................................................................9 CONTROL PANEL...........................................................................................................10 HOW TO SET THE OVEN CONTROLS ..............................................................................11 SETTING THE CLOCK......................................................................................................11 TIMER FUNCTION .........................................................................................................11 MICROWAVE COOKING.................................................................................................11 SPEED DEFROST............................................................................................................12 QUICK START ................................................................................................................12 COOK BY WEIGHT .........................................................................................................12 DEFROST BY WEIGHT....................................................................................................13 MULTI-STAGE COOKING ................................................................................................13 SETTING CHILD LOCK ....................................................................................................14 AUTO COOK MENU.......................................................................................................15
POPCORN .................................................................................................................15 POTATO.....................................................................................................................15 PIZZA ........................................................................................................................15 BEVERAGE ................................................................................................................15 FROZENVEGETABLES.................................................................................................16 REHEAT.....................................................................................................................16
CLEANING AND CARE ...................................................................................................17 12 MONTH WARRANTY ..........................................................................................18
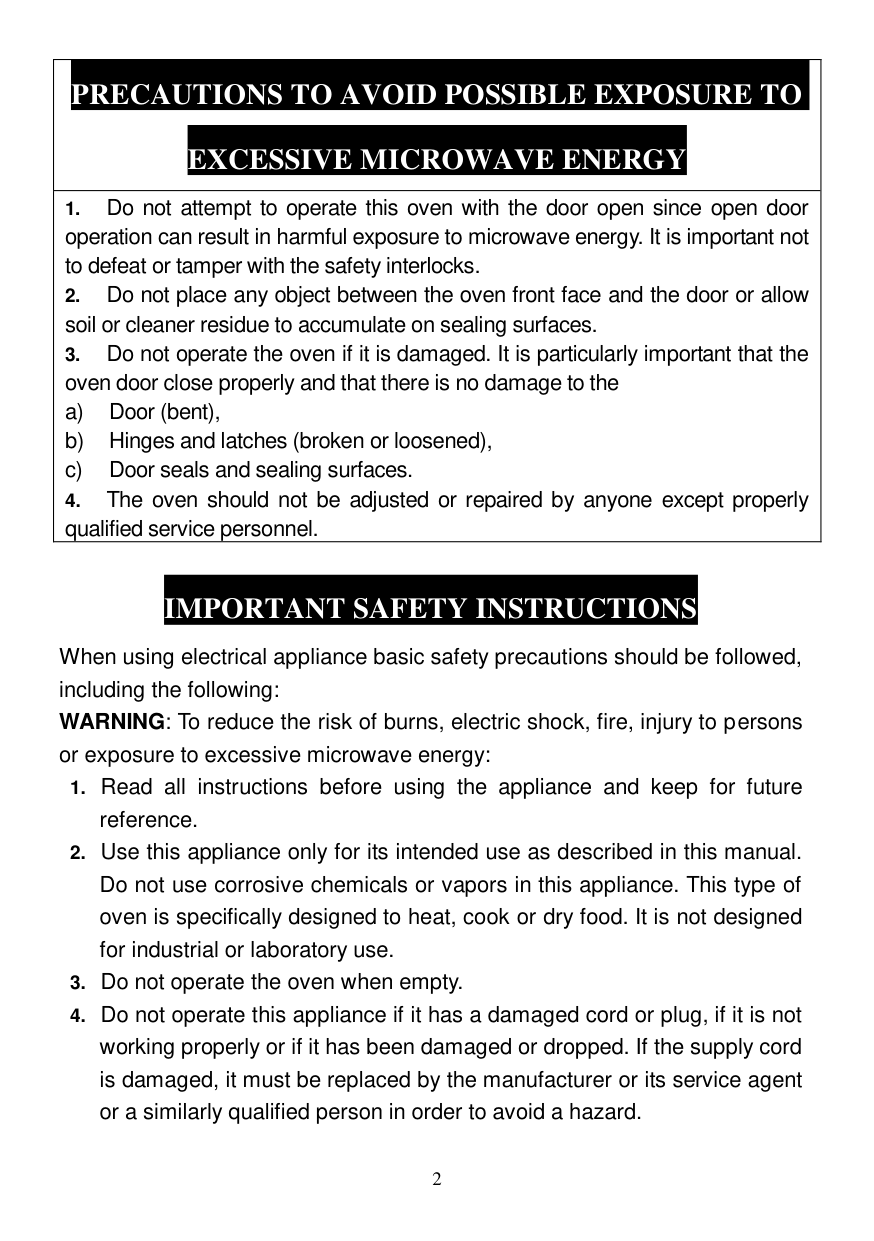
|PRECAUTIONS TO AVOID POSSIBLE EXPOSURE TO EXCESSIVE MICROWAVE ENERGY
| |---| |1. Do not attempt to operate this oven with the door open since open door operation can result in harmful exposure to microwave energy. It is important not to defeat or tamper with the safety interlocks.
2. Do not place any object between the oven front face and the door or allow soil or cleaner residue to accumulate on sealing surfaces.
3. Do not operate the oven if it is damaged. It is particularly important that the oven door close properly and that there is no damage to the
a) Door (bent),
b) Hinges and latches (broken or loosened),
c) Door seals and sealing surfaces.
4. The oven should not be adjusted or repaired by anyone except properly qualified service personnel.
|
IMPORTANT SAFETY INSTRUCTIONS
When using electrical appliance basic safety precautions should be followed, including the following: WARNING: To reduce the risk of burns, electric shock, fire, injury to persons or exposure to excessive microwave energy:
WARNING: Only allow children to use the oven without supervision when adequate instructions have been given so that the child is able to use the oven in a safe way and understands the hazards of improper use.
WARNING: Liquid or other food must not be heated in sealed containers since they are liable to explode.
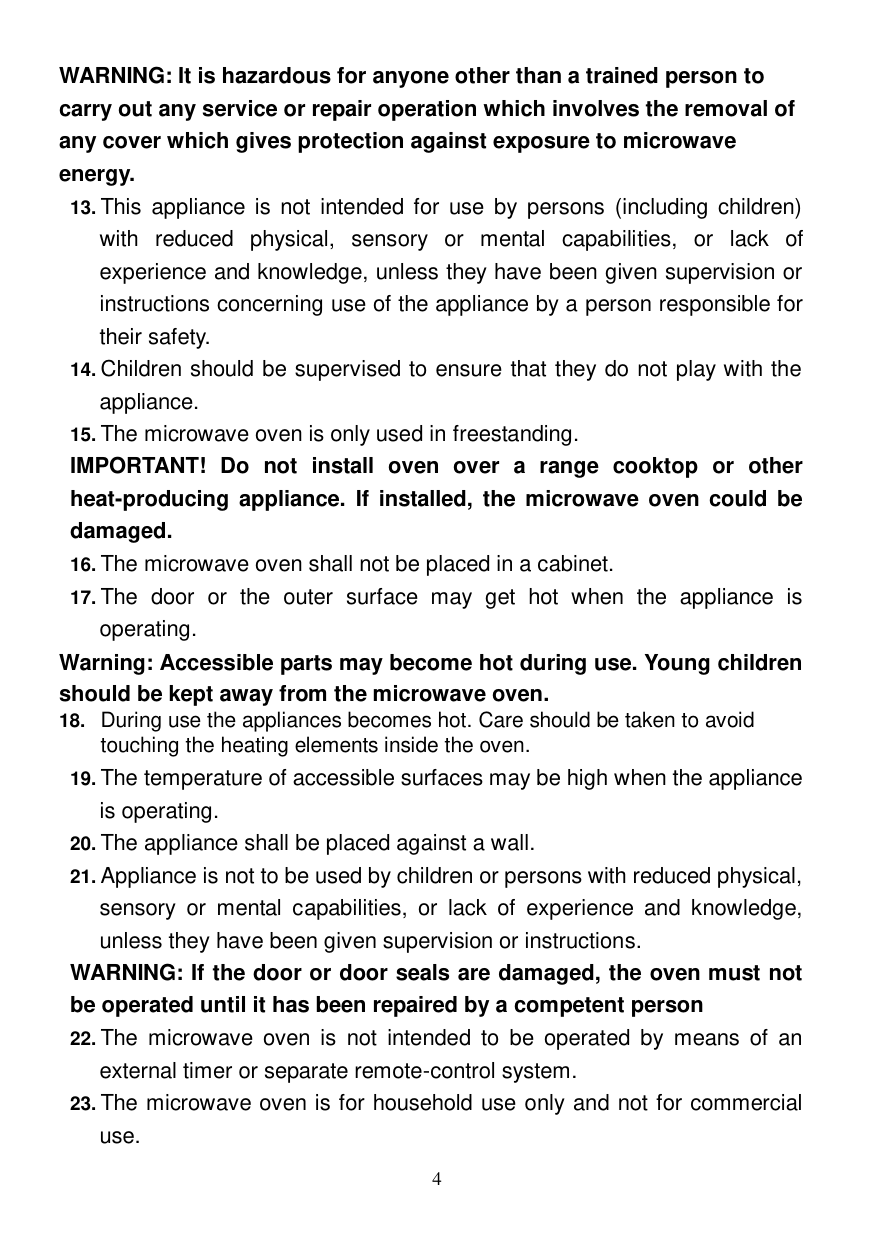
WARNING: It is hazardous for anyone other than a trained person to carry out any service or repair operation which involves the removal of any cover which gives protection against exposure to microwave energy.
Warning: Accessible parts may become hot during use. Young children should be kept away from the microwave oven.
WARNING: If the door or door seals are damaged, the oven must not be operated until it has been repaired by a competent person
Caution: Any repairs to the product must be carried out by a qualified electrical person only. This includes changing the power cord or the internal light globe.
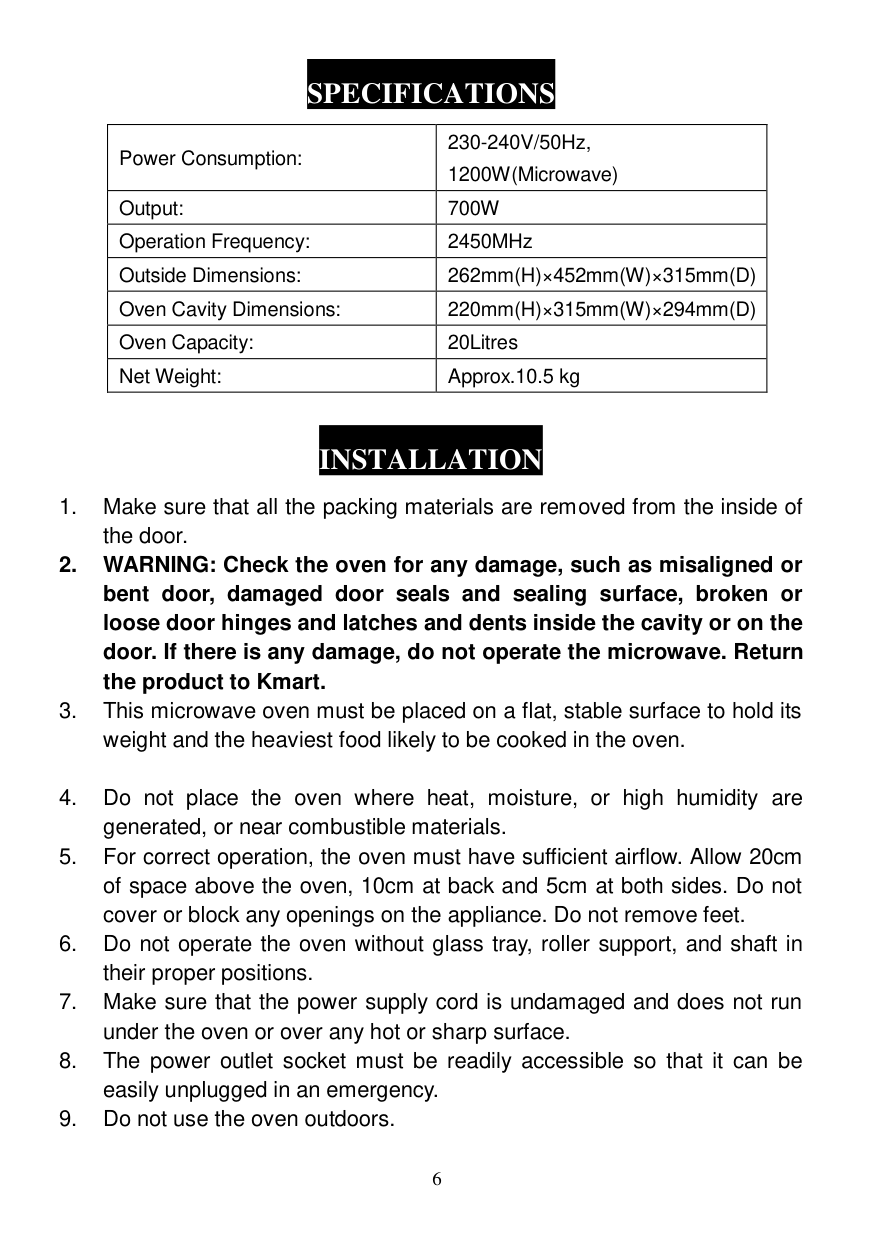
SPECIFICATIONS
|Power Consumption:|230-240V/50Hz, 1200W(Microwave)| |---|---| |Output:|700W| |Operation Frequency:|2450MHz| |Outside Dimensions:|262mm(H)×452mm(W)×315mm(D)| |Oven Cavity Dimensions:|220mm(H)×315mm(W)×294mm(D)|
|Oven Capacity:|20Litres| |Net Weight:|Approx.10.5 kg|
INSTALLATION
RADIO INTERFERENCE
Operation of the microwave oven can cause interference to your radio, TV, or similar equipment. When there is interference, it may be reduced or eliminated by taking the following measures:
MICROWAVE COOKING PRINCIPLES
BEFORE YOU CALL FOR SERVICE If the oven fails to operate:
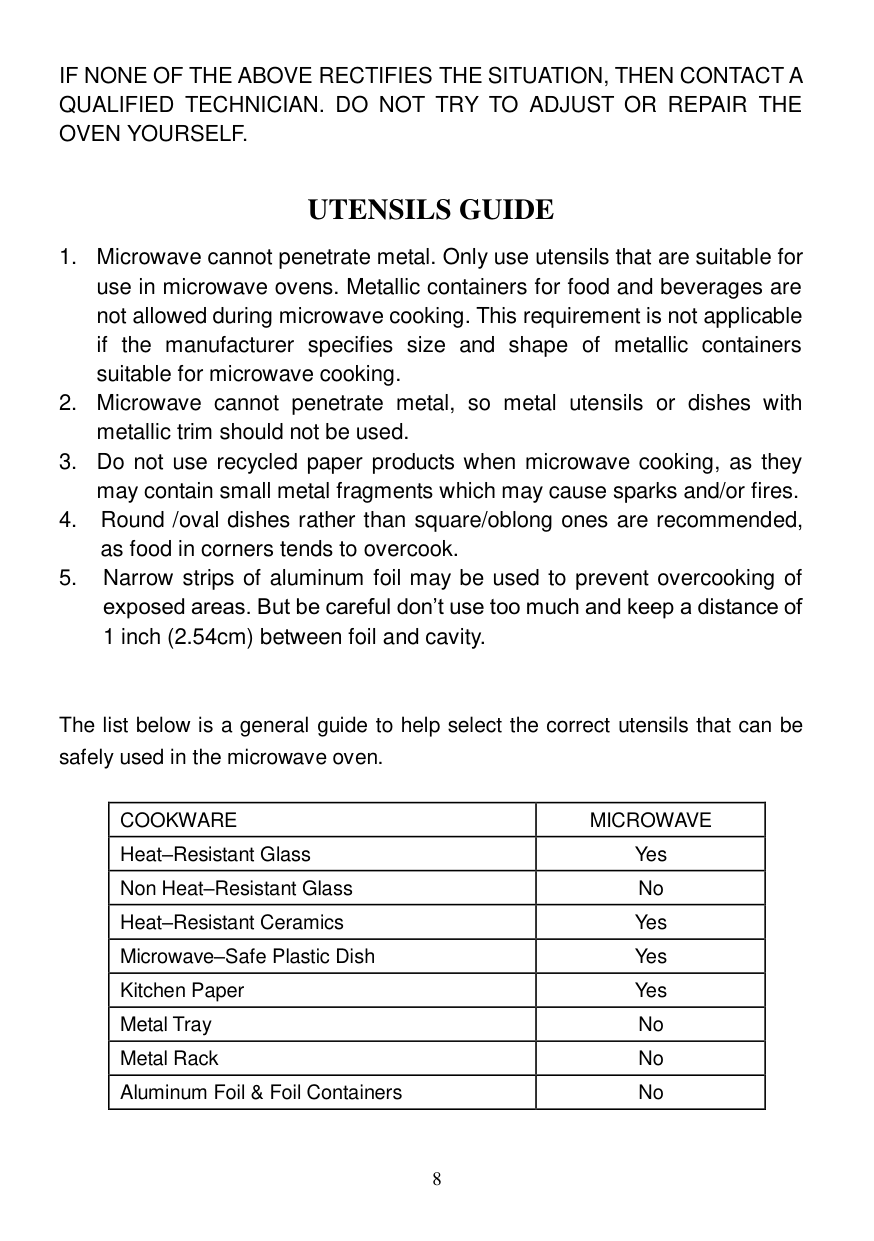
IF NONE OF THE ABOVE RECTIFIES THE SITUATION, THEN CONTACT A QUALIFIED TECHNICIAN. DO NOT TRY TO ADJUST OR REPAIR THE OVEN YOURSELF.
UTENSILS GUIDE
The list below is a general guide to help select the correct utensils that can be safely used in the microwave oven.
|COOKWARE|MICROWAVE| |---|---| |Heat–Resistant Glass|Yes| |Non Heat–Resistant Glass|No| |Heat–Resistant Ceramics|Yes| |Microwave–Safe Plastic Dish|Yes| |Kitchen Paper|Yes| |Metal Tray|No| |Metal Rack|No| |Aluminum Foil & Foil Containers|No|
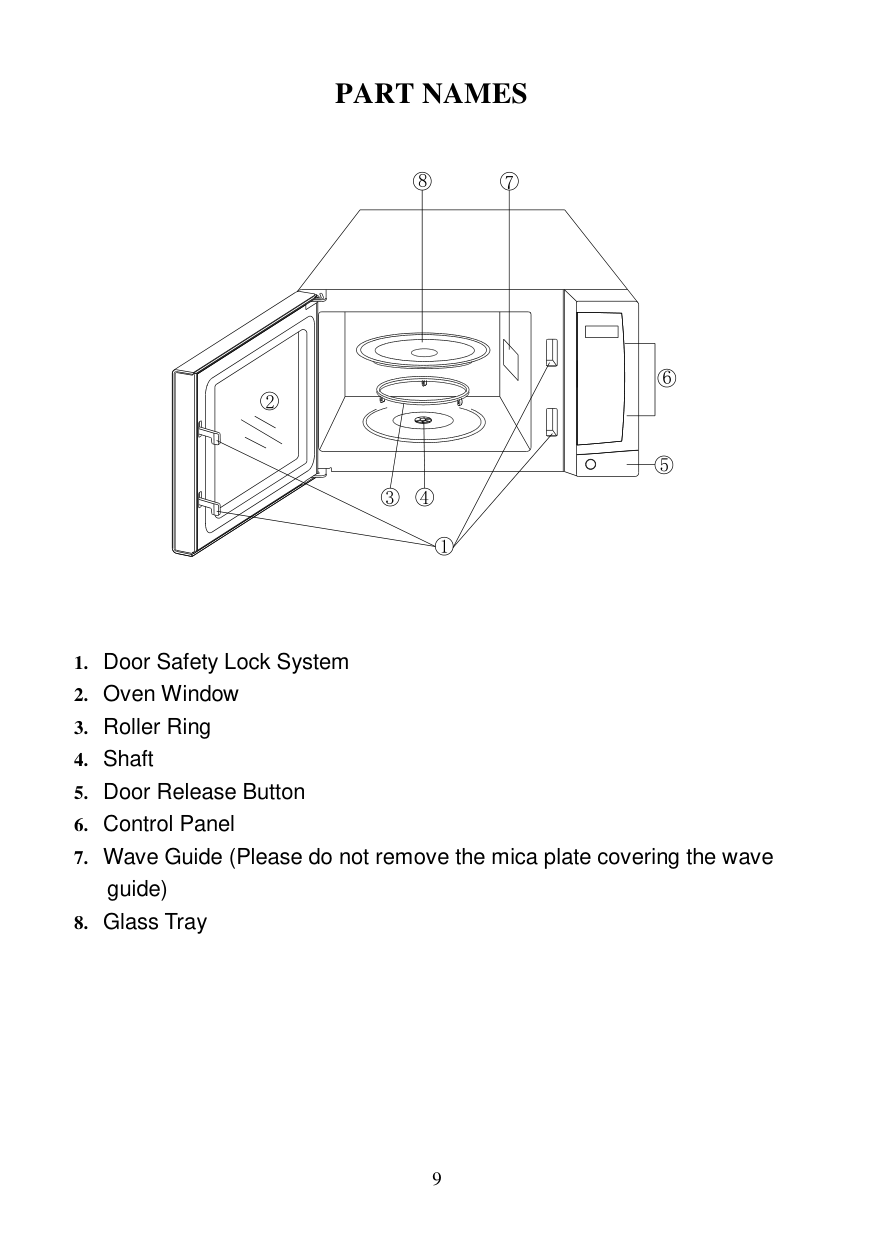
PART NAMES
8 7
| | | | |---|---|---| | | | |
| | | |---|---| | | | | | |
| | | |---|---| | | |
6
2
| | | |---|---| | | |
5 3
4
1
CONTROL PANEL

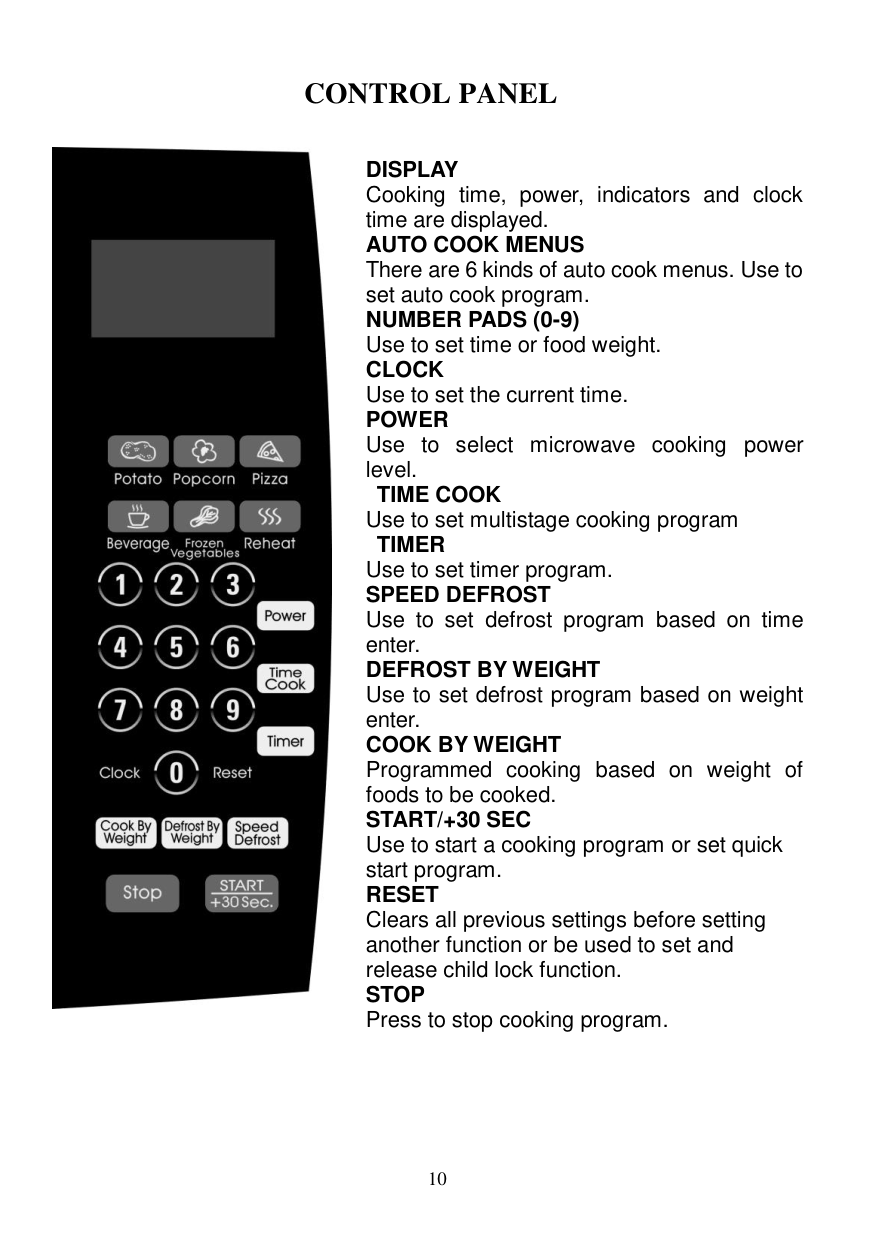
DISPLAY Cooking time, power, indicators and clock time are displayed. AUTO COOK MENUS There are 6 kinds of auto cook menus. Use to set auto cook program. NUMBER PADS (0-9) Use to set time or food weight. CLOCK Use to set the current time. POWER Use to select microwave cooking power level.
#### TIME COOK
Use to set multistage cooking program
TIMER Use to set timer program. SPEED DEFROST Use to set defrost program based on time enter. DEFROST BY WEIGHT Use to set defrost program based on weight enter. COOK BY WEIGHT Programmed cooking based on weight of foods to be cooked. START/+30 SEC Use to start a cooking program or set quick start program. RESET Clears all previous settings before setting another function or be used to set and release child lock function. STOP Press to stop cooking program.
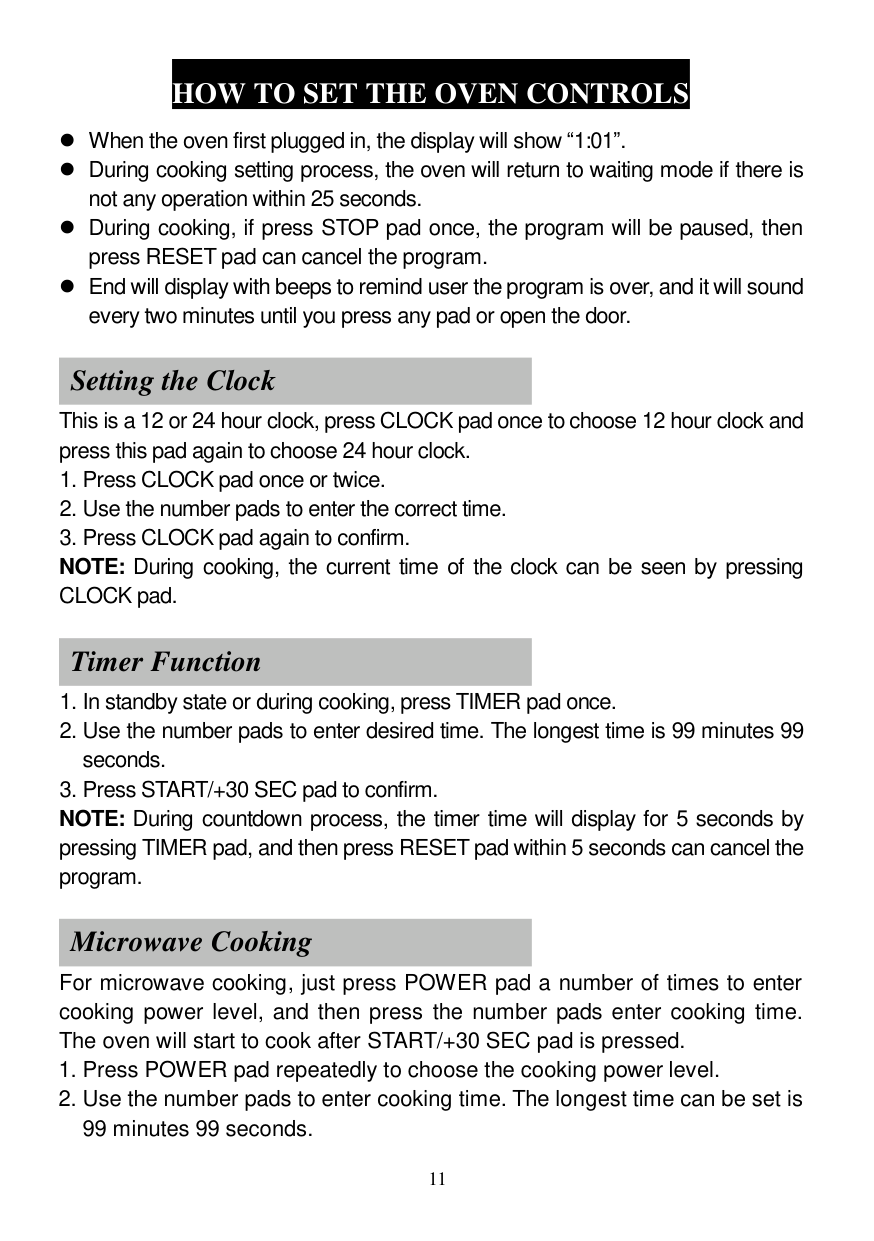
HOW TO SET THE OVEN CONTROLS
When the oven first plugged in, the display will show “1:01”.
During cooking setting process, the oven will return to waiting mode if there is not any operation within 25 seconds.
During cooking, if press STOP pad once, the program will be paused, then press RESET pad can cancel the program.
End will display with beeps to remind user the program is over, and it will sound every two minutes until you press any pad or open the door.
Setting the Clock This is a 12 or 24 hour clock, press CLOCK pad once to choose 12 hour clock and press this pad again to choose 24 hour clock.
Timer Function
Microwave Cooking
For microwave cooking, just press POWER pad a number of times to enter cooking power level, and then press the number pads enter cooking time. The oven will start to cook after START/+30 SEC pad is pressed.
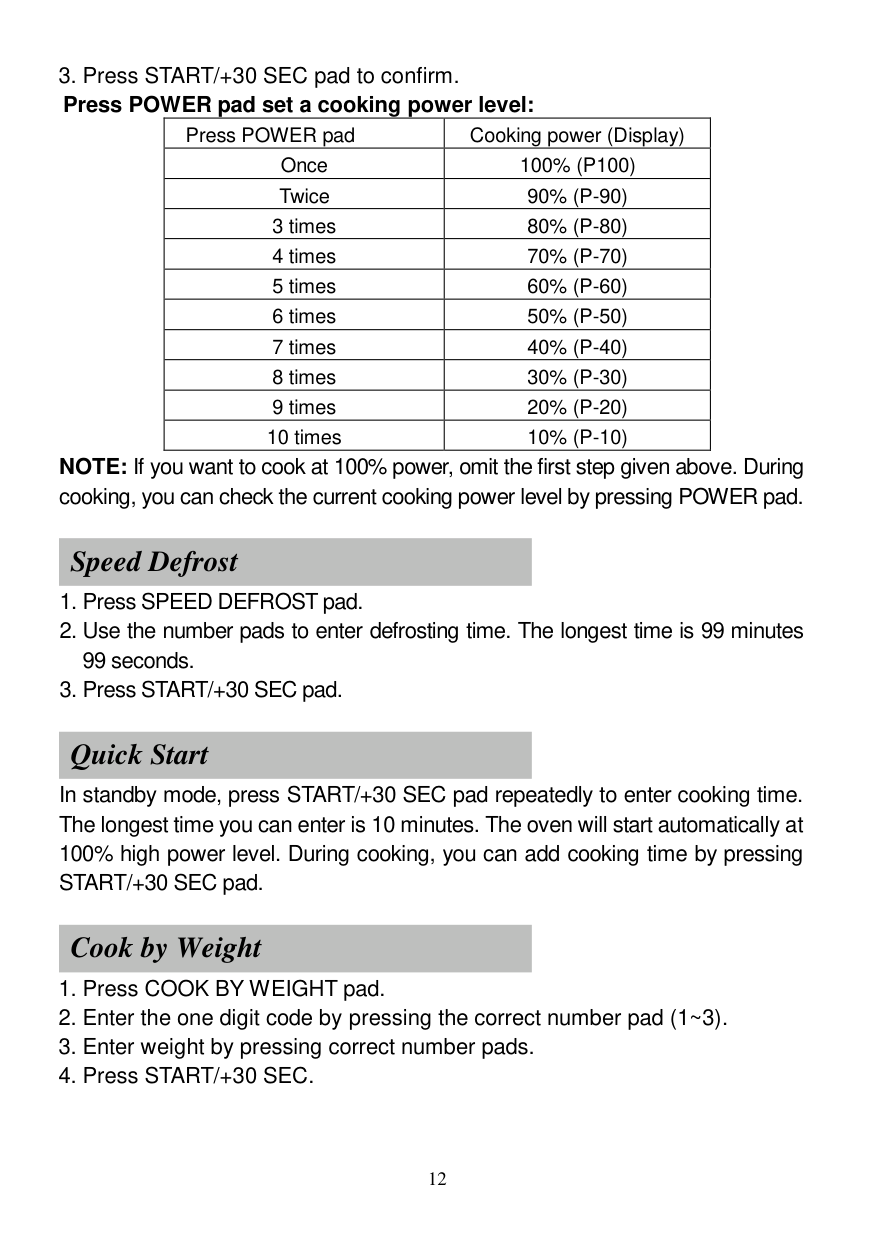
#### 3. Press START/+30 SEC pad to confirm.Press POWER pad set a cooking power level:
|Press POWER pad|Cooking power (Display)| |---|---| |Once|100% (P100)| |Twice|90% (P-90)| |3 times|80% (P-80)| |4 times|70% (P-70)| |5 times|60% (P-60)| |6 times|50% (P-50)| |7 times|40% (P-40)| |8 times|30% (P-30)| |9 times|20% (P-20)| |10 times|10% (P-10)|
NOTE: If you want to cook at 100% power, omit the first step given above. During cooking, you can check the current cooking power level by pressing POWER pad.
Speed Defrost
Quick Start
In standby mode, press START/+30 SEC pad repeatedly to enter cooking time. The longest time you can enter is 10 minutes. The oven will start automatically at
Cook by Weight
#### Cook By Weight Code Description
|CODE|TYPE|MAX WEIGHT| |---|---|---|
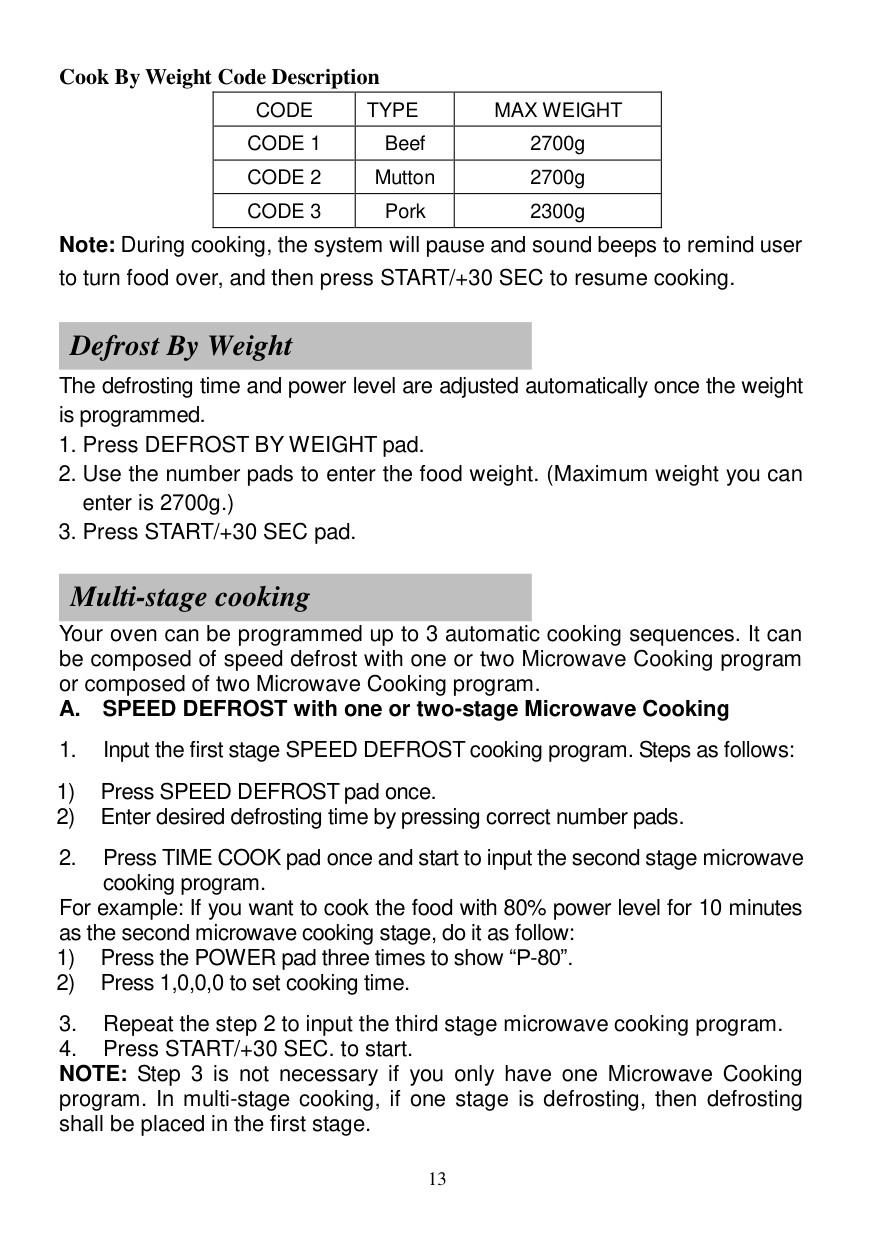
|CODE 1|Beef|2700g| |CODE 2|Mutton|2700g| |CODE 3|Pork|2300g|
Note: During cooking, the system will pause and sound beeps to remind user to turn food over, and then press START/+30 SEC to resume cooking.
Defrost By Weight
The defrosting time and power level are adjusted automatically once the weight is programmed.
Multi-stage cooking
Your oven can be programmed up to 3 automatic cooking sequences. It can be composed of speed defrost with one or two Microwave Cooking program or composed of two Microwave Cooking program.
#### A. SPEED DEFROST with one or two-stage Microwave Cooking
For example: If you want to cook the food with 80% power level for 10 minutes as the second microwave cooking stage, do it as follow:
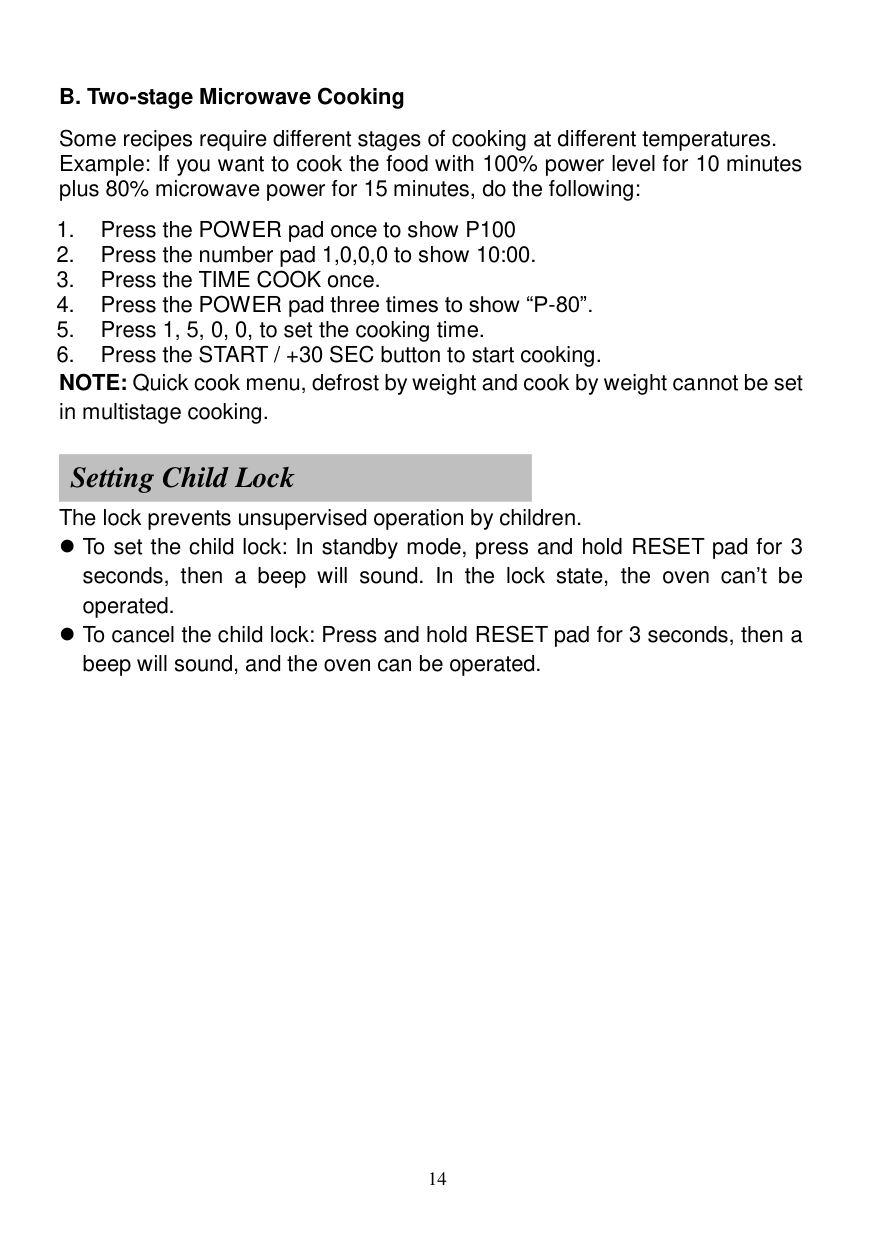
#### B. Two-stage Microwave Cooking
Some recipes require different stages of cooking at different temperatures. Example: If you want to cook the food with 100% power level for 10 minutes plus 80% microwave power for 15 minutes, do the following:
Setting Child Lock
The lock prevents unsupervised operation by children.
To set the child lock: In standby mode, press and hold RESET pad for 3 seconds, then a beep will sound. In the lock state, the oven can’t be operated.
To cancel the child lock: Press and hold RESET pad for 3 seconds, then a beep will sound, and the oven can be operated.
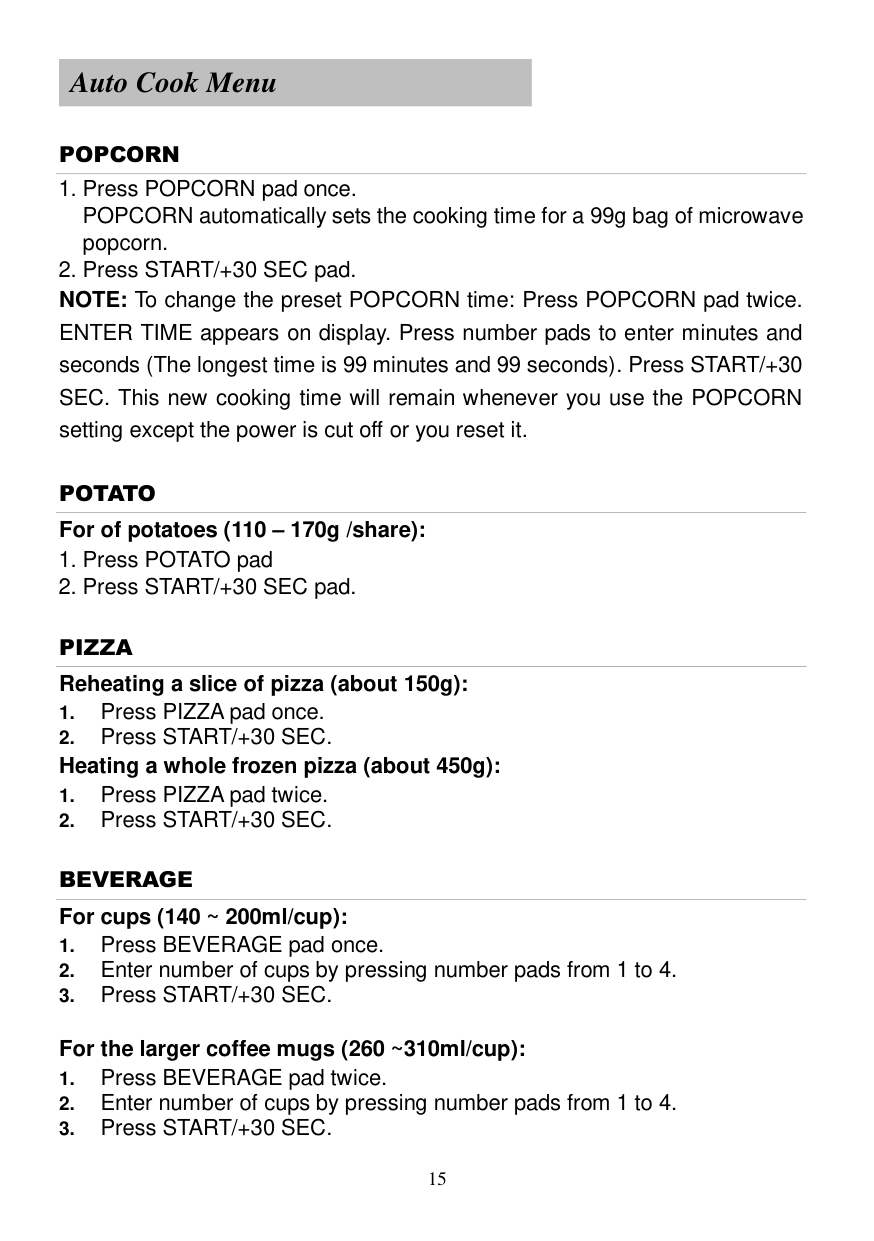
Auto Cook Menu
POPCORN
POTATO For of potatoes (110 – 170g /share):
PIZZA Reheating a slice of pizza (about 150g):
BEVERAGE For cups (140 ~ 200ml/cup):
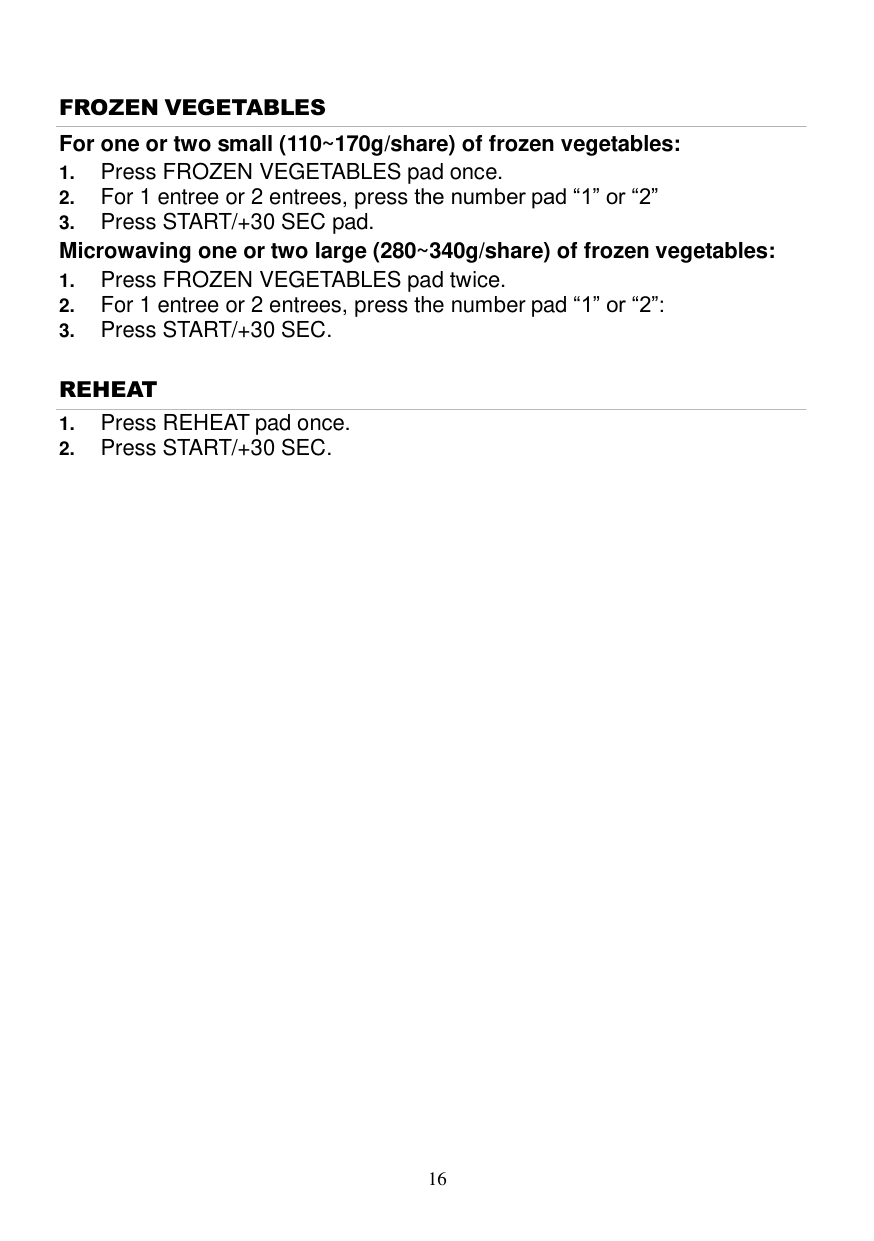
FROZEN VEGETABLES For one or two small (110~170g/share) of frozen vegetables:
REHEAT
CLEANING AND CARE
12 MONTH WARRANTY
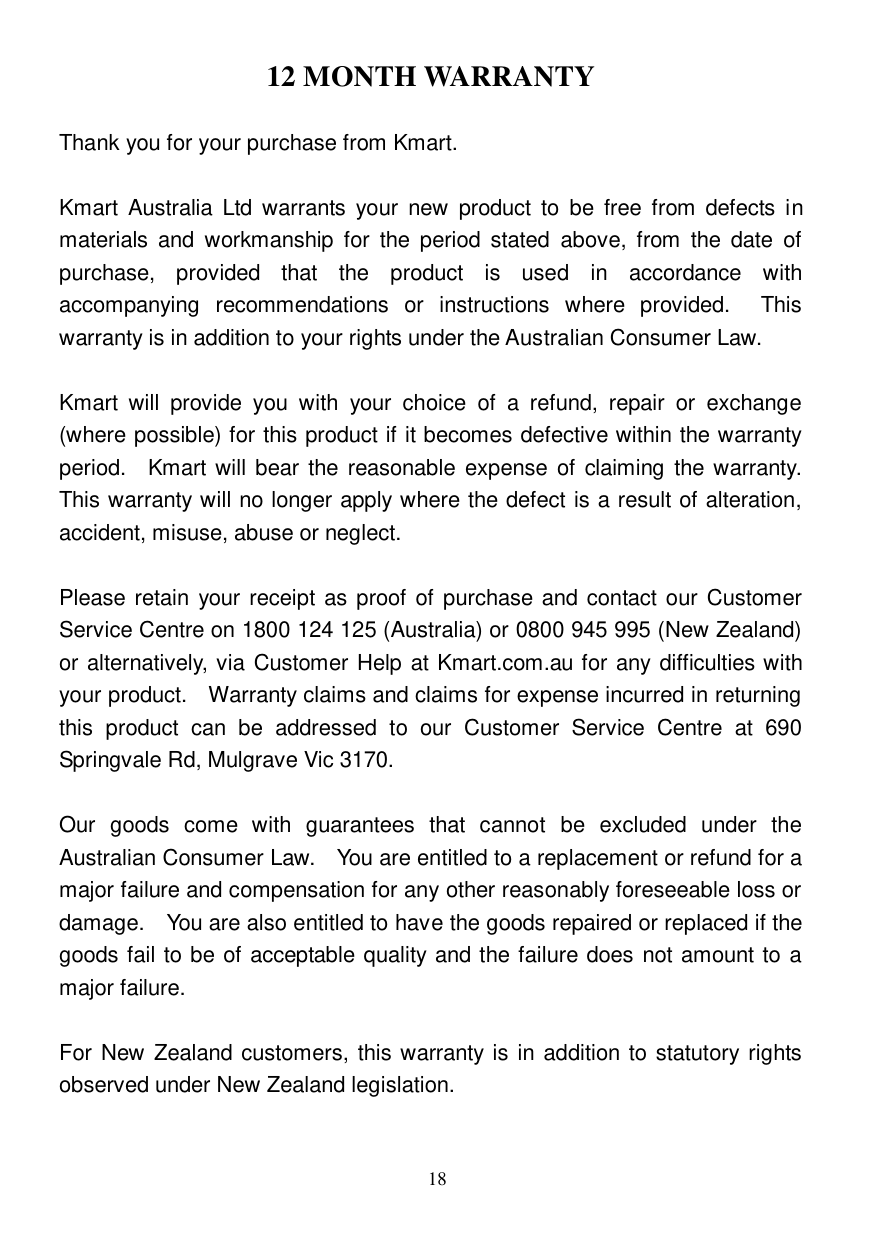
Thank you for your purchase from Kmart.
Kmart Australia Ltd warrants your new product to be free from defects in materials and workmanship for the period stated above, from the date of purchase, provided that the product is used in accordance with accompanying recommendations or instructions where provided. This warranty is in addition to your rights under the Australian Consumer Law.
Kmart will provide you with your choice of a refund, repair or exchange (where possible) for this product if it becomes defective within the warranty period. Kmart will bear the reasonable expense of claiming the warranty. This warranty will no longer apply where the defect is a result of alteration, accident, misuse, abuse or neglect.
Please retain your receipt as proof of purchase and contact our Customer Service Centre on 1800 124 125 (Australia) or 0800 945 995 (New Zealand) or alternatively, via Customer Help at Kmart.com.au for any difficulties with your product. Warranty claims and claims for expense incurred in returning this product can be addressed to our Customer Service Centre at 690 Springvale Rd, Mulgrave Vic 3170.
Our goods come with guarantees that cannot be excluded under the Australian Consumer Law. You are entitled to a replacement or refund for a major failure and compensation for any other reasonably foreseeable loss or damage. You are also entitled to have the goods repaired or replaced if the goods fail to be of acceptable quality and the failure does not amount to a major failure.
For New Zealand customers, this warranty is in addition to statutory rights observed under New Zealand legislation.